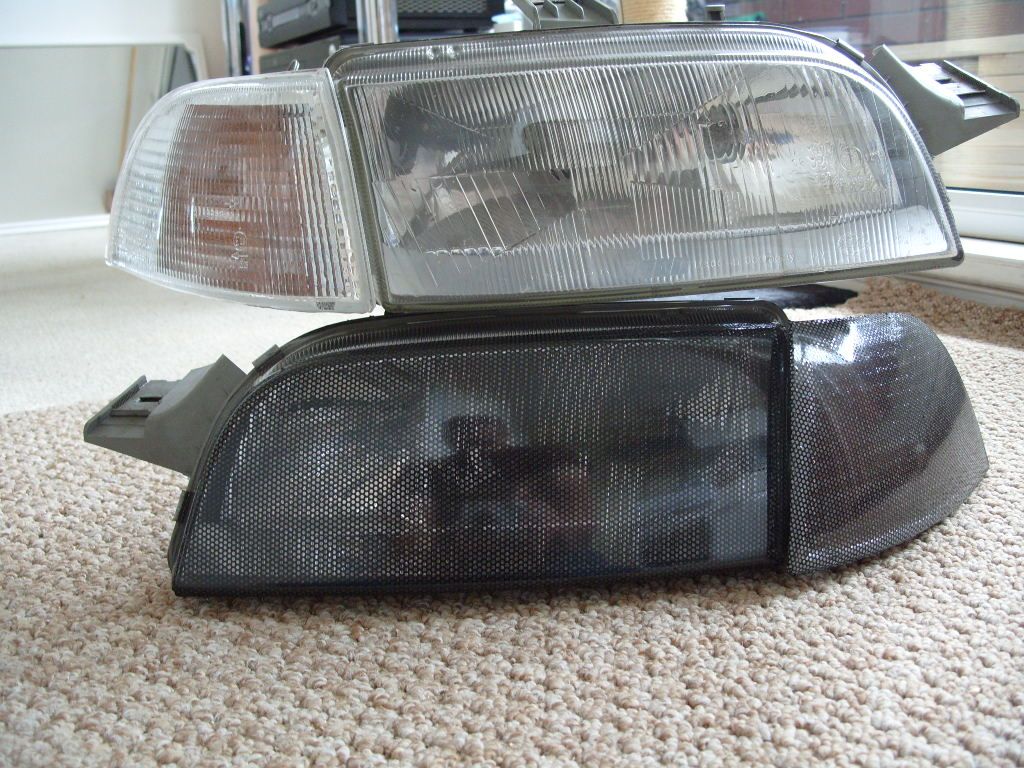
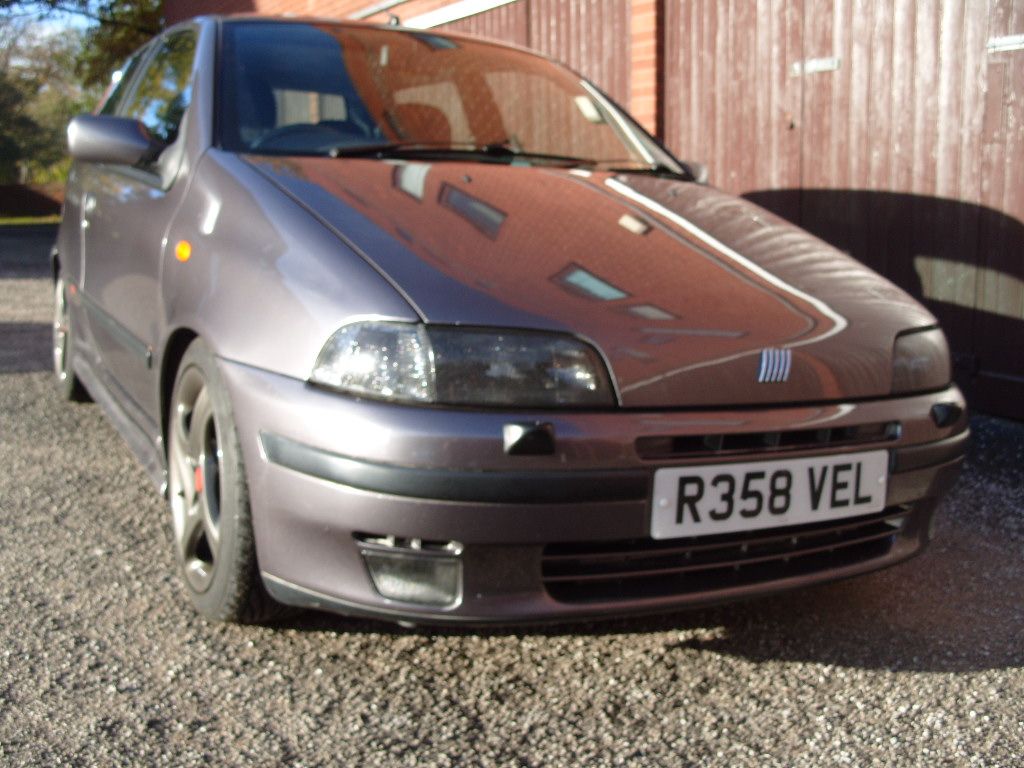
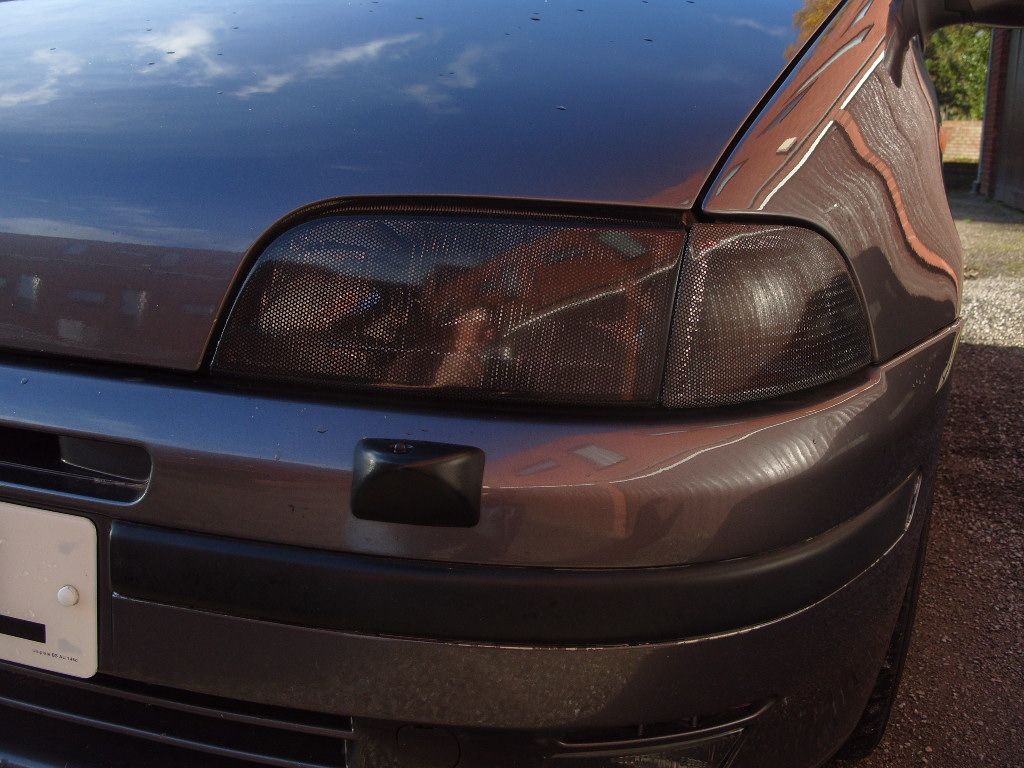
After seeing another car close up with this film on the lights I had to give it a go on the GT as it looks very cool. Not so much on the back lights though......I'm leaving those alone.
Picked up the film, you guessed it off Ebay for £7.85 delivered, thats a piece 30cm x 106cm and its more than enough to do both front headlights and the indicators on a Mk1 Punto. I had enough left over to probably do the fogs and side repeaters at a later stage too but I need to get rid of the amber repeaters for some clears first. On all lights I have something between 5mm and 15 mm overlap around the edges.
Anyway you can see the difference between a light pack thats been done and one that hasnt - a massive difference. On the car it really does make a nice visual change. Not sure if the black that I used would suit every colour of Punto but usually you cant go wrong with black - they do various colours but personally I would steer clear of the reds or blues on red and blue cars - Id say "always bet on black"Not only that any creases in the film are pretty impossible to spot on black film.
BTW-I know Punto lights are pretty poor at the best of times so if the film has caused a real reduction in my beam it will be coming off but as a cheap experiment its worth the time and effort and the 8 quid is no great loss if its damaged or is blocking the light. The advert for this stuff says its MOT compliant - only you can be a judge of that so I give no assurances its legal. Another reason for not doing the back lights as that will just attract old bill. The fronts wont be nearly as attention seeking........
I dont think this is the highest quality film you can buy - watch any number of pro wrapping videos on YouTube and the films they use just seem to melt into place lovely with very little creasing. I found the indicators on mine more tricky to do than the main headlights due to the curves. It take quite a few tries at laying it on then peeling it off and removing the creases. Ideally get a car wrapping plastic card or use a credit card.
I removed all lights from the car and did the work indoors
a) its too cold outside for working on a car now and
b) I think you need a reasonable temperature to apply the film in and
c) as the panel gaps on Mk1s are quite big I wanted to ensure I cut the film way back behind the shut lines which is probably trickier to do on the car.
You have to install the headlights back in before the indicators but keep them fairly loose so that when you offer up the indicator to slot into it you do so without the risk of pushing or tearing the film down the sides of the lights where they mate together. They do butt up pretty tight to each other so you have been warned.


 Reply With Quote