


http://www.magicdetail.co.uk
Hello all,
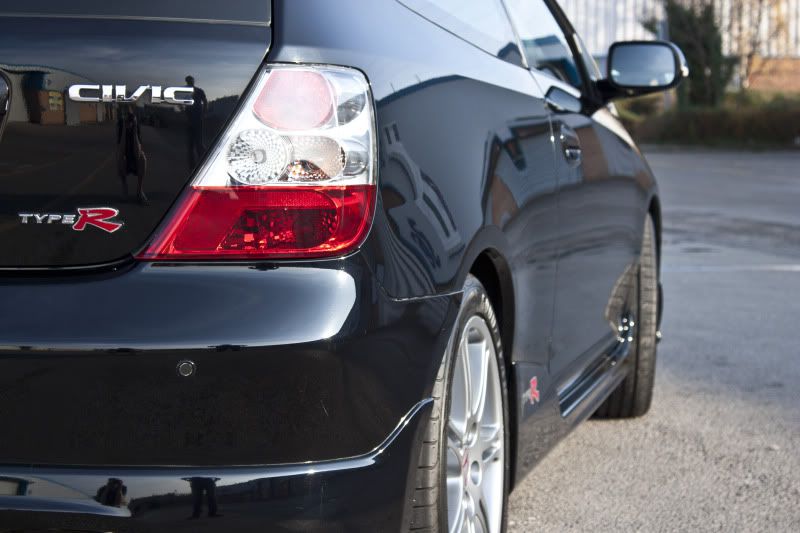
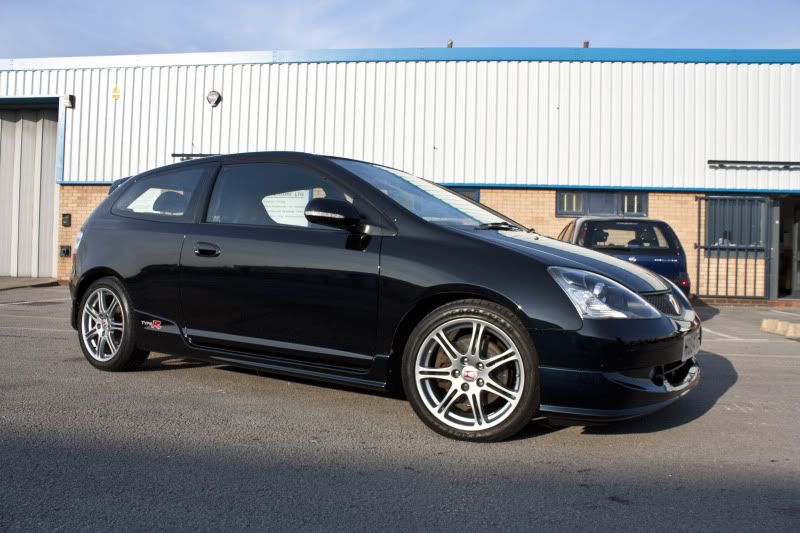
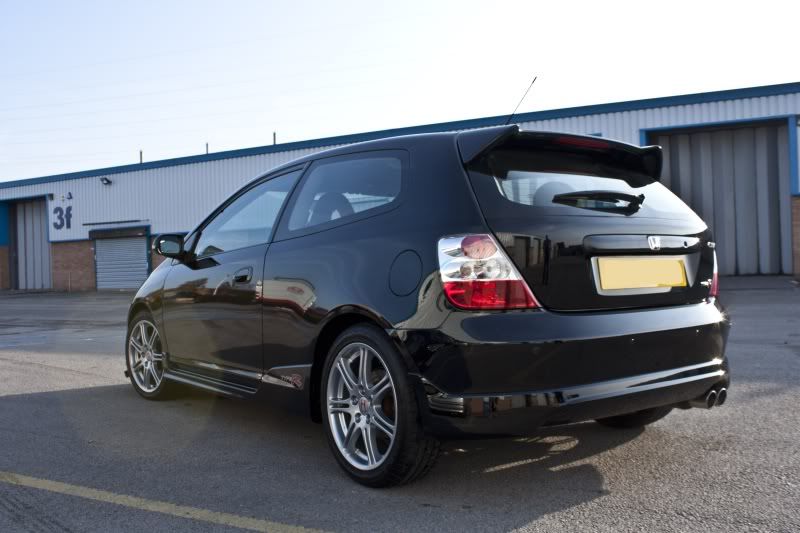
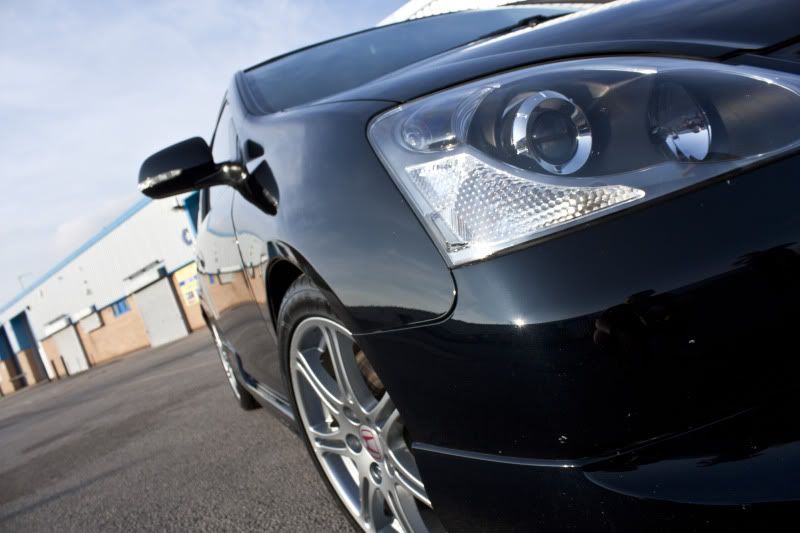
The owner of the vehicle is a member on the CTROC where I now trade. He booked it in for a Paintwork Enhancement Detail, having noticed that the paint was looking very dull and lifeless, and in the sunlight it was heavily swirled which robbed the paintwork of any depth or clarity. The car is a new acquisition to him, so he wanted me to treat it for him and get it looking the way it should.
Here are some before pictures - this isn't Detailing World, so I'll spare you the 1000 picture build up to see a clean car at the end
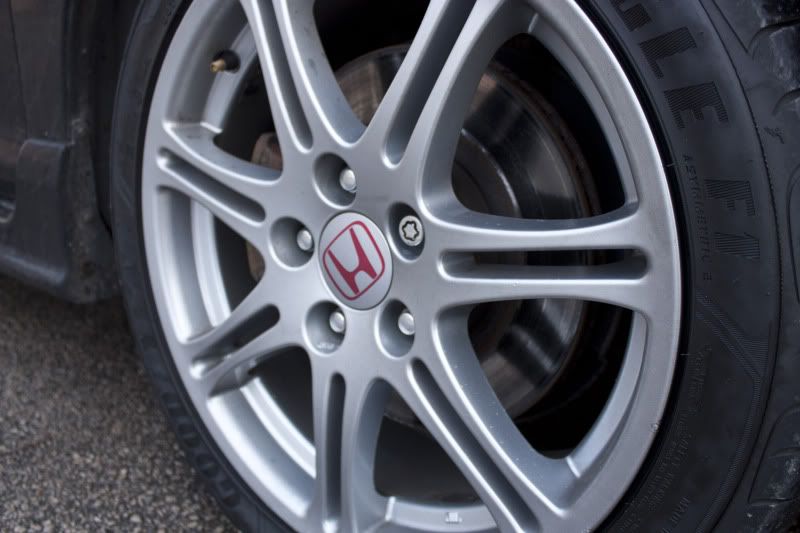
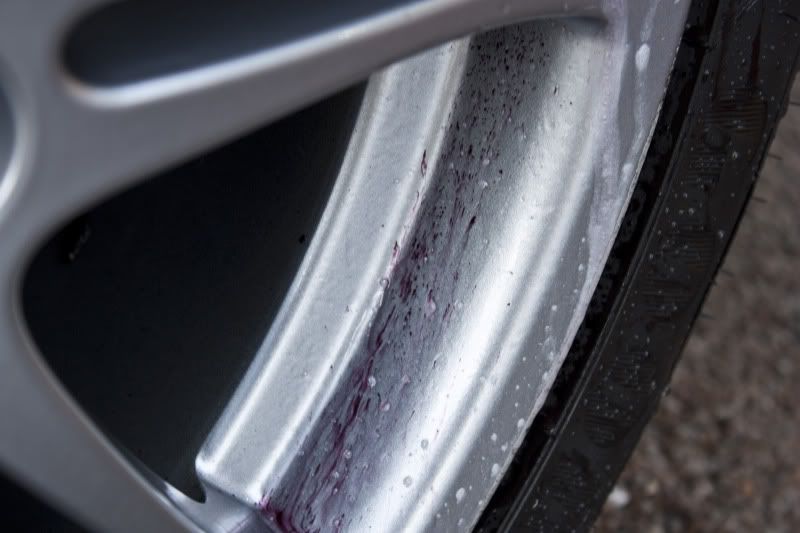
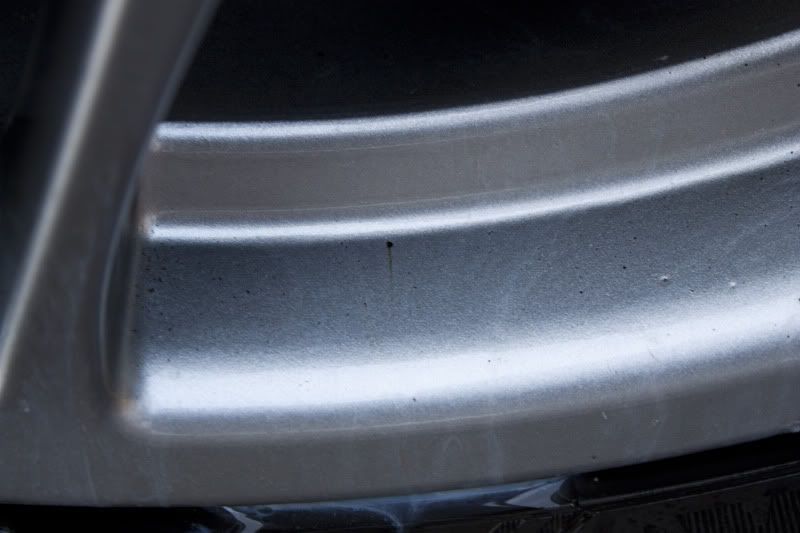
As with all my treatments, I start on the wheels and get those looking as best they can by putting them through a 3 phase wash and decontamination process. De-ironizing and de-tarring;
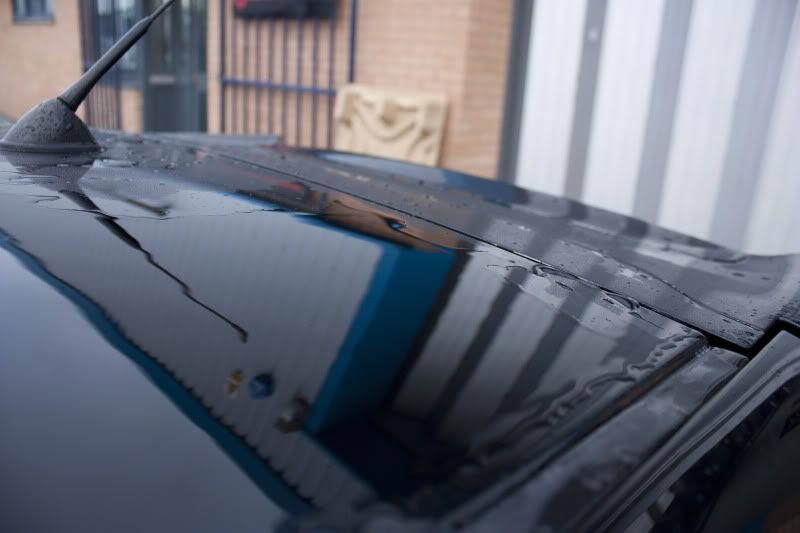
Once the wheels were completed I made a start on the bodywork, leading with a pre-wash foam to suspend and soften as much dirt as possible, followed by a 'magic wash'. You could see at this stage that the current protection last used had begun to fail in places;
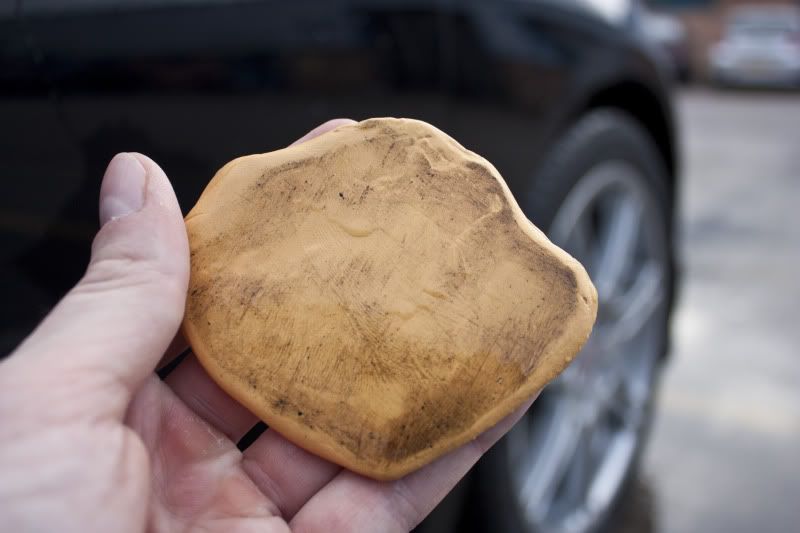
After the final rinse down, I began my decontamination processes, de-tarring, claying, and de-ironizing. It's critical that this process is adhered to and carried out correctly using the right products to ensure that a) the paintwork is as smooth as glass, and b) you don't marr the paintwork and cause further damage using the wrong materials / technique. Here's what came out of the clay;
Once that was completed I rewashed and then dried the car outside, using deep pile plush microfibre drying towels;
Once inside, I then blow dried all the panel gaps, and the areas of trim where water manages to hide itself, like under the mirrors and behind the mirror backing plate etc. This is why alot of 'clean' cars you see have that water mark / line that runs down the door. As soon as you open or shut the door water trickles out! I don't settle for any such nonsense though
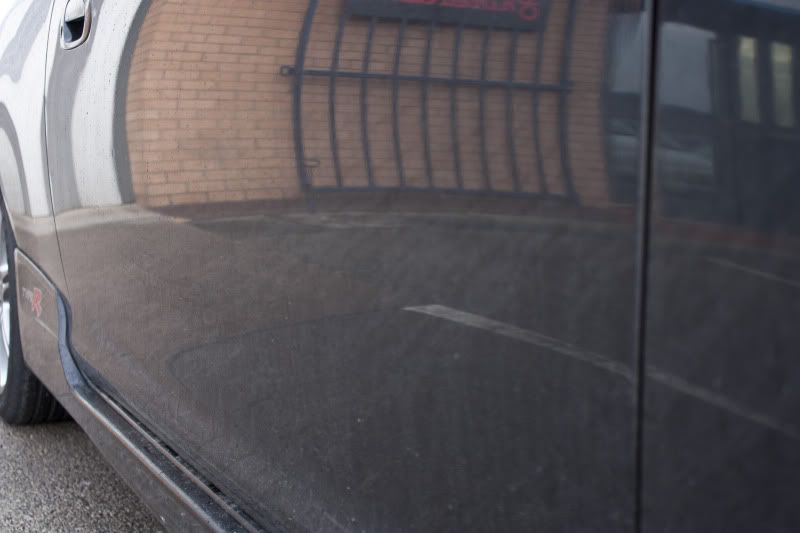
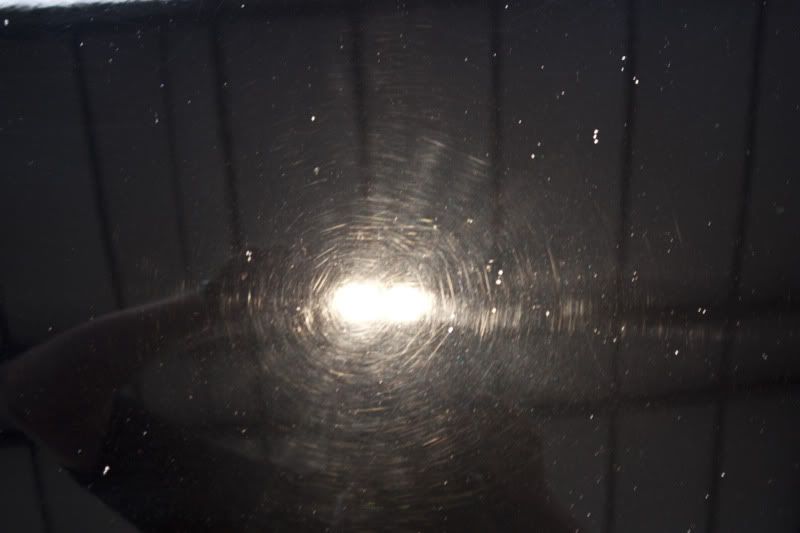
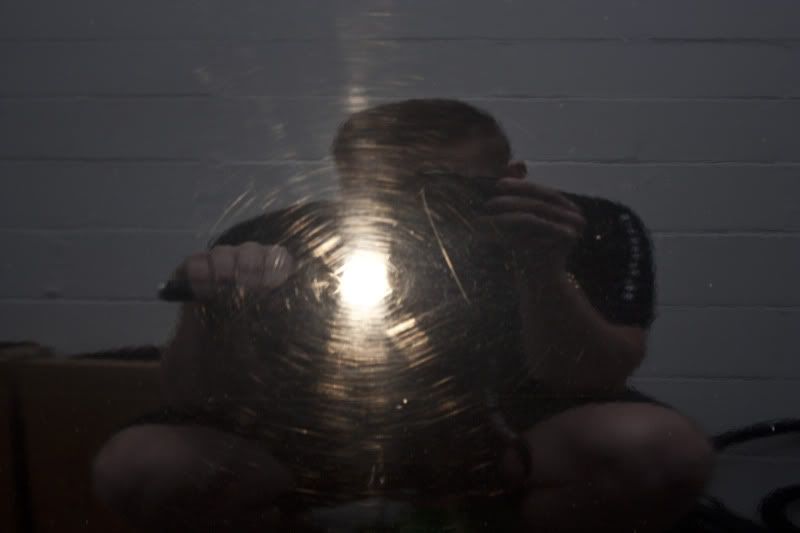
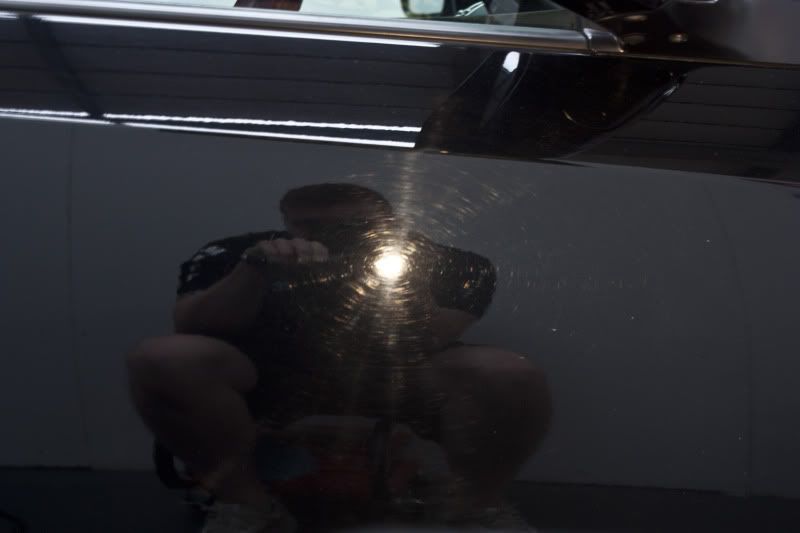
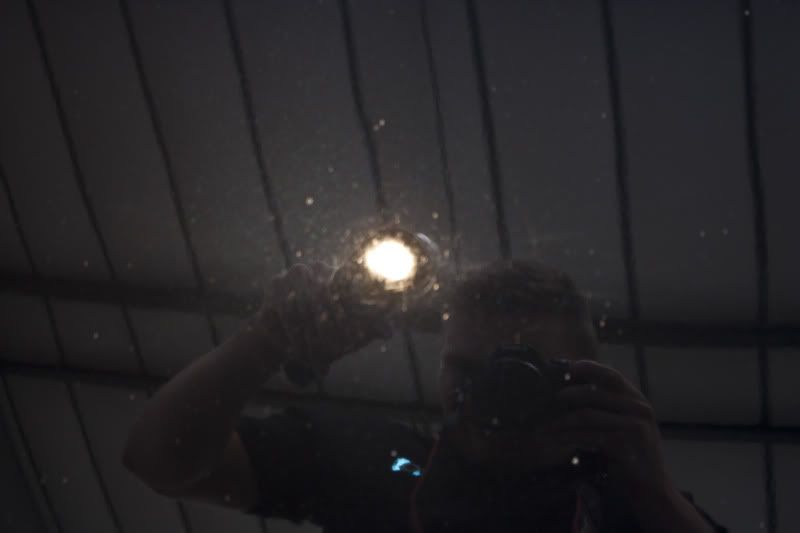
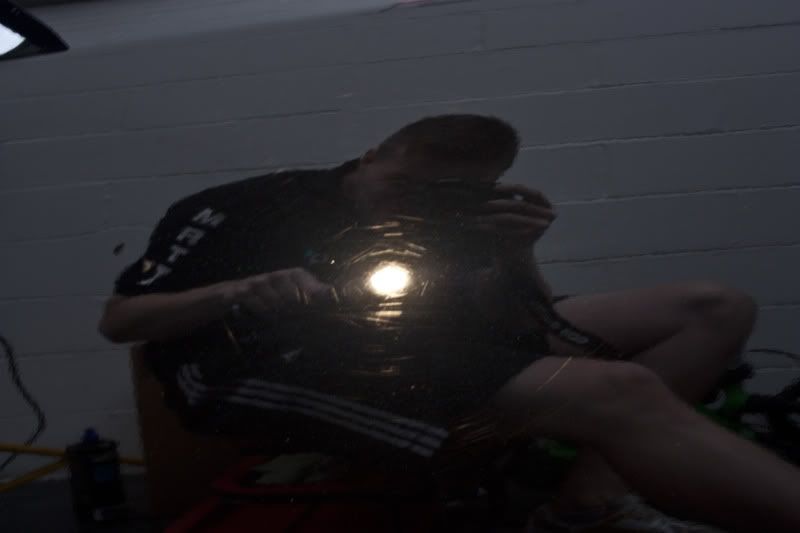
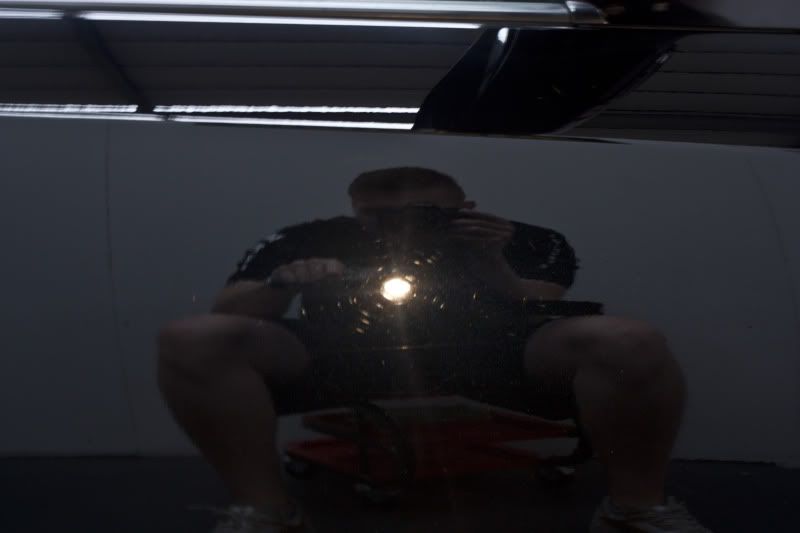
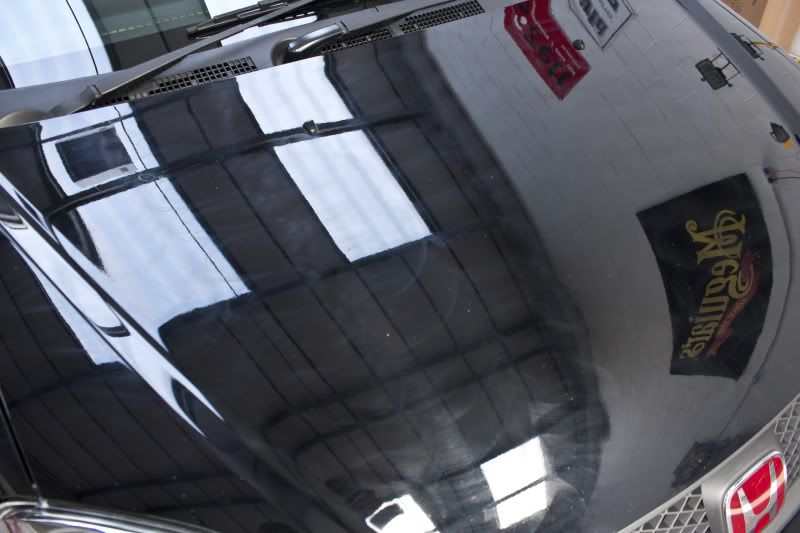
I then set about taking some pictures of the paintwork damage using the swirl spotter and this is what I found;
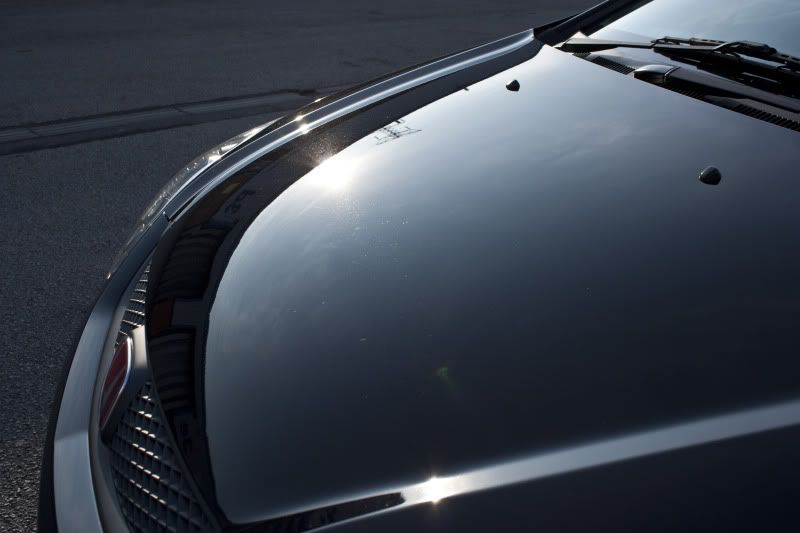
Bonnet
Passenger door
Drivers door
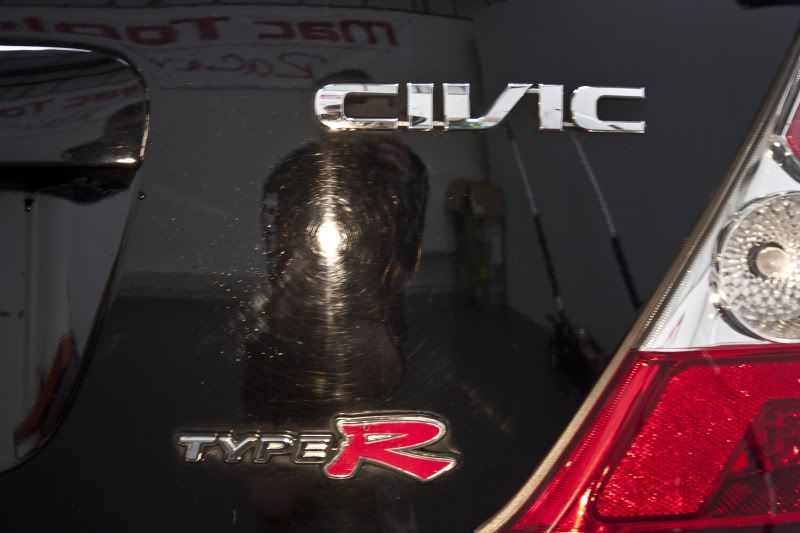
Bootlid
Once settled on a polish and pad combination, I gave the paintwork a gentle single stage polishing process using a DA which achieved what I estimate ~75-80% correction. I was hoping for more having previous experience with traditionally soft Honda paint, and as you can see by the bonnet and bootlid, the correctional level is around 90%, which is what I'd have liked all over. Owing to thin paint thickness readings on the doors however, this wasn't possible, and I think this is where experience counts. By using a more aggressive polish, it would have removed the deeper scratches, but would ultimately have created damage of its own, which would have meant another stage of polishing to refine the results - meaning more clearcoat sacrificed. Not a problem initially, but if the owner desires a further machine polish in the future to remove the inevitable lighter swirl marks general wear and tear creates, then it wouldn't have left much room for manouvre..
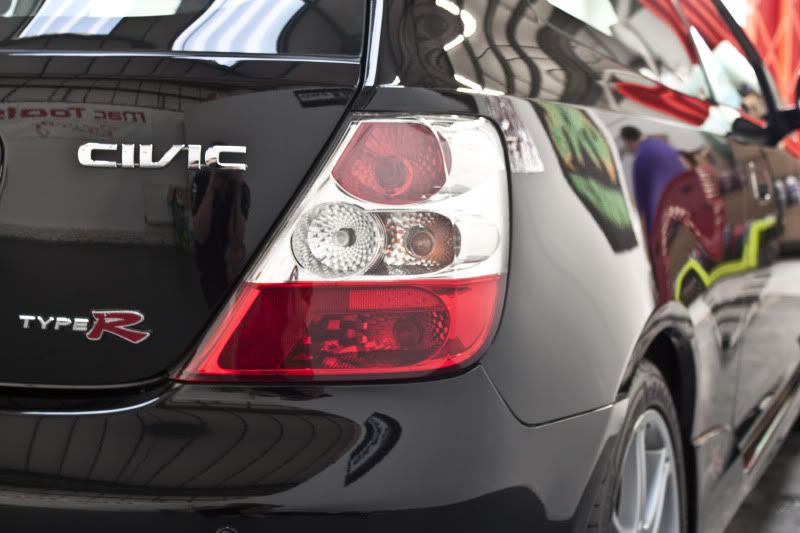
The objective of my Paintwork Enhancement Detail is to rejuvenate the paintwork, and breathe some life into it - return the depth of colour and add gloss to dull looking paint. Those same images once enhanced.
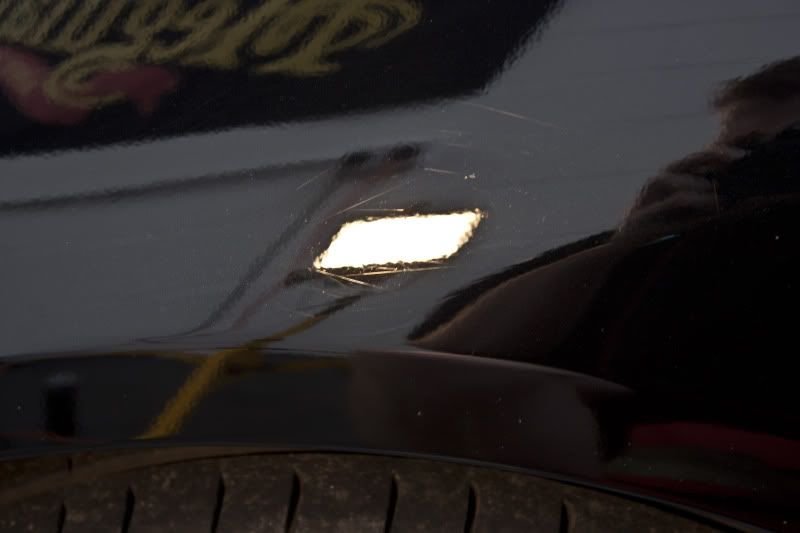
The swirl spotter is quite an honest tool, but only tells half the story. It's best to check the work under multiple light sources, and when checked under halogen, you can see the correctional level is actually exceptionally high for a single stage;
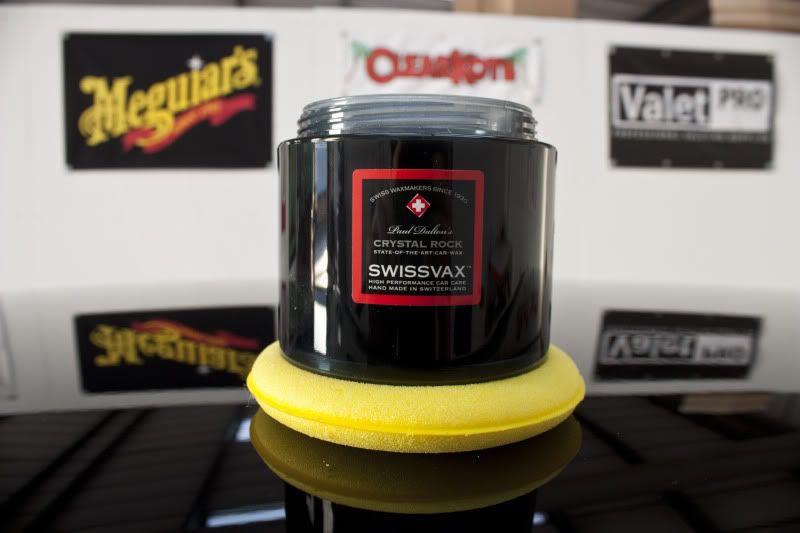
Once all the careful machine work had been carried out, it was time to cleanse the paint using Swissvax Cleaner Fluid, and prep the surface ready for protection. My client had chosed Swissvax Crystal Rock, same as Wilky had on his Evo, which I duly served up for him!
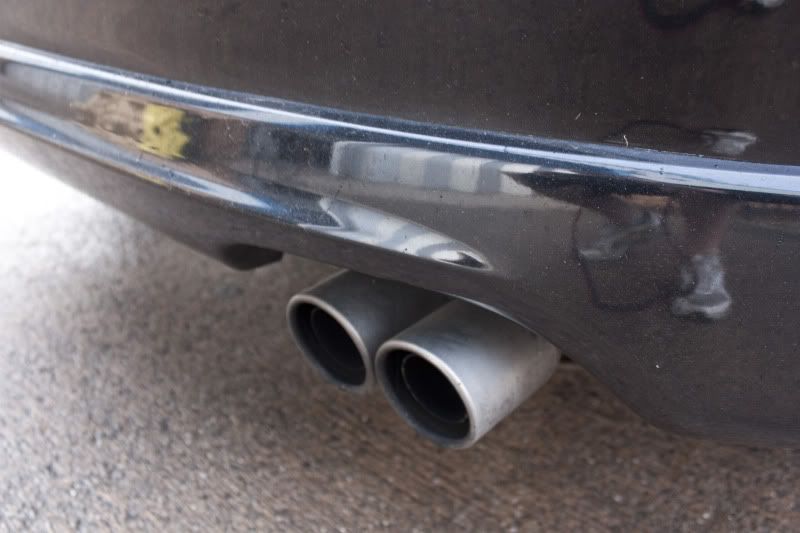
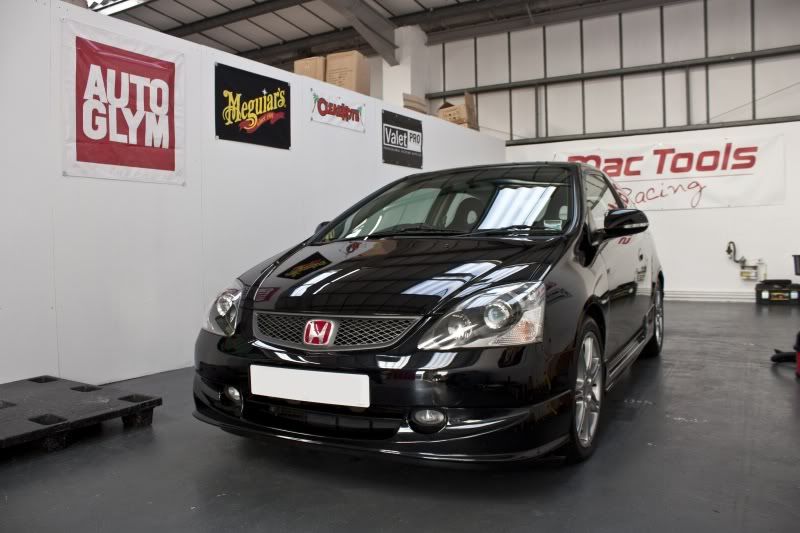
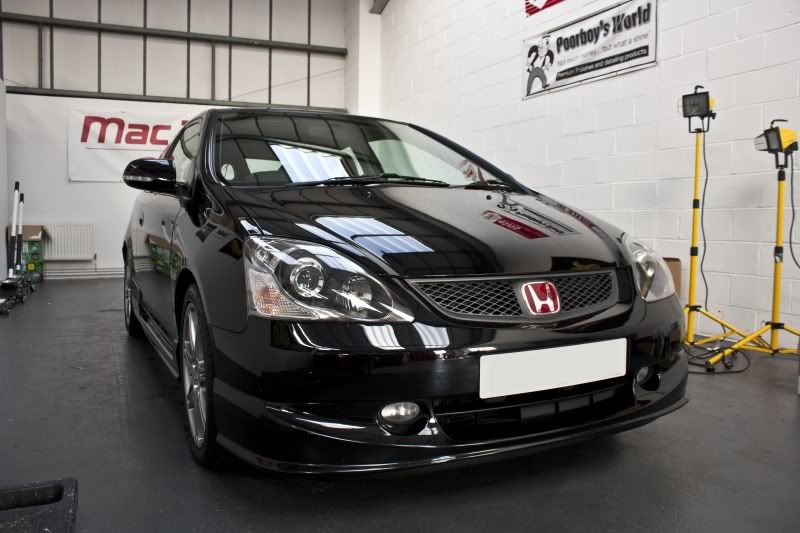
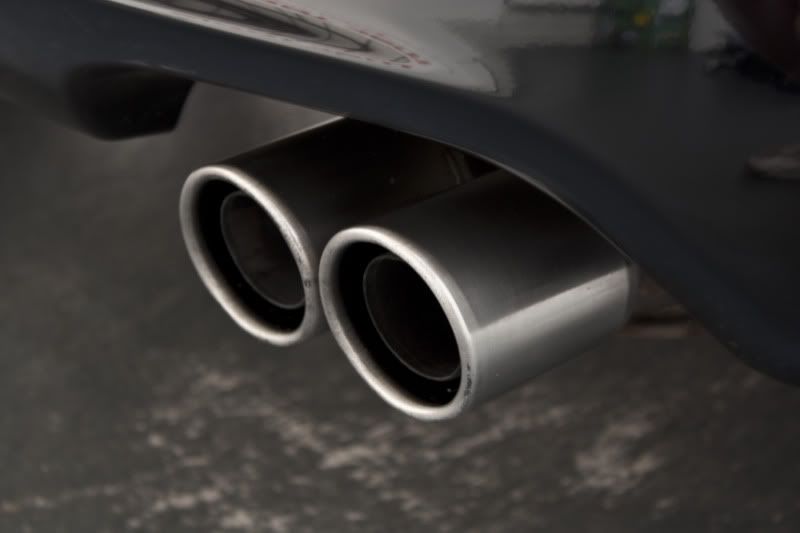
Whilst the wax was left to cure for over an hour @ 12deg, I tended to the interior, cleaned all glass and removed some rear window stickers on request. I then applied a teflon wheel wax, in the form of Swissvax Autobahn, and dressed the tyres afterwards. I also polished the tailpipes, and finally buffed the wax residue offLastly I dressed all exterior plastics using Auto Finesse Revive, which left us with the following results...
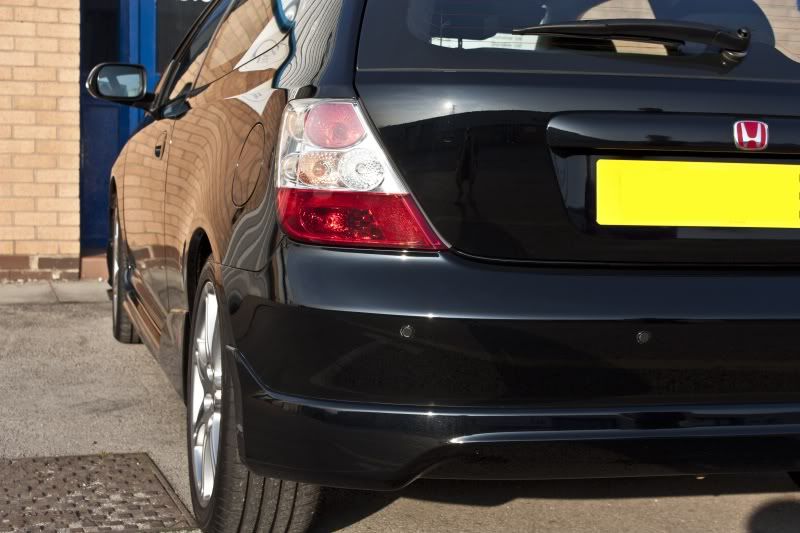
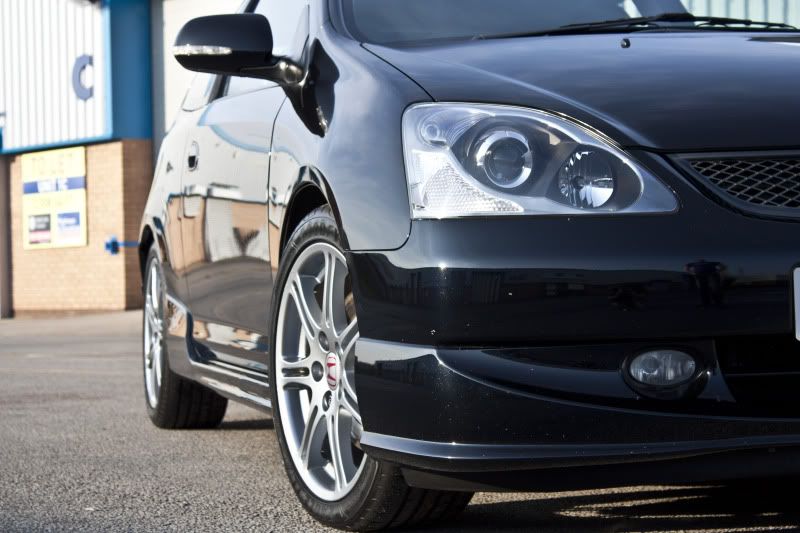
The owner having arrived whilst I was just applying the finishing touches was ideal, as it meant he could see the results you've seen above, inside the unit. With the greatest light of them all shining brightly outside, we opted to take the car outside for some final shots - I hope you enjoy the results
Bit of beading of the Rock a week later...
Don't forget to follow me on Facebook.
All the best,
Matt.


 Reply With Quote