


I was originally going to do this as a "how to", but I thought that might be a bit simplistic, as I'm fairly sure most of you petrol heads on here already (or should already) know a bit about cleaning your pride and joy.
So I have turned it into some sort of complete washing guide for your car, including trim and wheels. If you have any questions, please ask..
Equipment required/recommended:
* Lambswool washmitt
* Wheel brush (large/small depending on wheel type (spoke layout etc)
* Detailing brushes (or just some old paint brushes will do)
* 2 buckets
* Drying towel (preferably a 1-pass type)
* Microfibre towel
* Pressure washer
* PH Neutral shampoo (can include wax aswell)
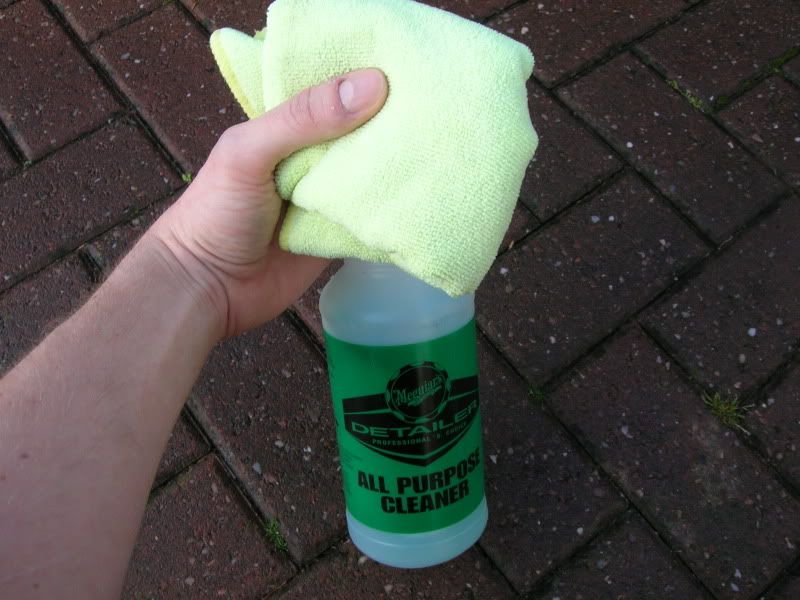
* All Purpose Cleaner
* Non-Acidic wheel cleaner
* Trim restoror
Right then, lets get down to business.
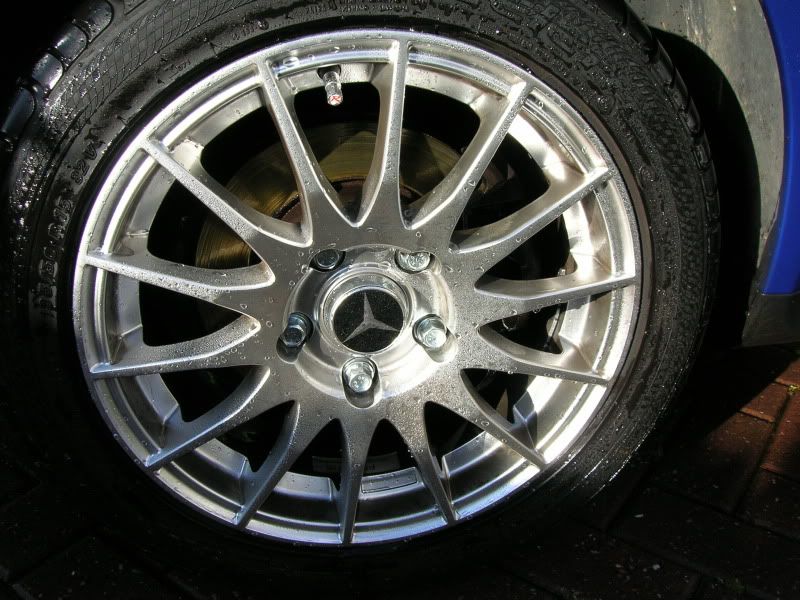
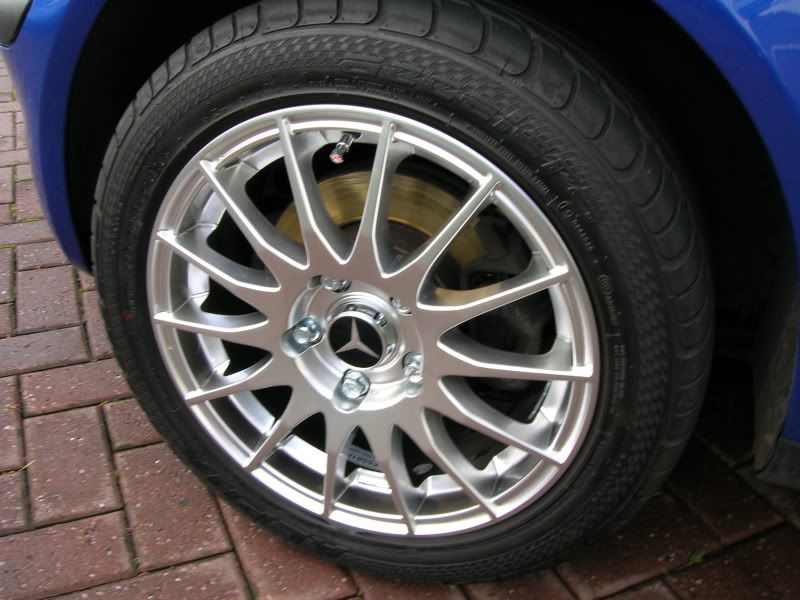
Start by rinsing the wheels down as best you can to remove as much of the embedded dirt and brake dust as possible.
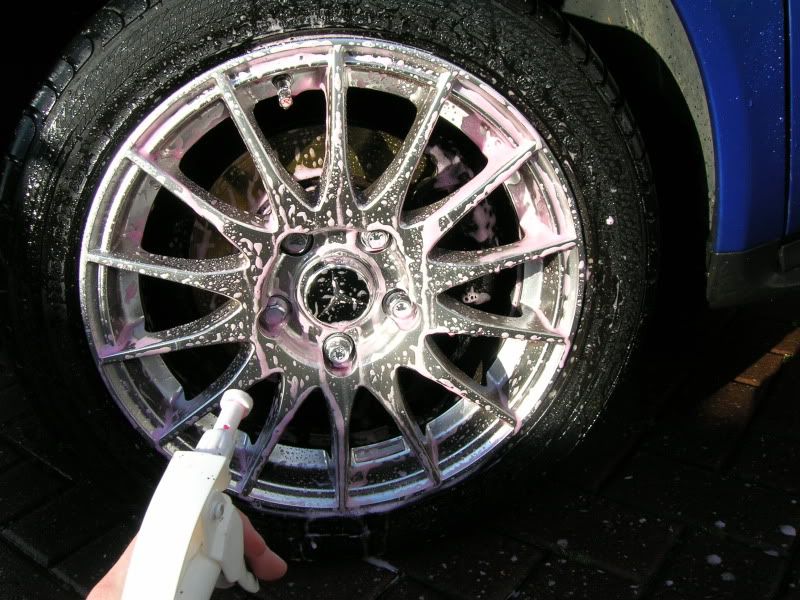
Using your non-acidic wheel cleaner, spray it all over the wheels and allow to dwell for a couple of minutes.
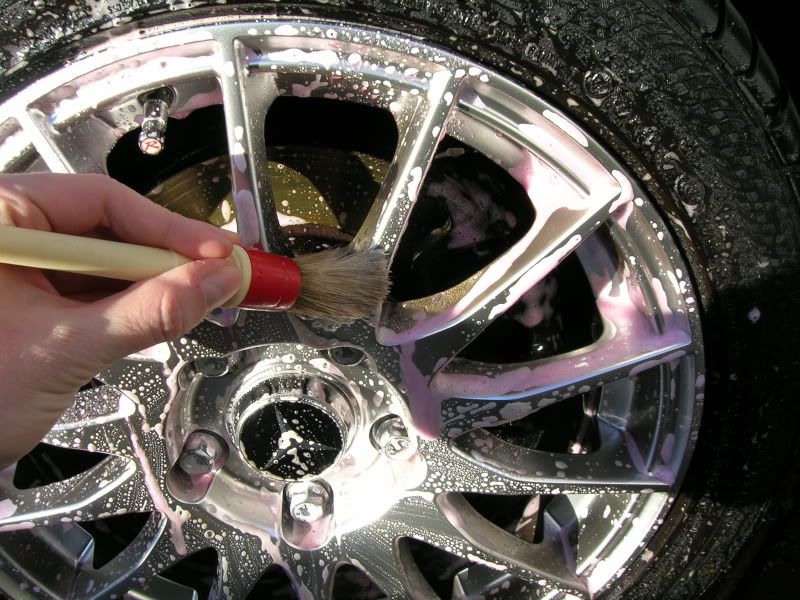
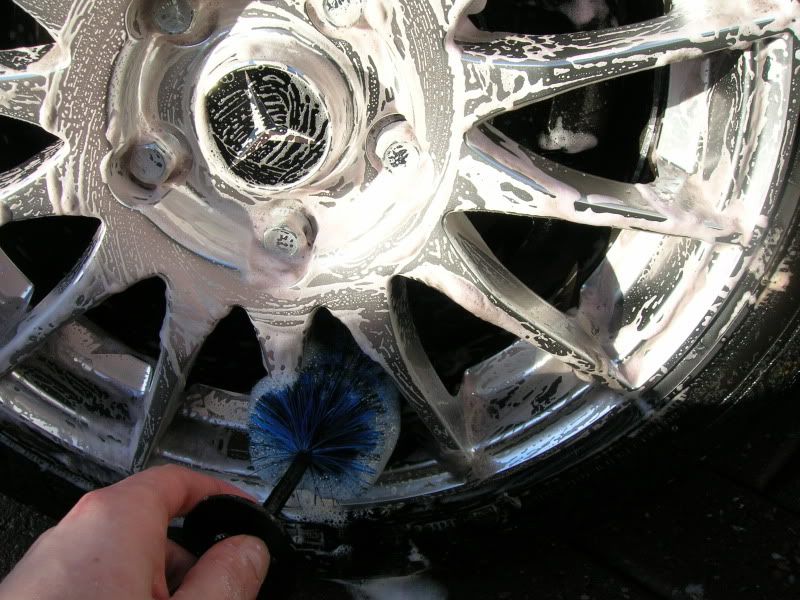
Agitate the wheel cleaner using a variety of brushes..
Then rinse it off and repeat for each wheel.
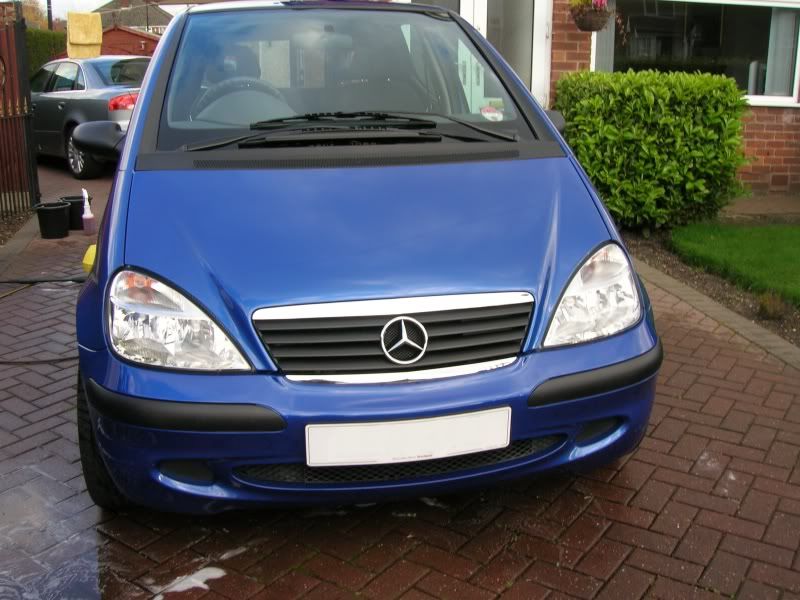
After you've done the wheels you're ready to start with a dirty car
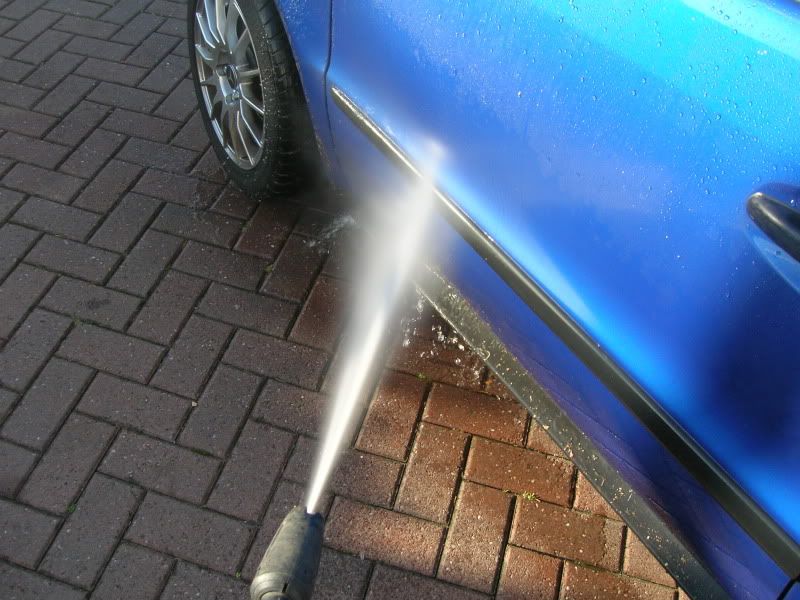
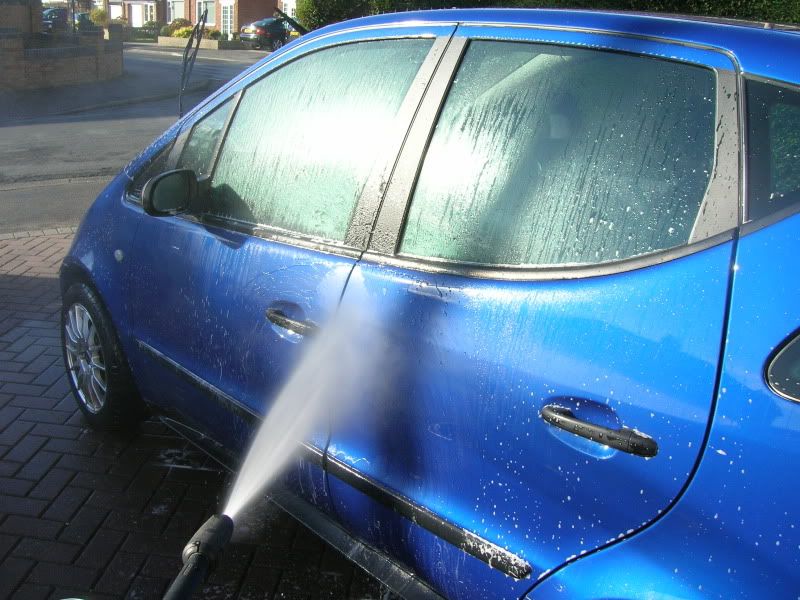
Rinse it down as best you can, paying particular attention to the low sills and wheel arches as these always get the dirtiest..
After you've rinsed it all down, you're ready for washing. It's worth noting at this stage that if the car is pretty filthy, it's worth snow foaming it to help loosen as much dirt as possible and then rinse it off.
This car wasn't mega dirty so I jumped straight to the wash phase..
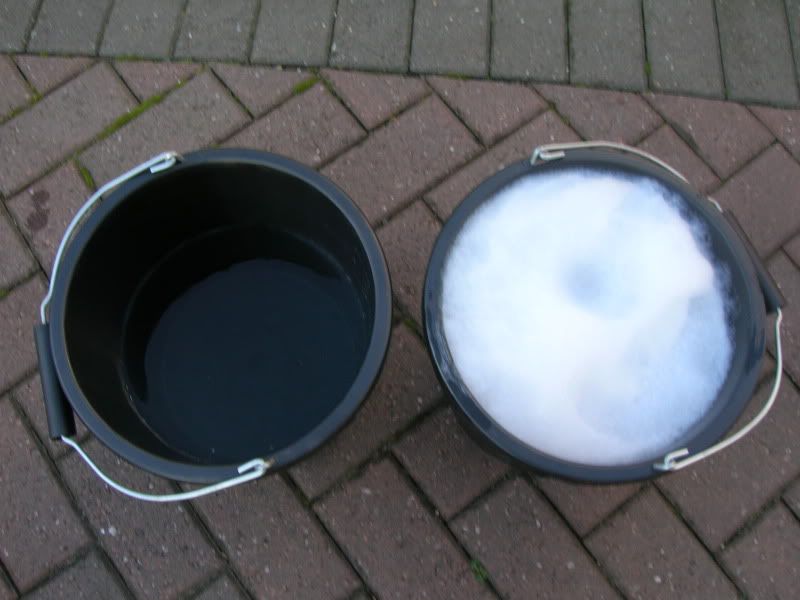
So 2 buckets, one with water and the other with your shampoo.
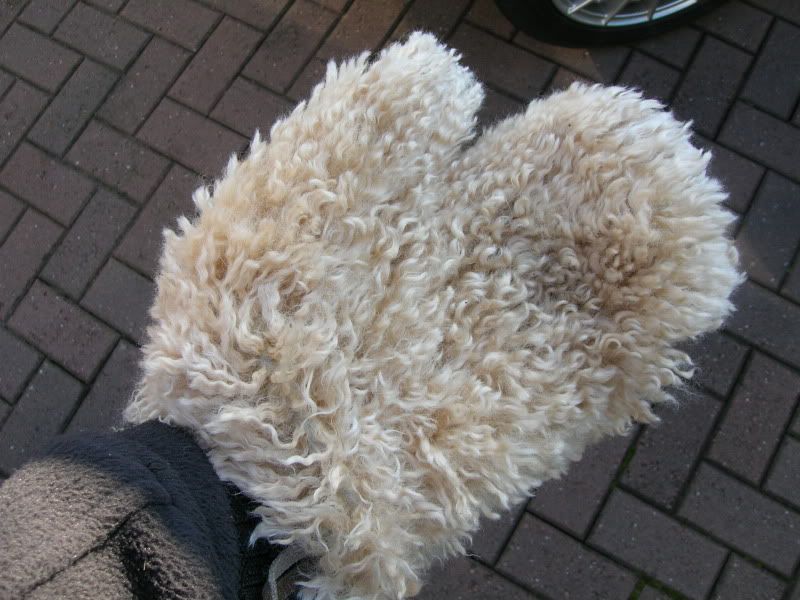
Plush lambswool washmitt.
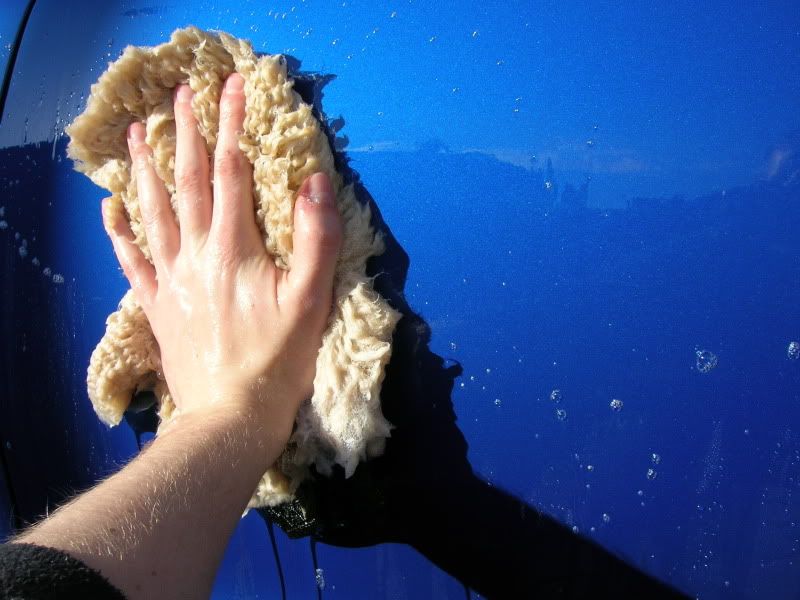
Go into the shampoo bucket first, then start cleaning the car. Wash in a left to right motion only, as this will help prevent swirl marks, and also ensures you wash every bit of the panel..
Do one panel, then cleanse the mitt in the water bucket.
After you've washed a panel, then rinsed the mitt, you can go back to the shampoo bucket again and repeat the process for the next panel. Repeat this process for every panel on the car, doing one at a time. This is called the "2 bucket wash method".
It should take you about 15mins to get around the whole car, so I clean one side and give it a light rinse so there's no streaks and move onto the next side. I'll then give it a thorough rinse down once I've done both sides of the car.
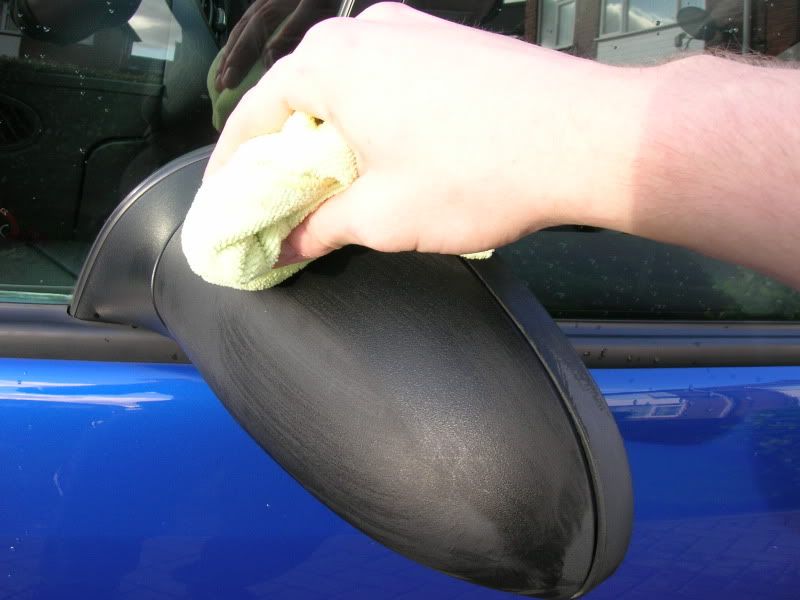
I don't know where else to fit this in, but wanted to show it. I do this on each side prior to my final rinse down.. load a microfibre with APC and set about cleaning the exterior trim.
The finally give it a thorough rinse down!
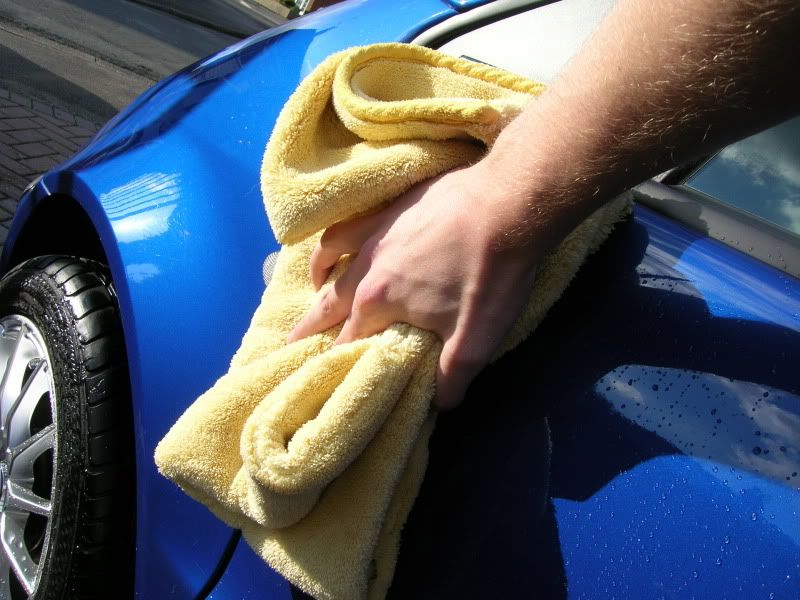
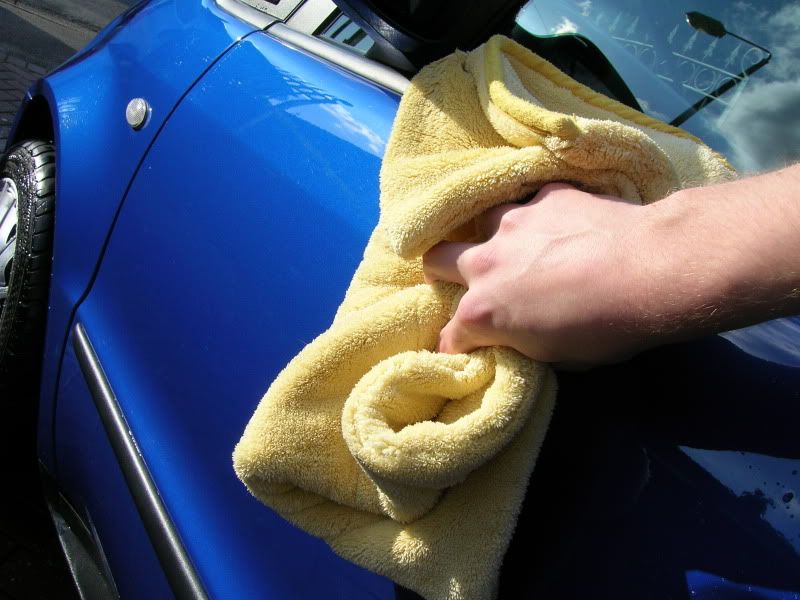
You're now ready for drying. It's absolutely critical to dry the car properly for 2 reasons. The main being that incorrect drying or drying with the wrong type of towel can inflict damage to your paint (swirls etc). The second being so you don't get water marks in your paintwork which are difficult to remove at a later date.
So, you will need a thick, one pass drying towel (fold it over).. and again using a continuous motion over the panel from left to right, carefully wipe the water down.
As the towel gets wetter, unfold the towel to reveal a dry part and continue. If you have a large towel you will be able to dry a whole car with one towel, but if you use smaller ones you'll need two.
The wash is now complete! and the car ready for driving again
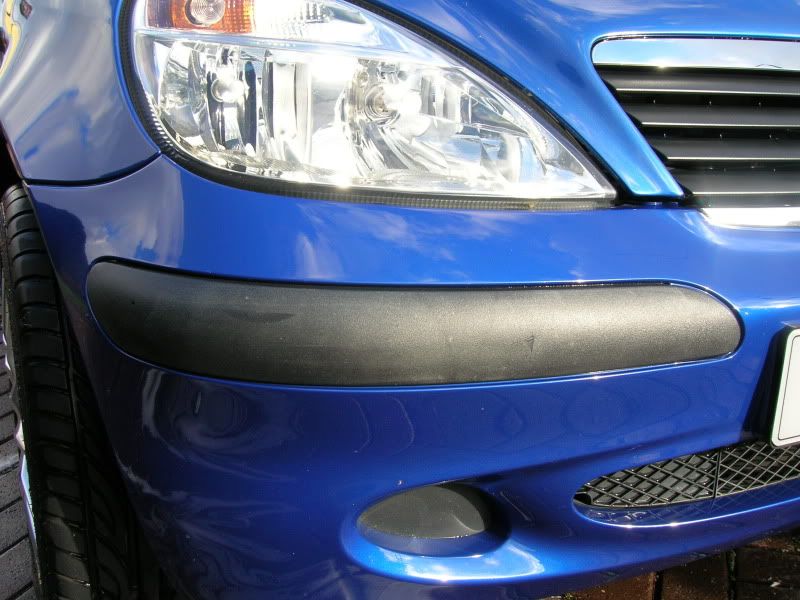
But, if your trim is looking worse for wear or hasn't been done for a while, read on..... because you're now ready to dress the trim, tyres and any window rubbers etc you might want to do..
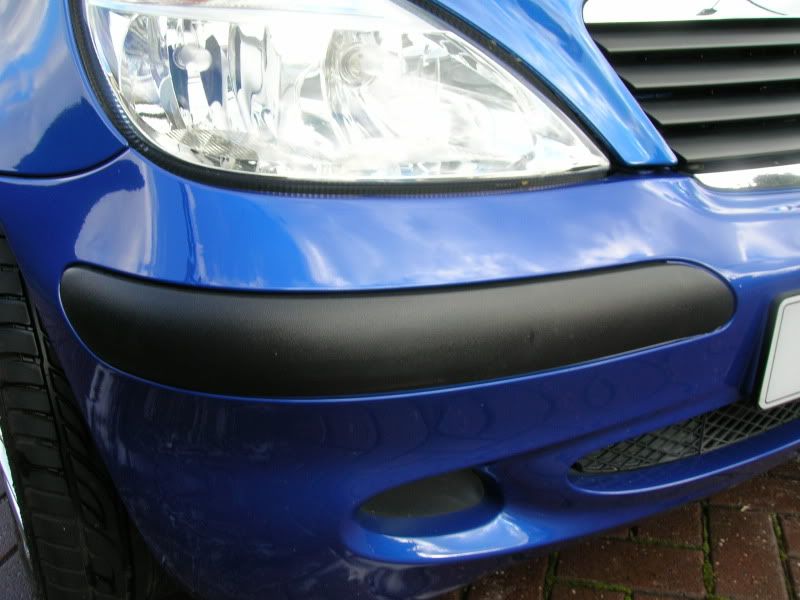
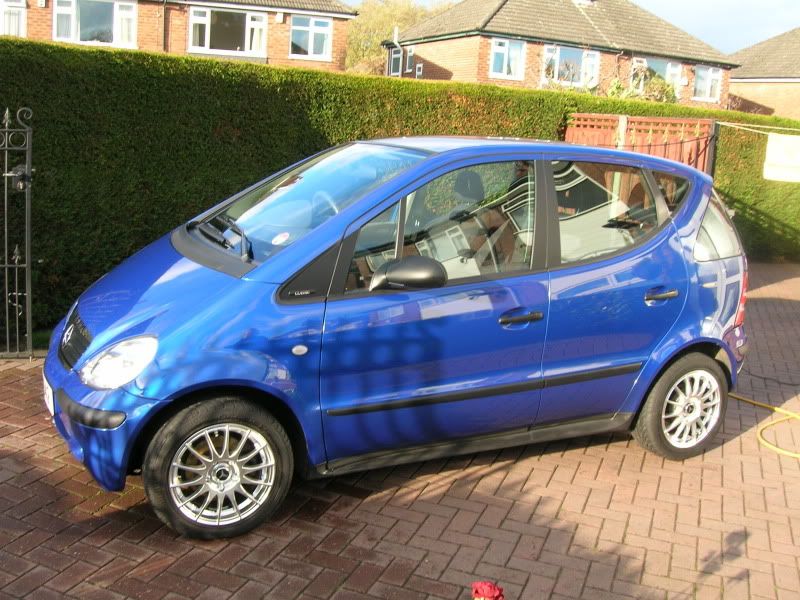
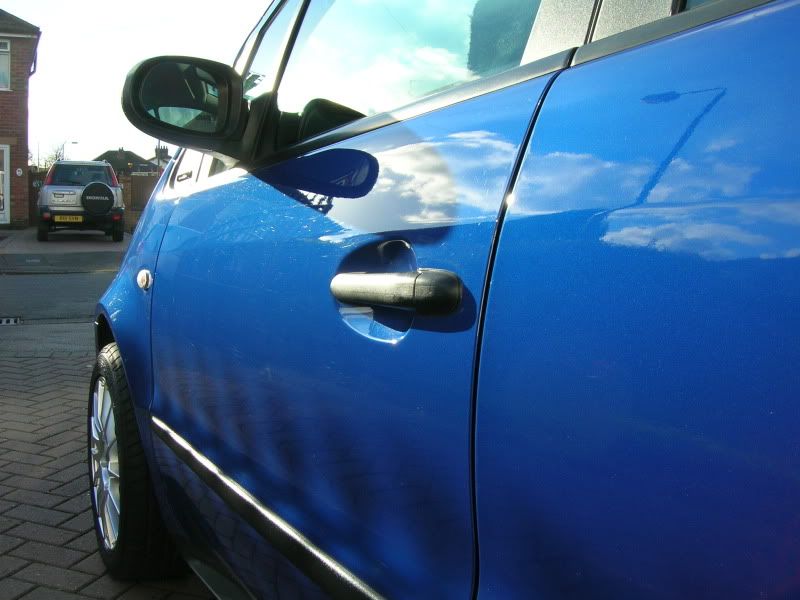
Use whichever trim restorer you like and follow the instructions on the label. I personally use Valet-Pro Dionysus Trim Glitz. It only came out about 6 weeks ago, and I have found this to be far superior to anything else on the market!! I applied it with a foam applicator and these were the results:
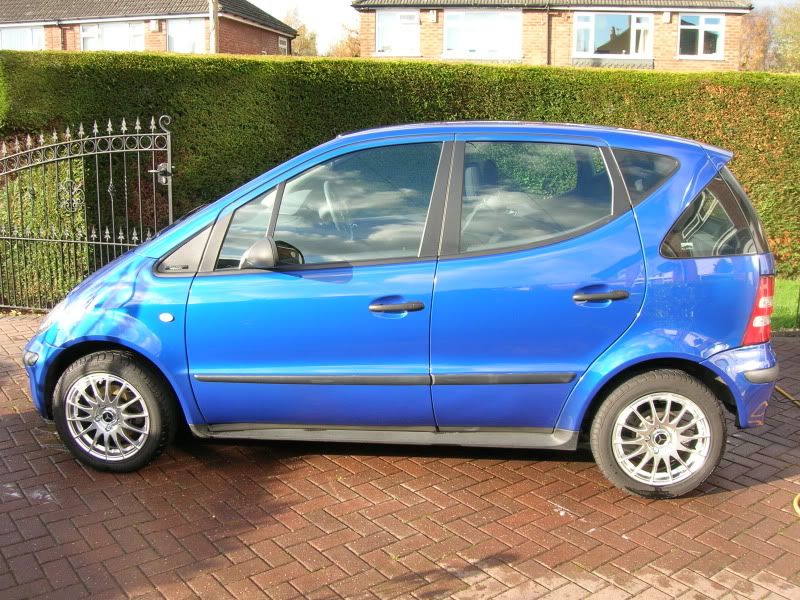
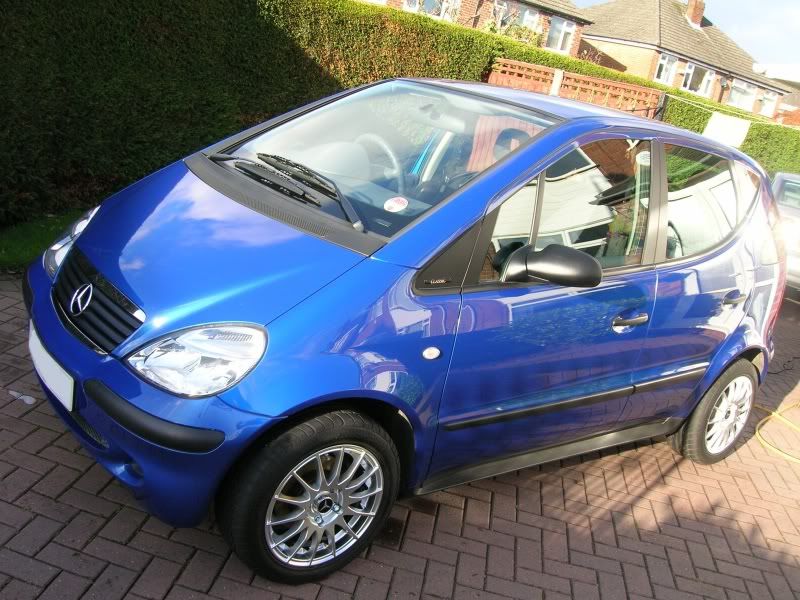
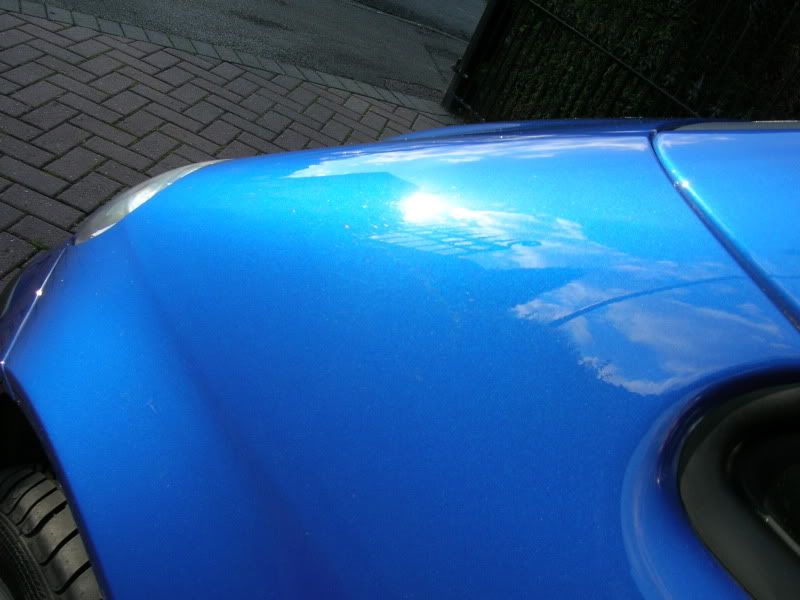
This is now the finished article, with everything cleaned and restored (incl. tyres dressed with some matte look dressing).. Enjoy
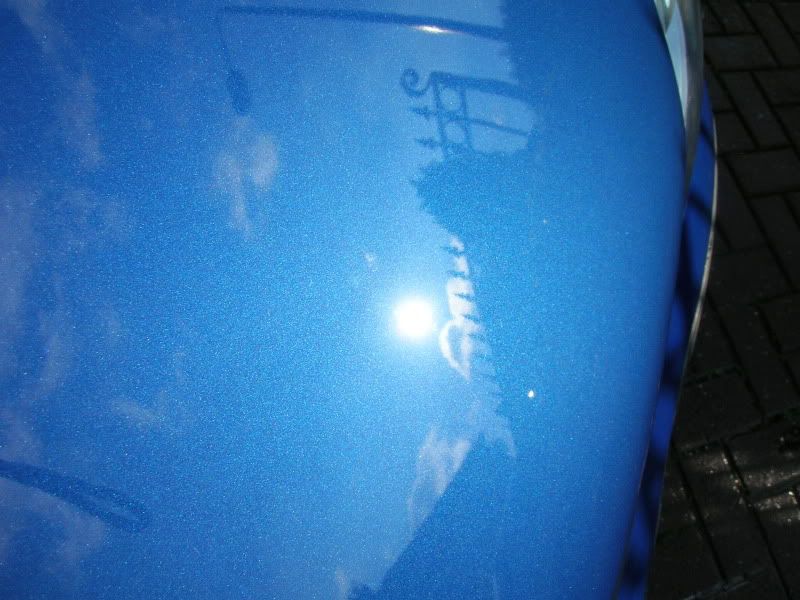
The car also had some correction done by myself in the summer this year
Thanks for reading, and I hope you find this guide useful. You don't have to follow it to the letter, I mean you could start with wheels or end with them.
If you have any questions on products or methods, then post below or PM me.
Matt.


 Reply With Quote