


 Reply With Quote
Looks good buddy nice work


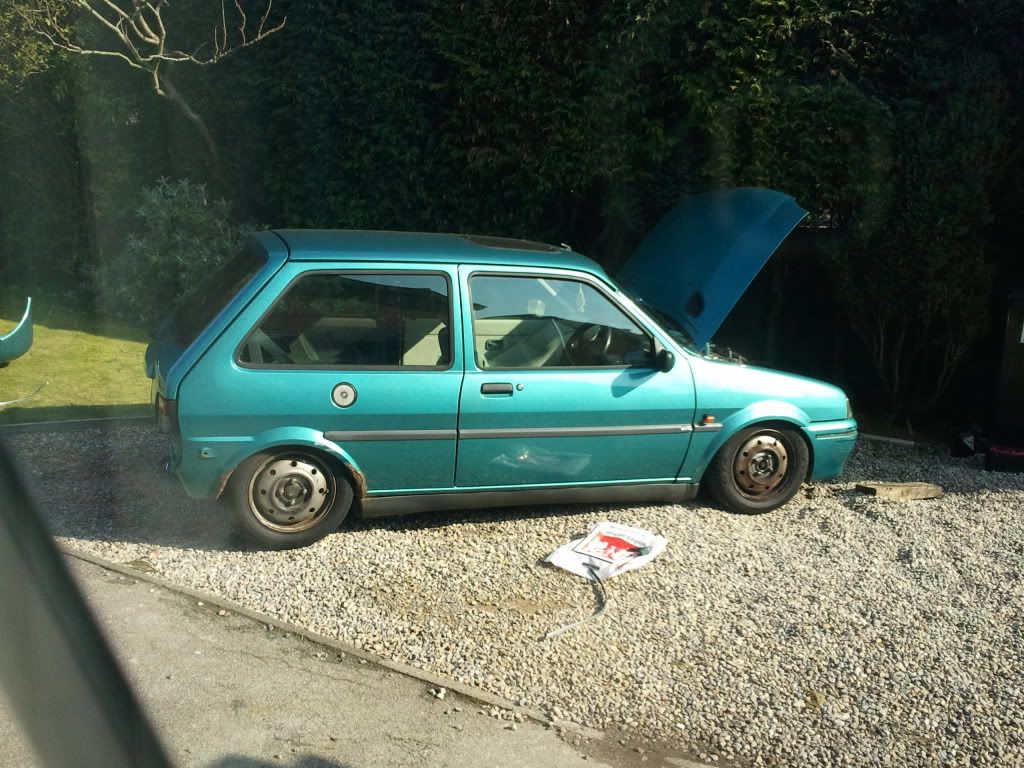
Evening! Haven't been on here for like a year or so.
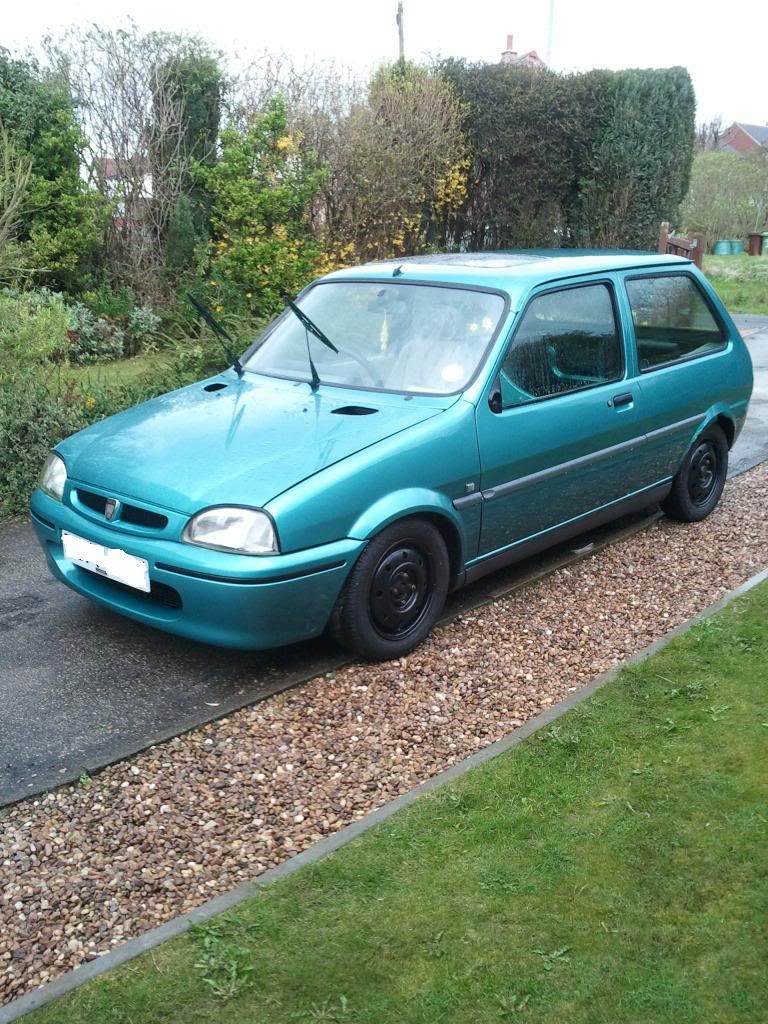
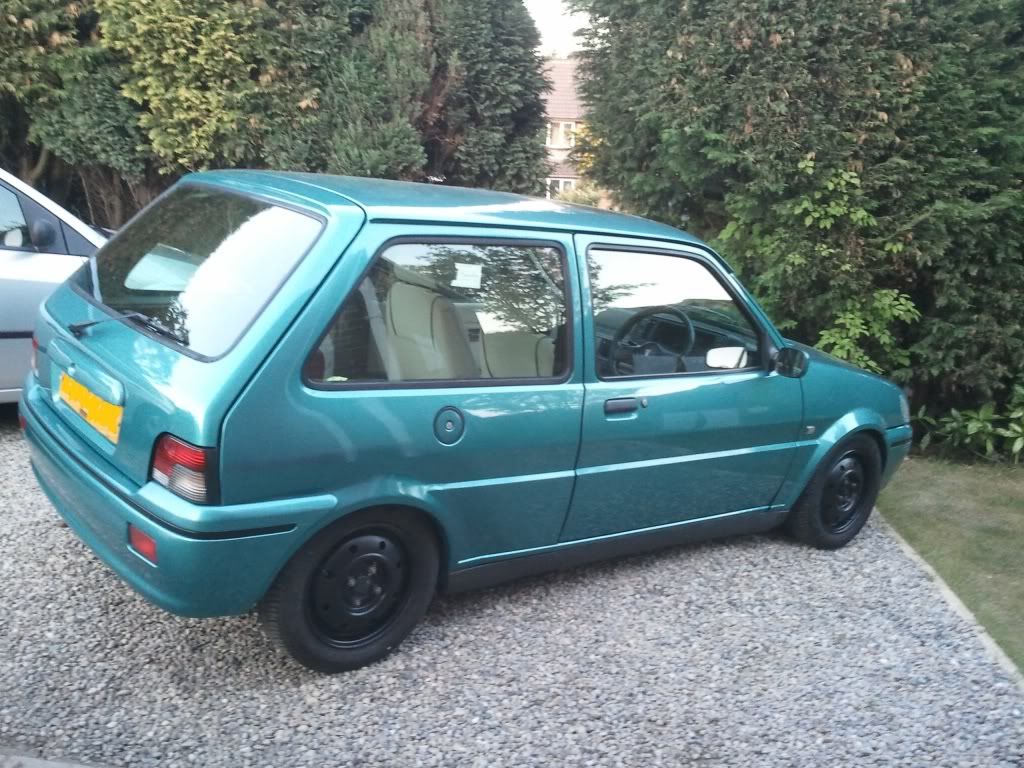
Had my Punto which I sold ages ago, got a golf which I didn't like, then had my Focus diesel which I got a bit bored of and now onto a good old Rover 111 Ascot !
I wanted it as a project just to mess around with, knowing that engine conversions are pretty simple on them (lots of stuff is interchangeable from other rovers)
Anyway I'll copy and paste my journal from another forum..
I've already done a fair bit to it so far so i'll start with what it first looked like.
First I let all the fluid out which slammed my ride br0!
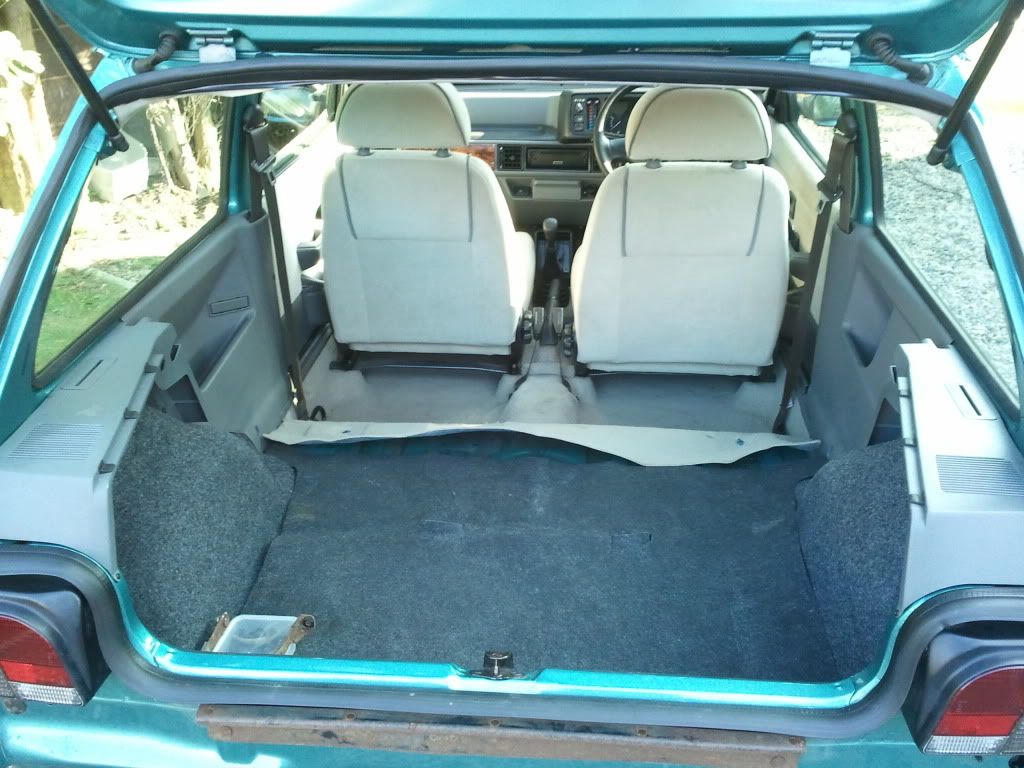
I then removed my rear seats, due to nature of my biking sport (trials biking) it requires me to travel to difference places often so needed the room.
This was getting the rear hydrocans out for indivualising it
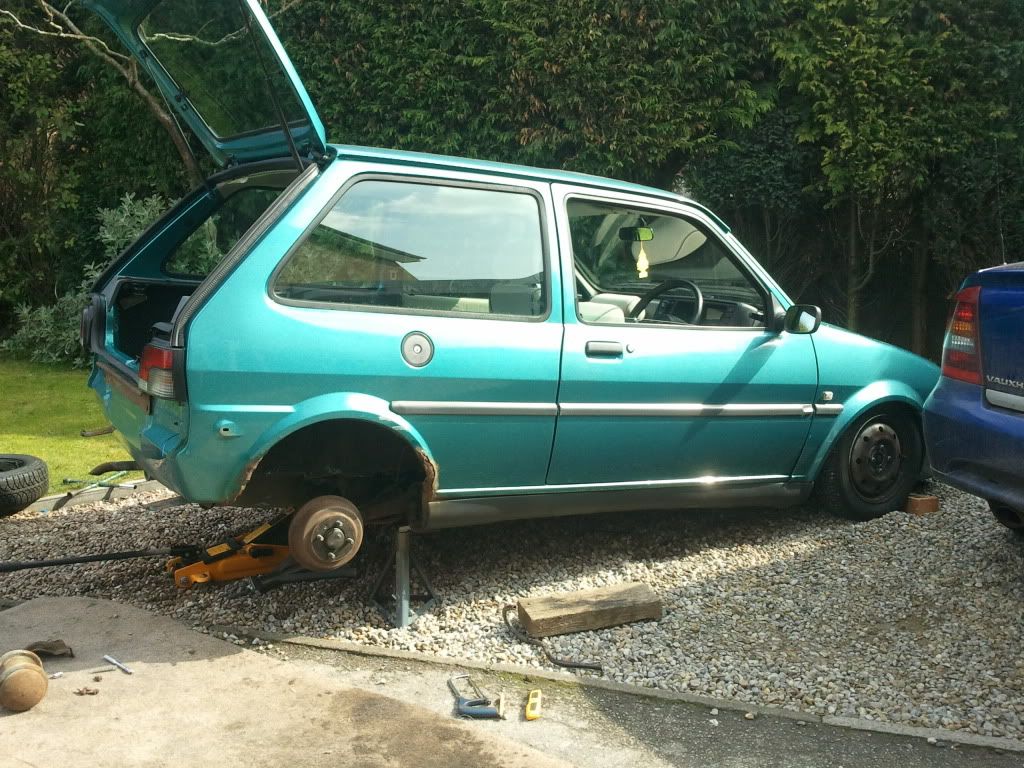
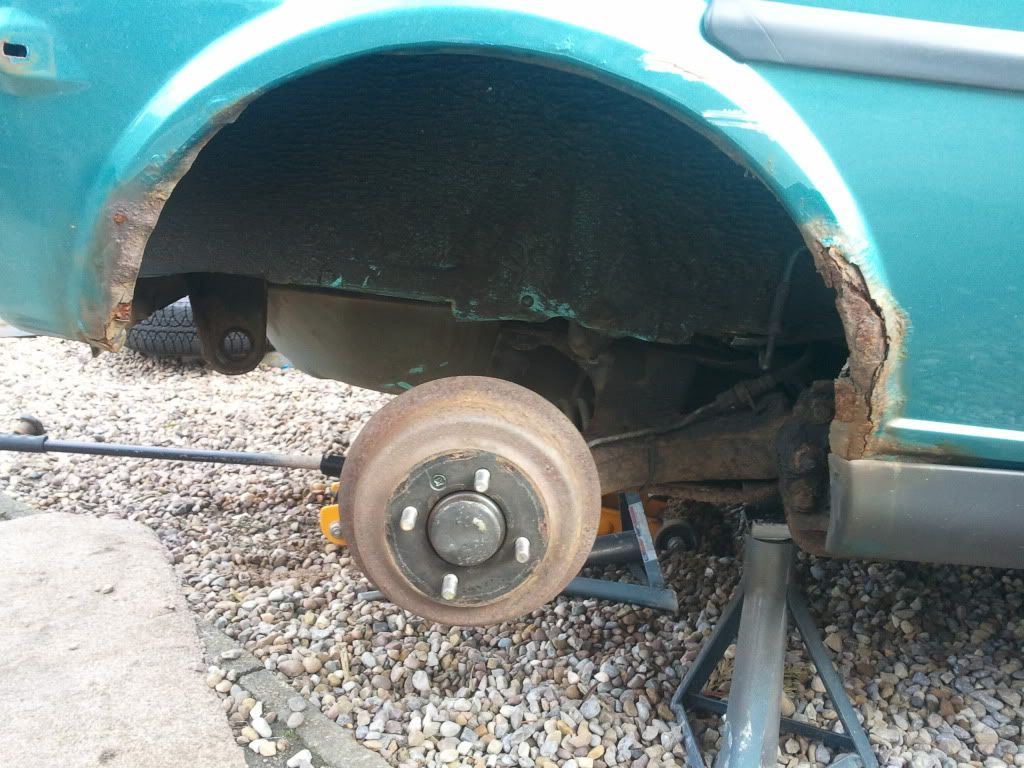
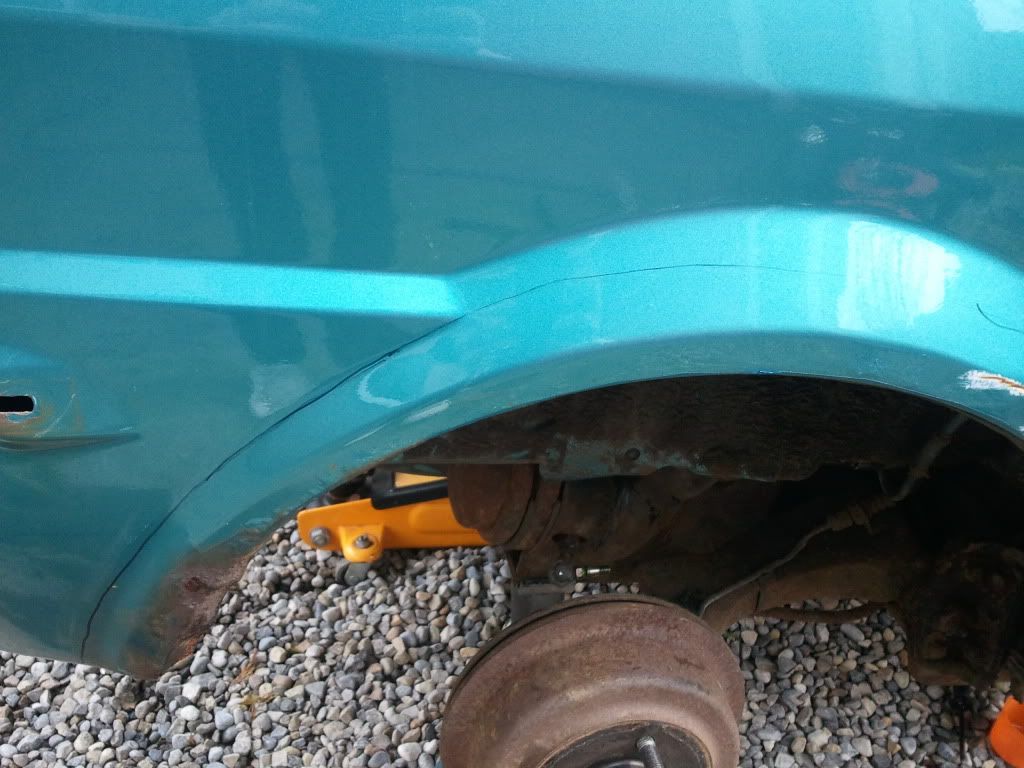
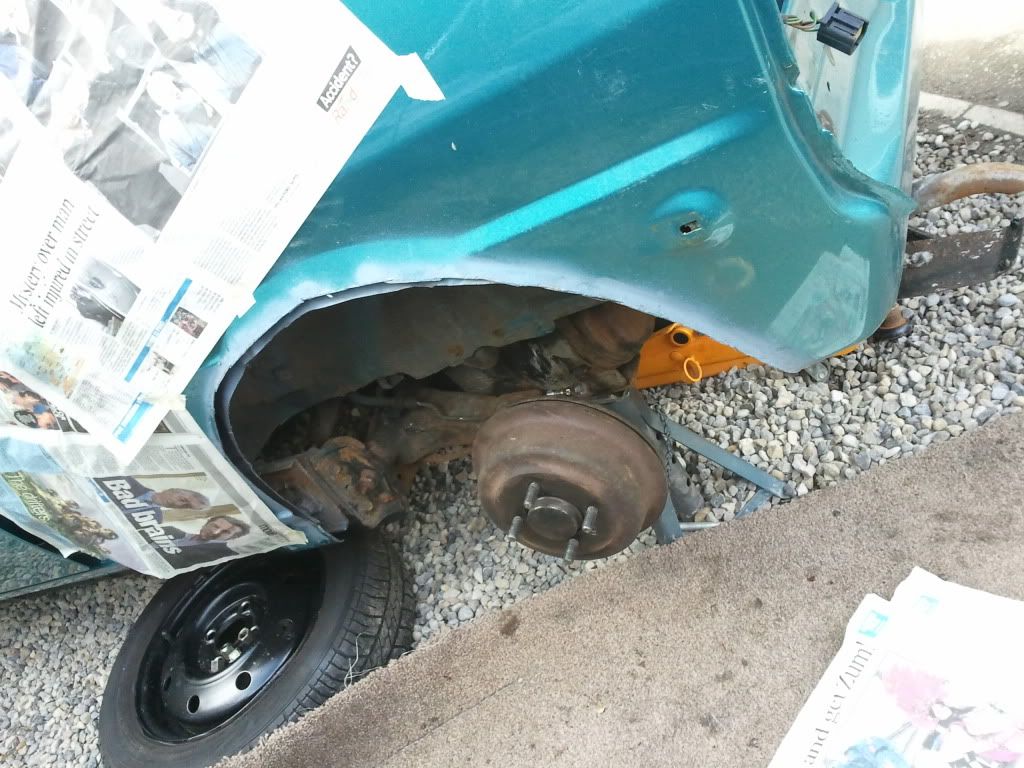
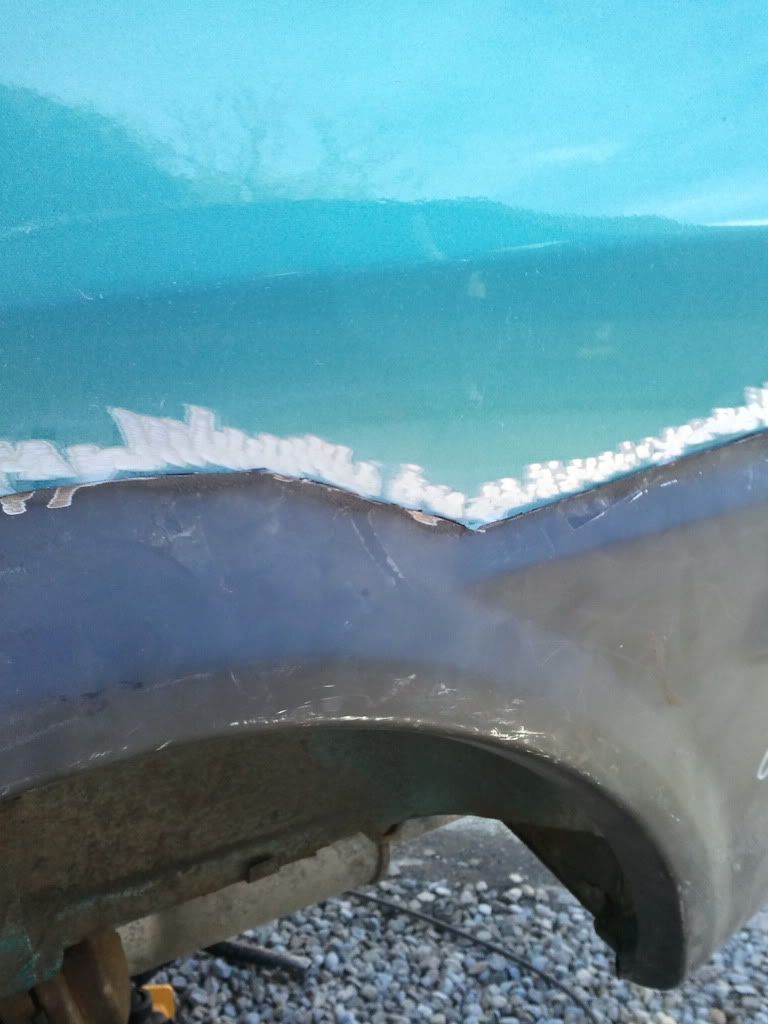
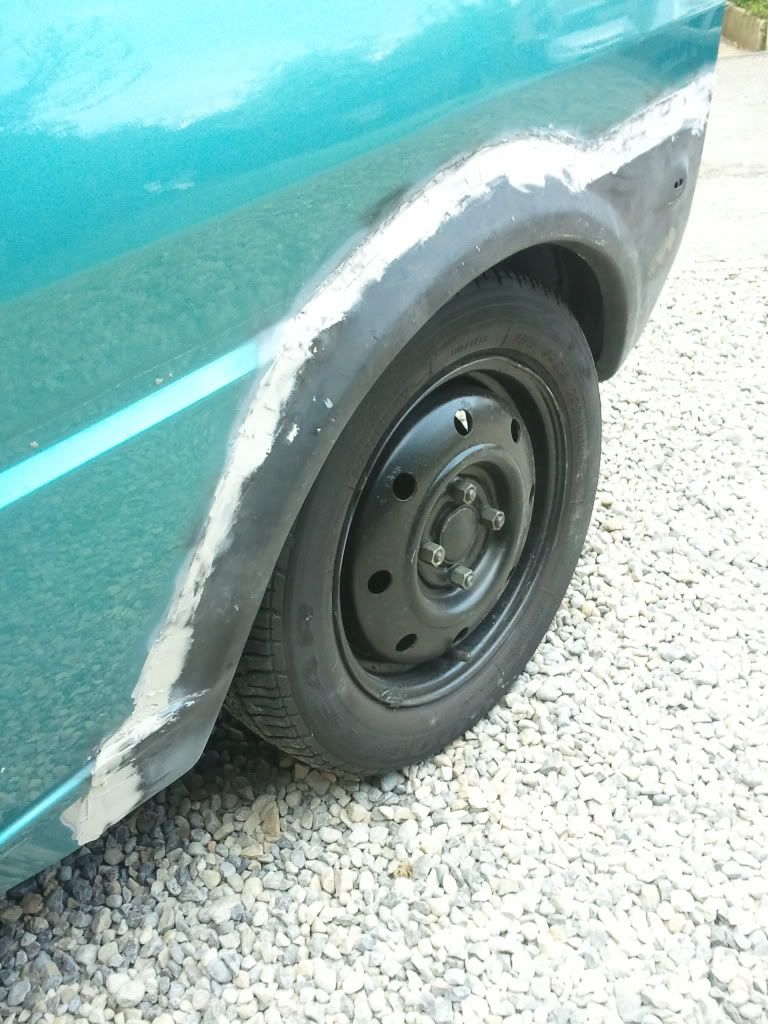
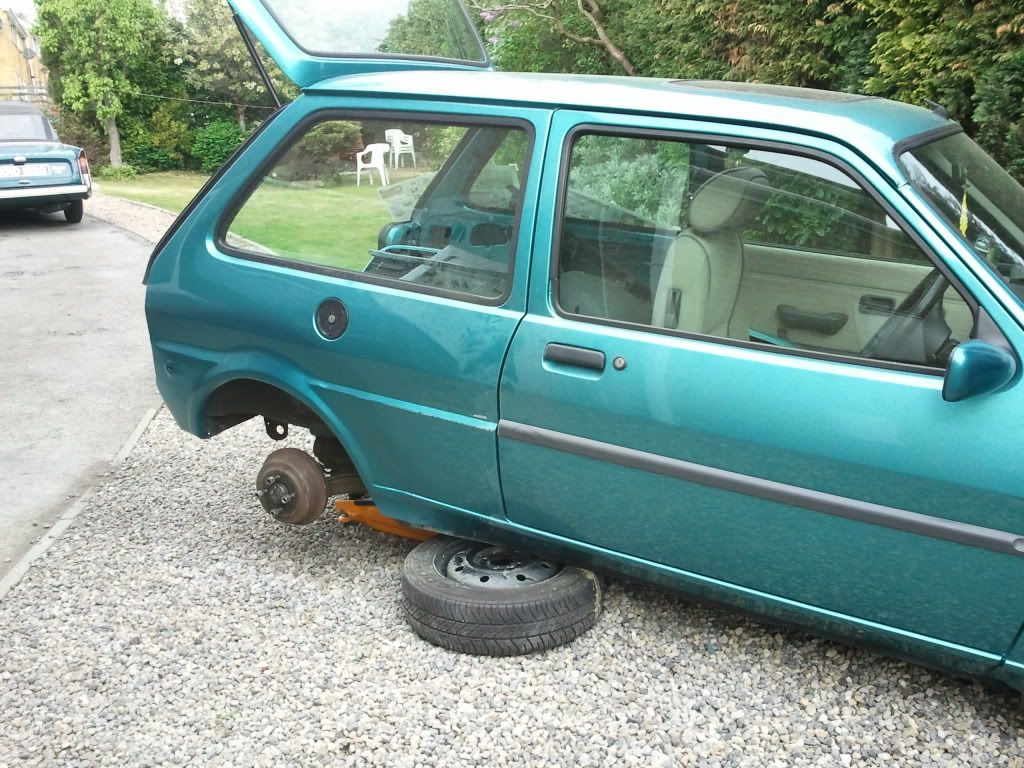
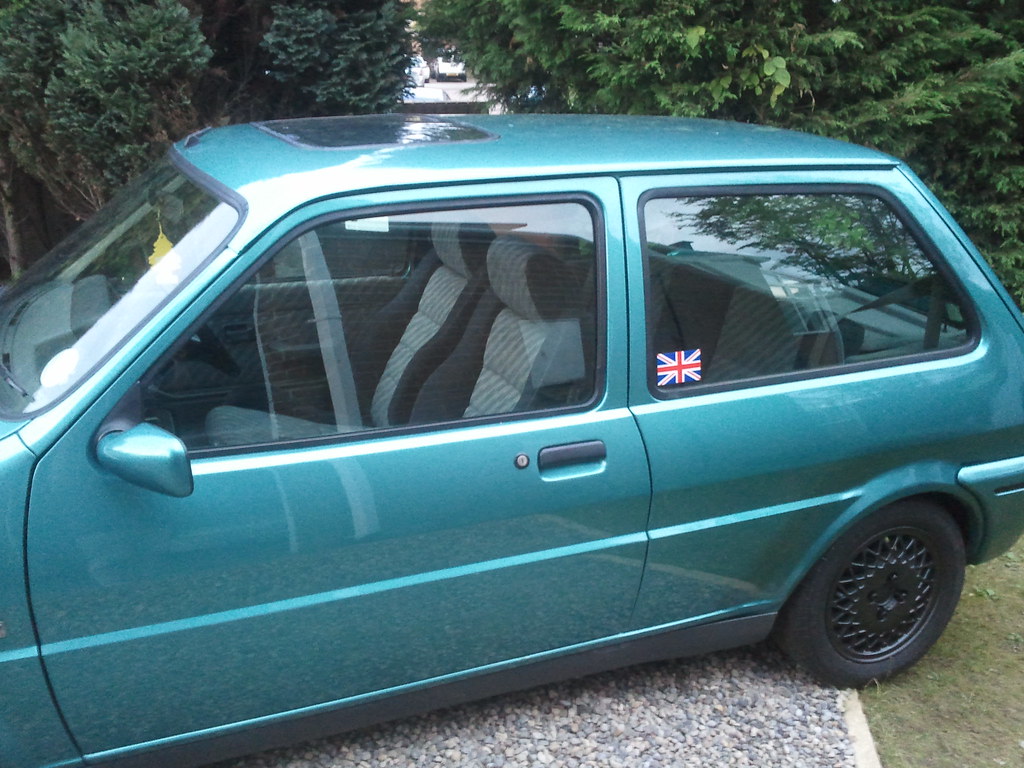
You can see the horribly rusty arches here - common with all metros due to a terrible rear arch design. Mud gets trapped under the layer inbetween and causes the mites !
Next was to actually sort the arches out. I've seen people simply sand the rust back and filler over it and spray over it :S This scares me as the rust is only going to come back !!
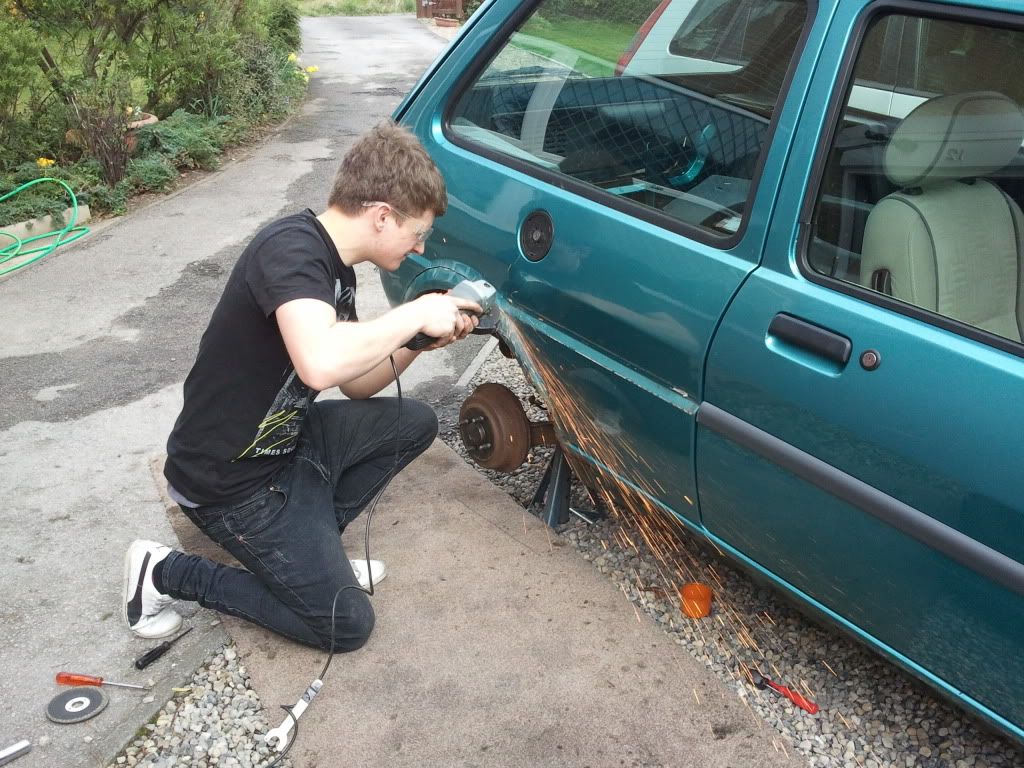
So out with the angle grinder I started removing the whole effected arch.
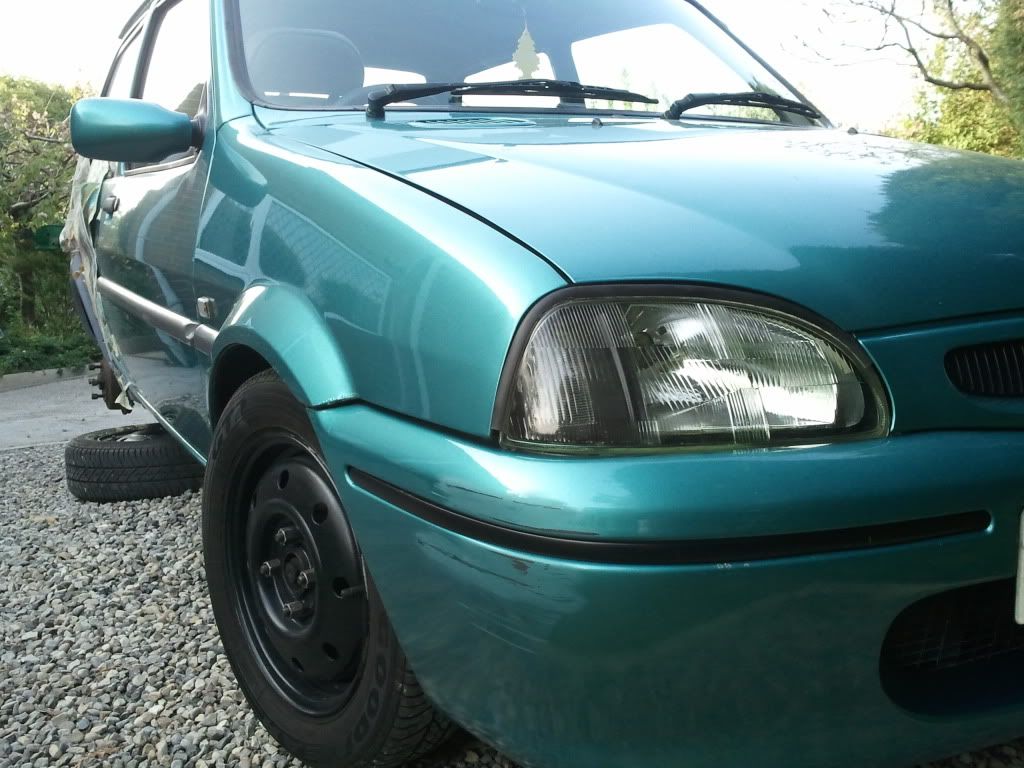
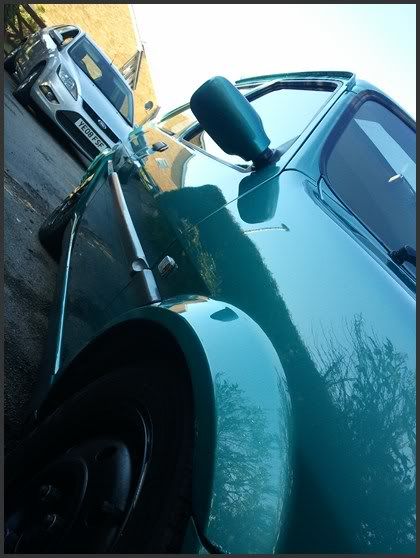
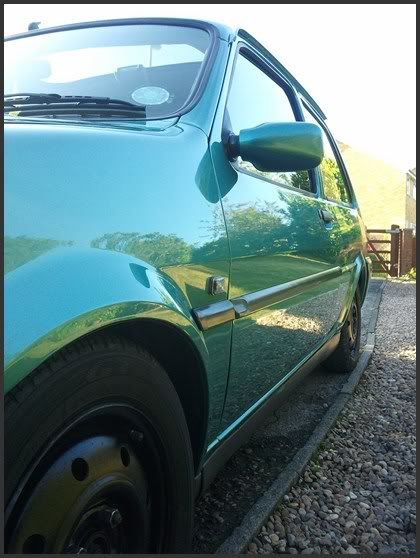
In the midst of playing with the grinder I sprayed a few things to colour code - petrol cap, mirrors and front bonnet vents.
I then gave it a wash - tried durogloss 901 which I'm loving so much
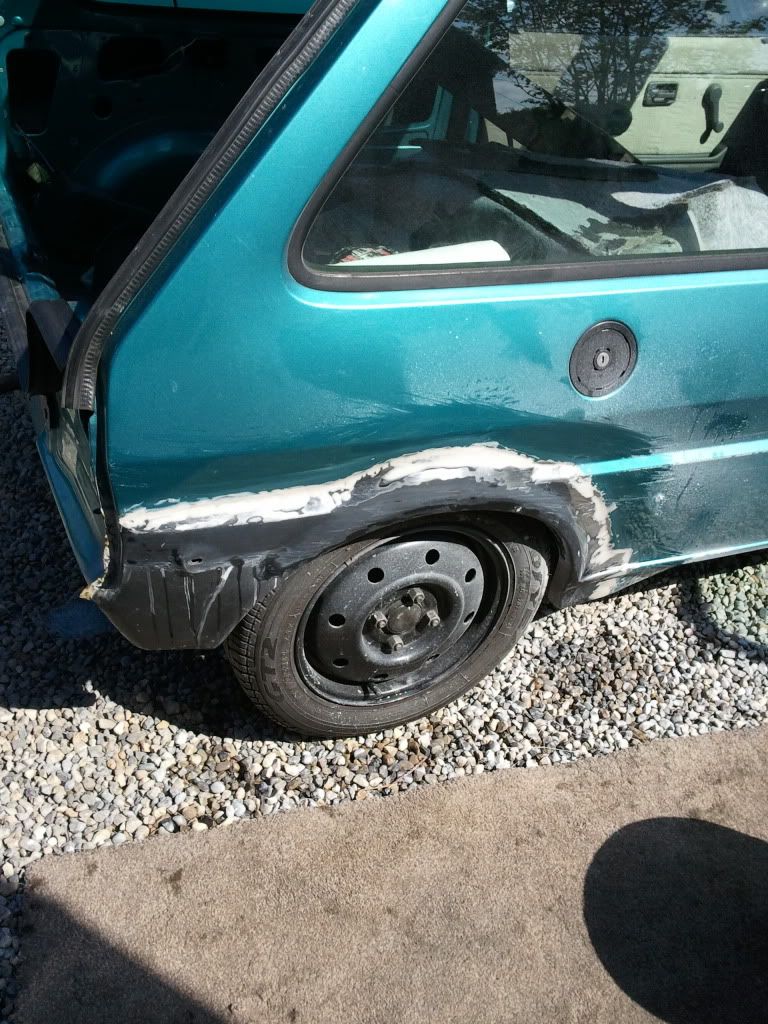
Back to the arches...
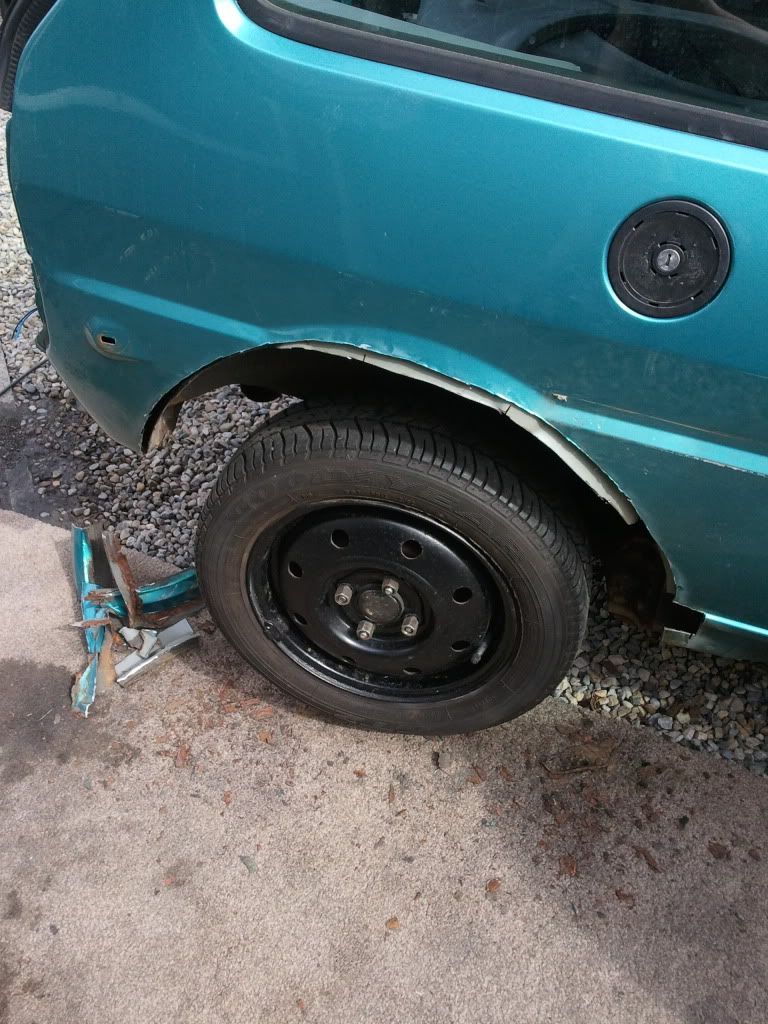
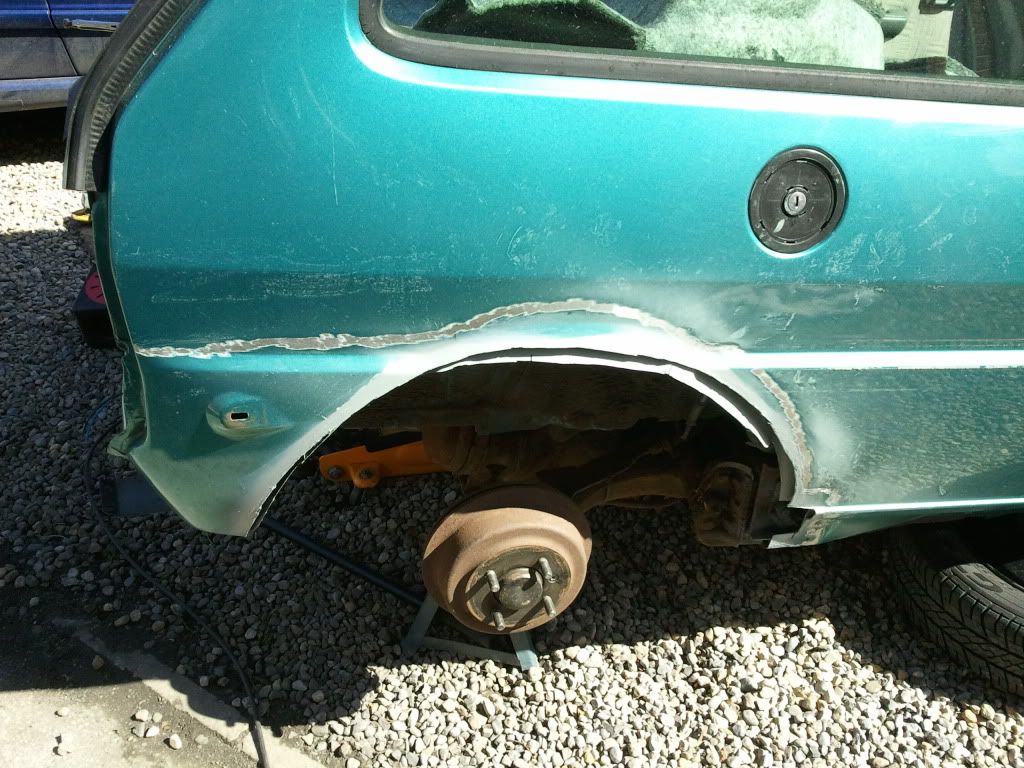
This was marking off where I was going to cut..
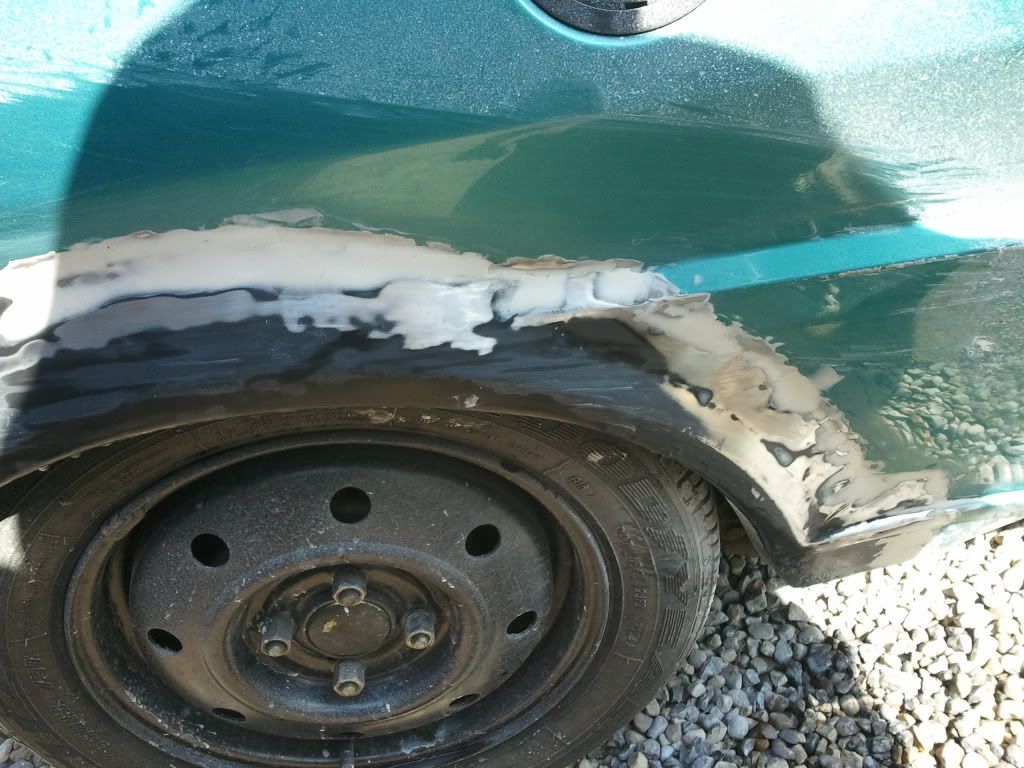
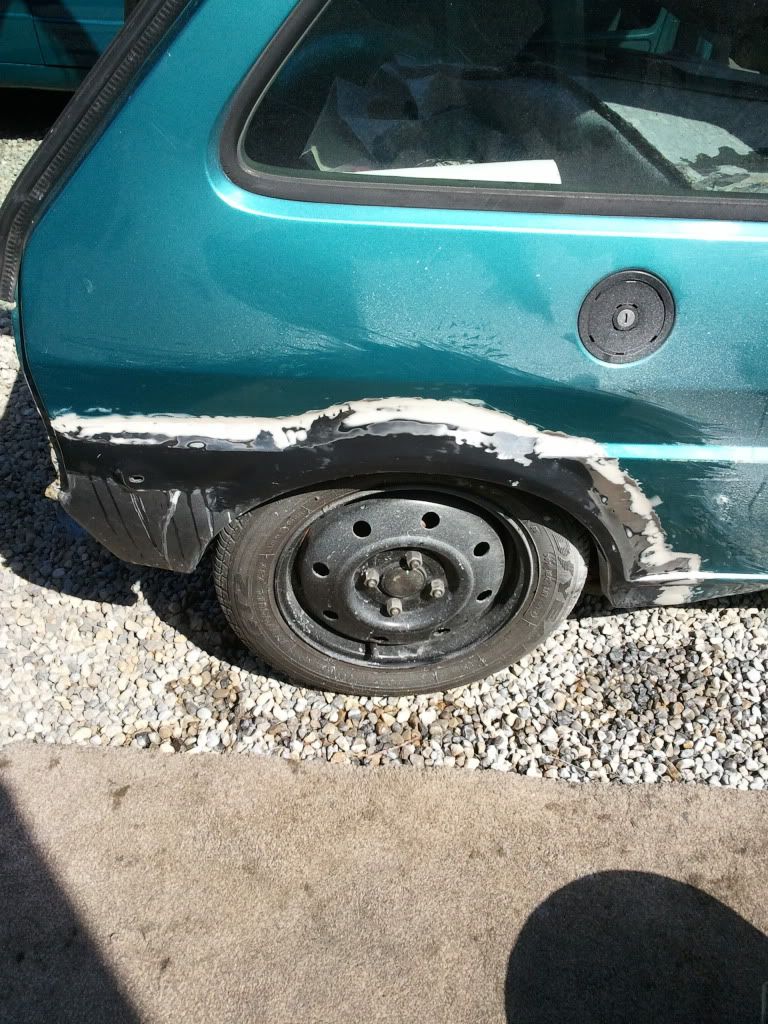
And afterrrrrr.....
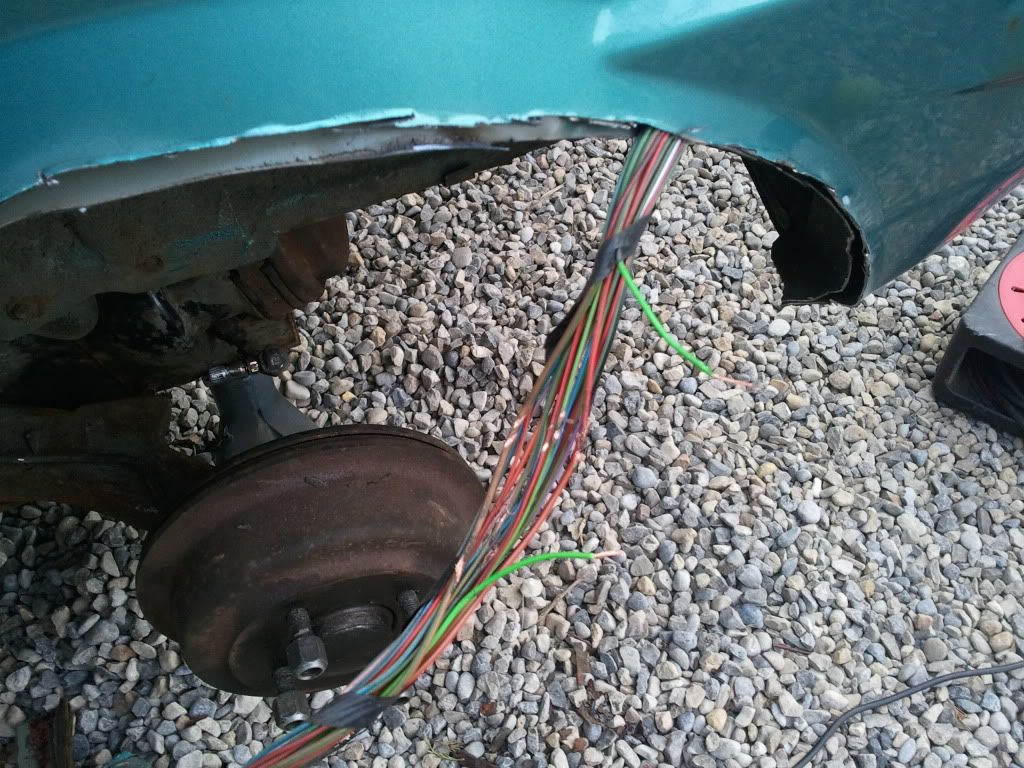
This next parts pretty funny - I fully knew that there was a set of cables on the N/S arch but yet I fully shredded them ! oh well, nothing a few crimps can't fix
Also been working on my negative camber - well happy with it
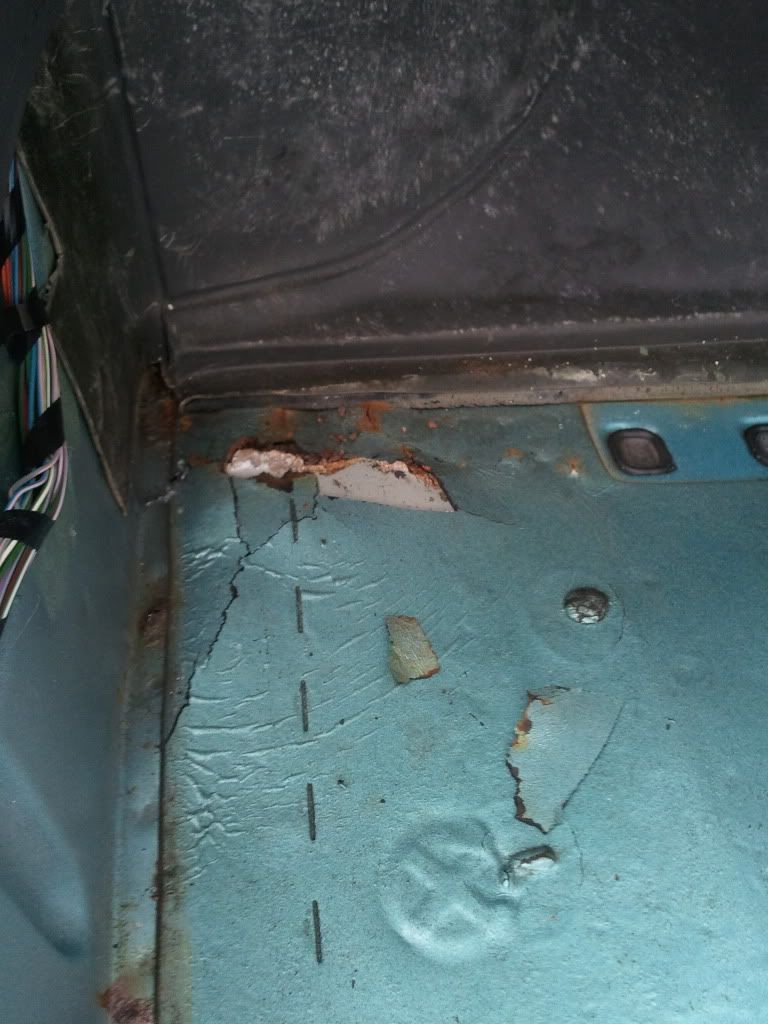
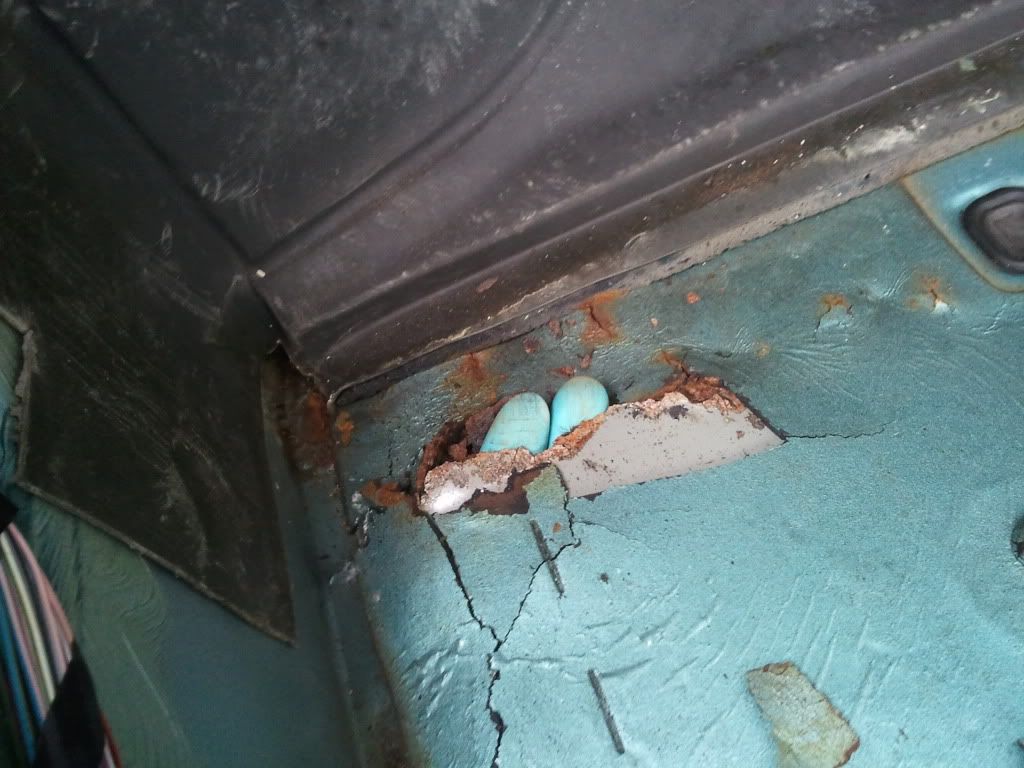
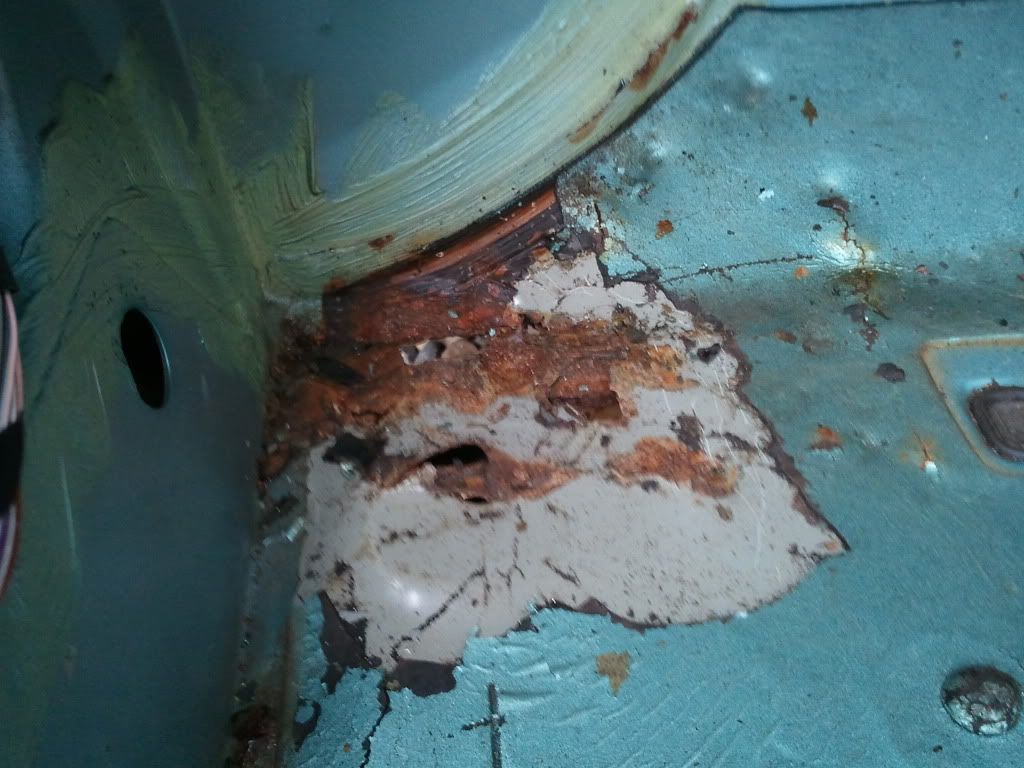
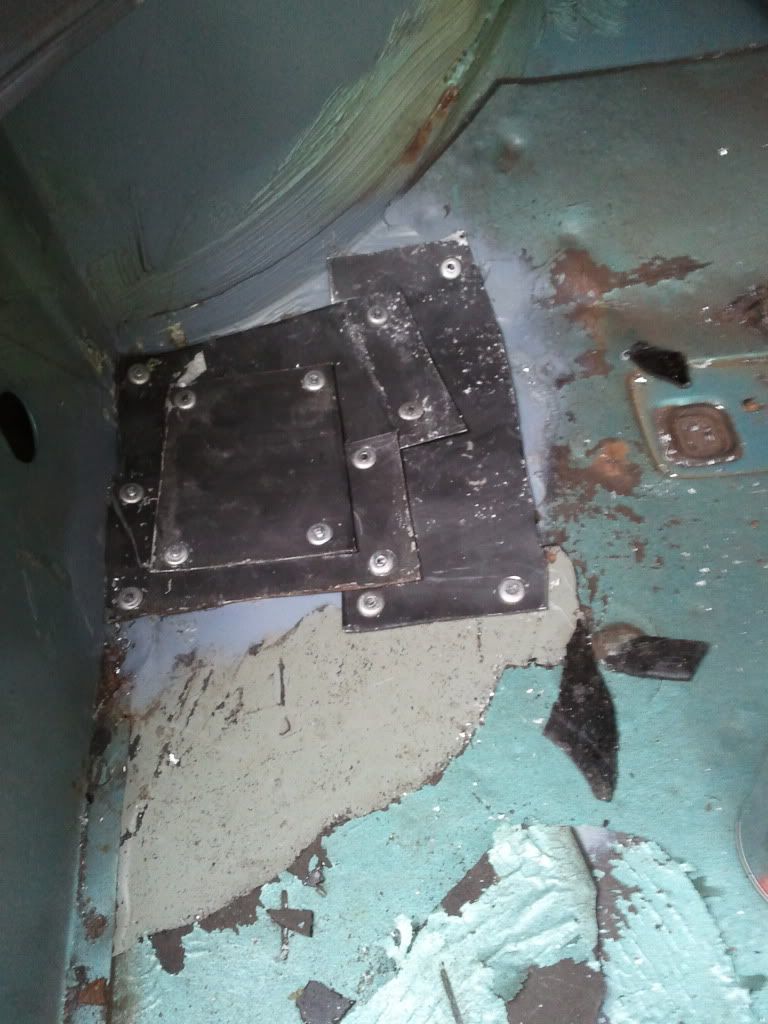
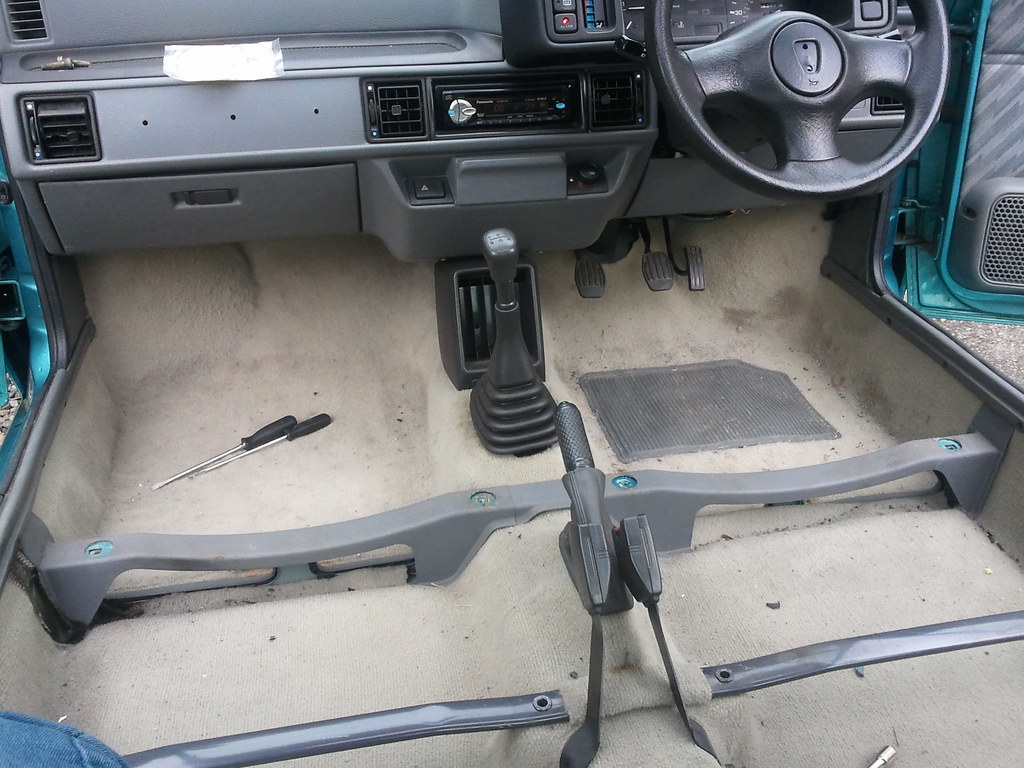
Right. I then removed the front carpets as they are known to rust on the footwells and low and behold a nasty patch of rustBloody rover
can stick my fingers in
the actual extend was frightening
So out with my trusty grinder with a cutting disk and sanding disk to hand I cut out the rust and zinc primered the area for now
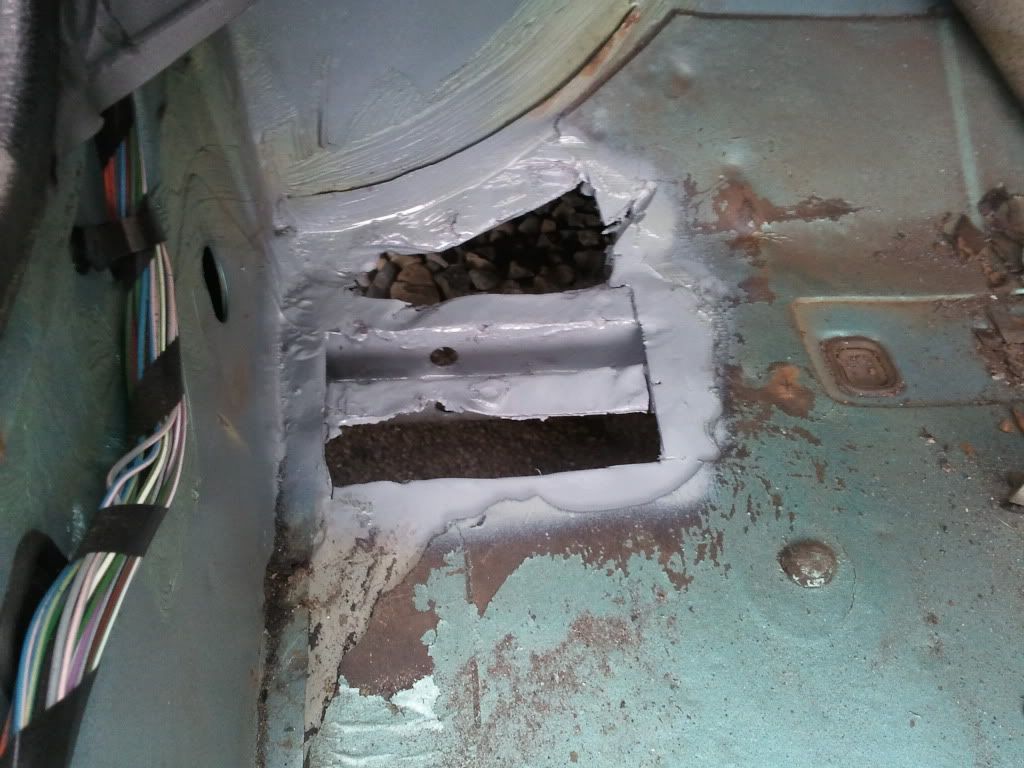
I butchered excess metal from my new arch panels to create this multi skin layer of lovliness to be welded down.
BACK TO ZEE ARCHESSSS
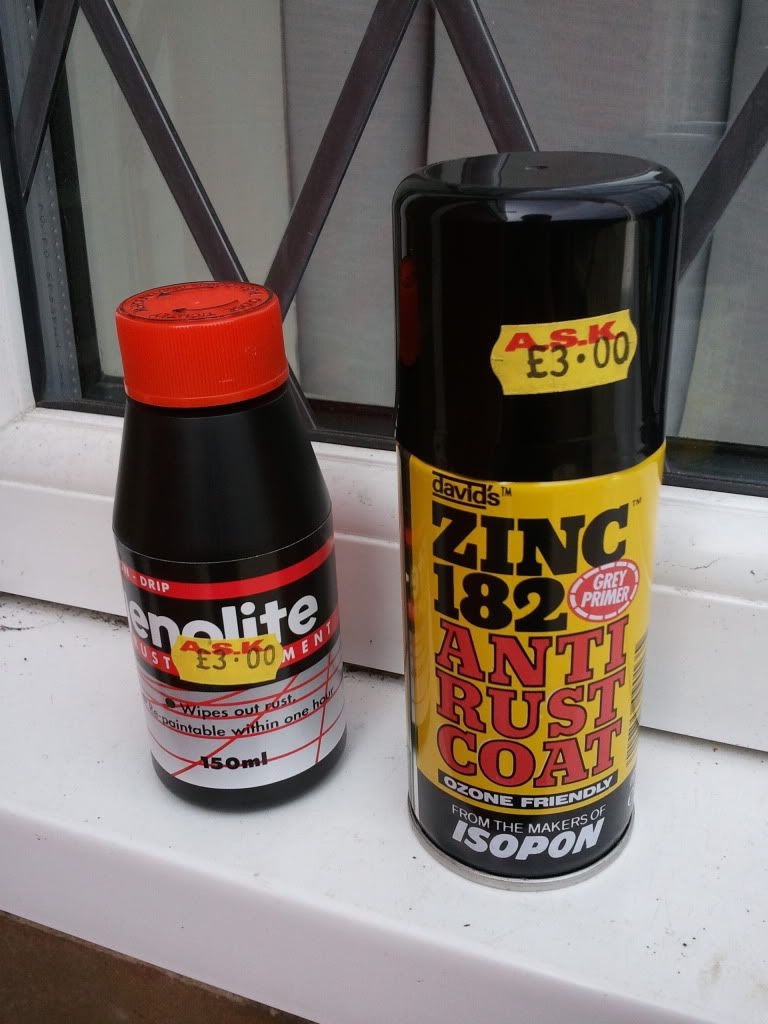
I got some product to prevent rust from coming back
And attacked my arches
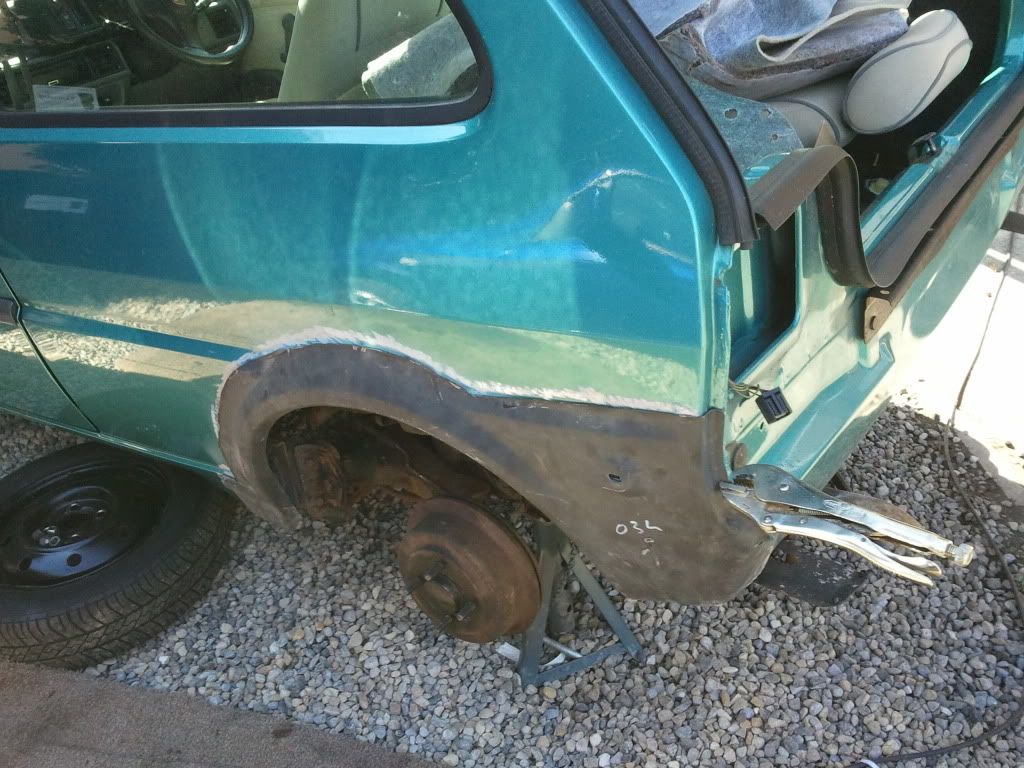
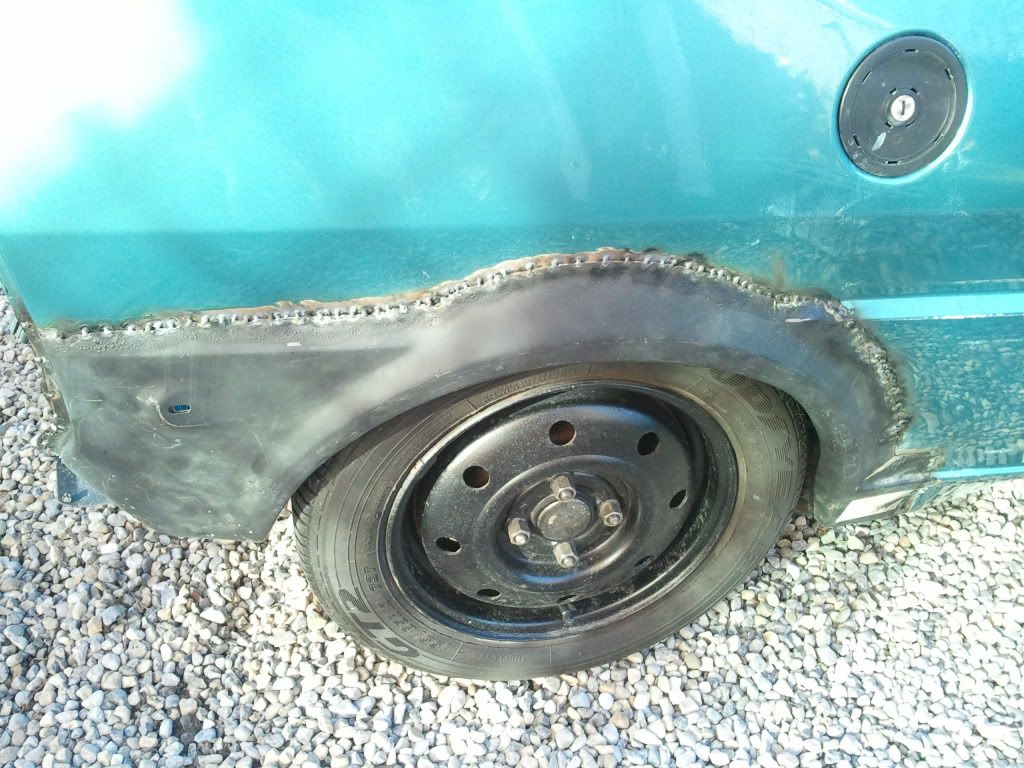
Onto the actual welding of the arches...
This is the panel lined up to be welded on
Had to sand the paint down with the grinder for the welds to stick cleanly
Then the next day my Dad's friend from work came round with his welder and knowledge and welded my panels on. I was so excited whilst he was doing it as the car actually looked whole again.
This was the final panel done.
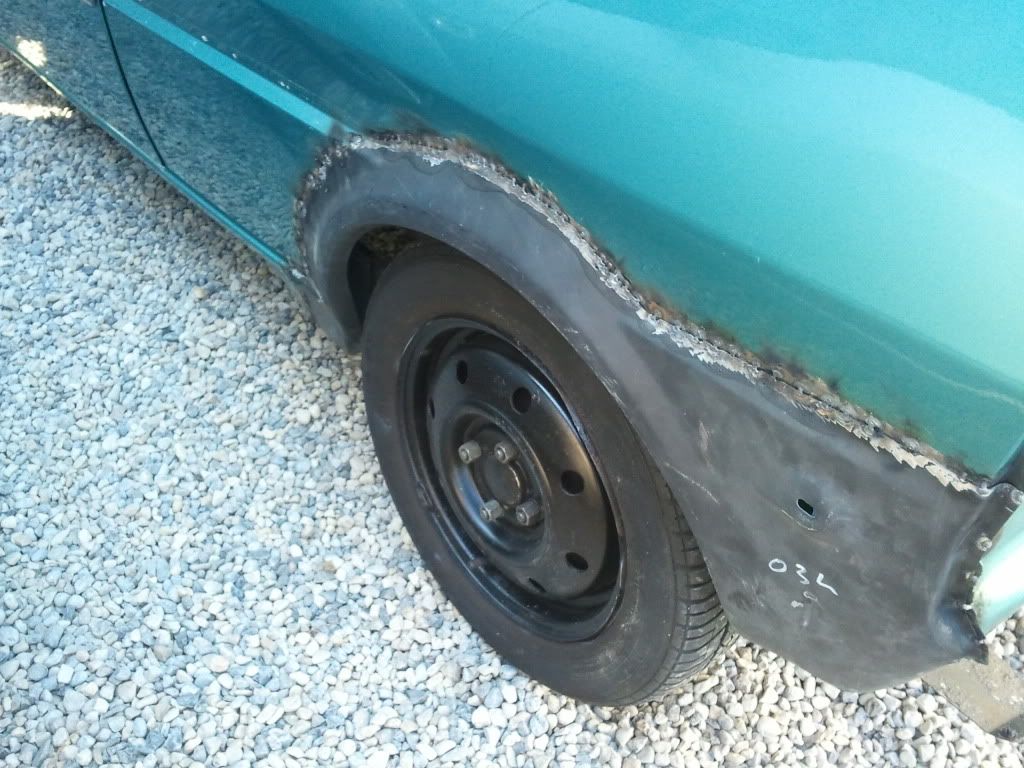
I had been greatly doubted on the metro forum saying that it hadn't been done properly regarding the welds as they were "just tacs" but I think i've shown the doubters wrong. NEVER GIVE UP!
I then began to grind the welds back as much as I dared without sacrifising their integrity.
And onto the filler!
Again, burning candles at both ends I wanted to do something else. So took my headlights apart and sprayed the plastic surround black to give it a little stealthy headlight.
Right backk to the arch...
I had nearly done one arch - oh how i hate filling, priming, sanding back REPEAT and REPEAT and REPEAT. gets very tedious but the more time you spend prepping the better the finish.
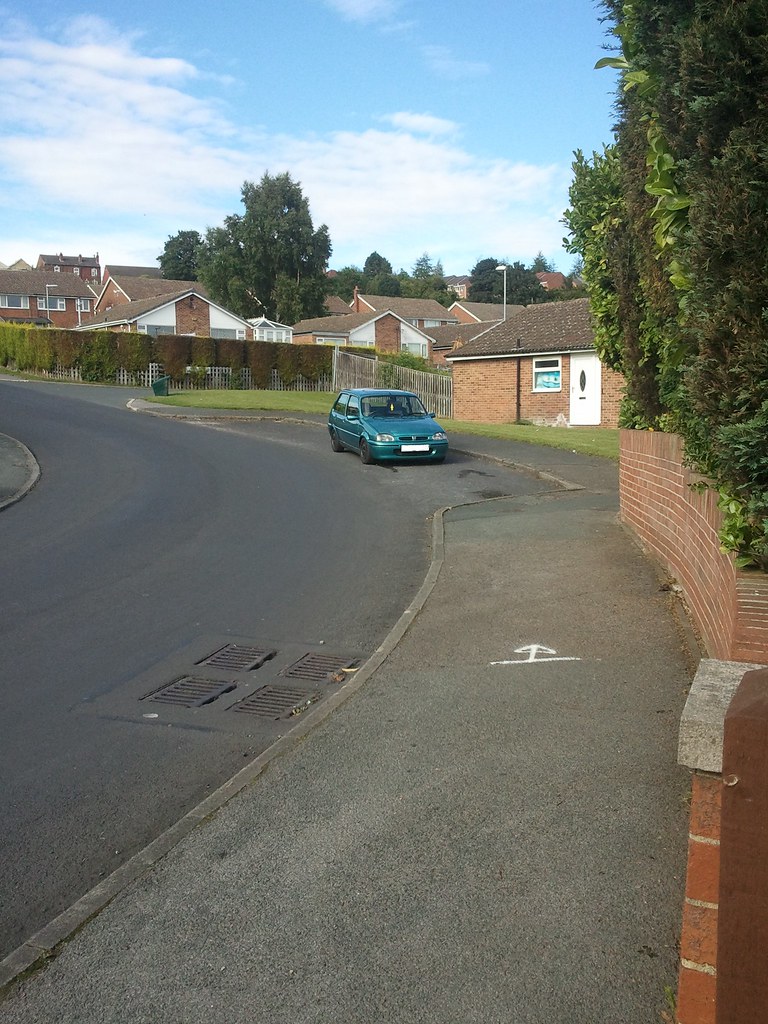
Now that was done I started spraying.
I must highlight the next bit; I had only spent £20 on materials doing this, including filler and paint so I'm fairly happy how it turned out despite me never doing anything like this before. It's by no means perfect but it's better than having holes everywhere! I think i've saved a lot if I was to take it to a body shop they probably wouldn't have even removed the arche fully anyway.
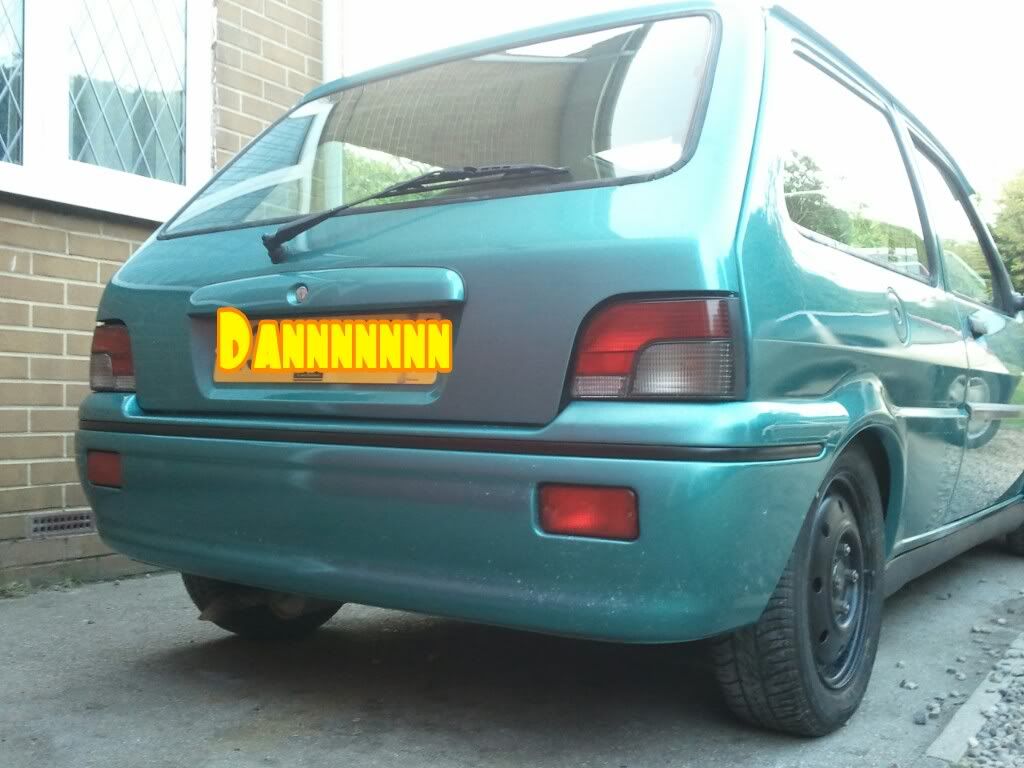
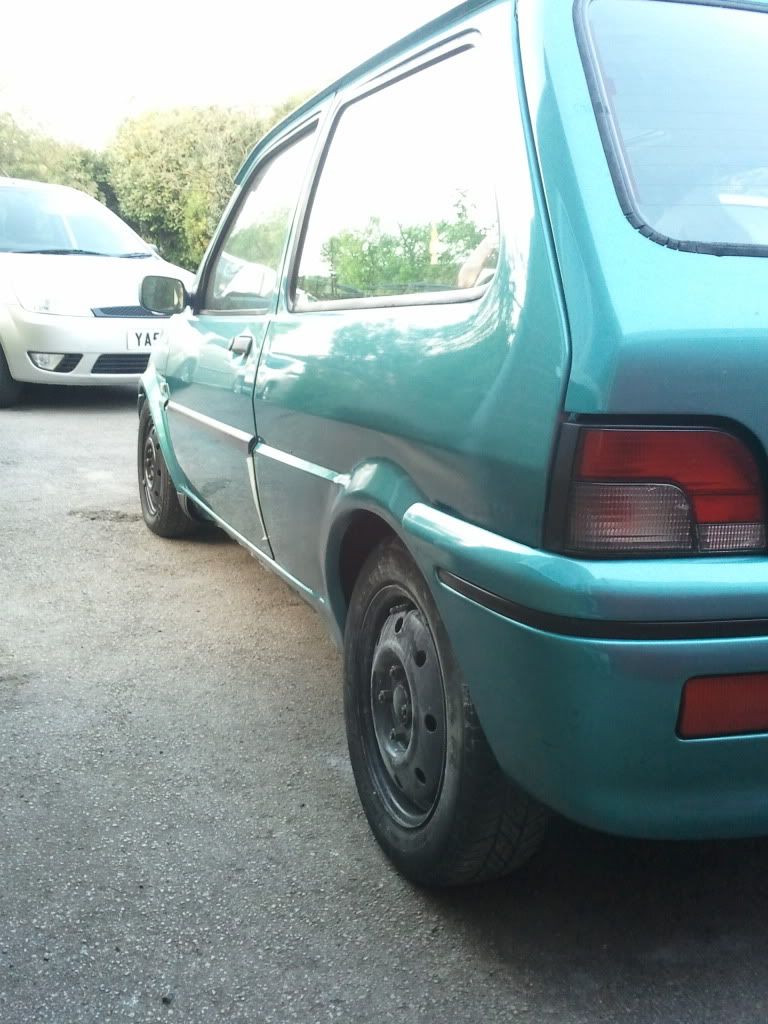
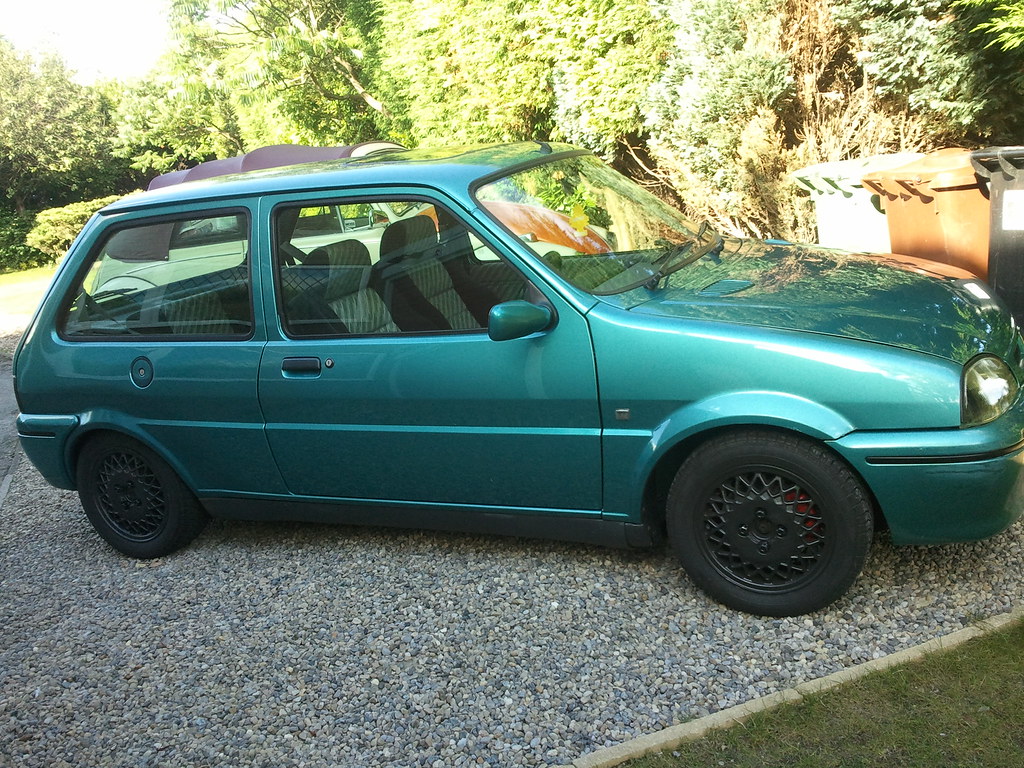
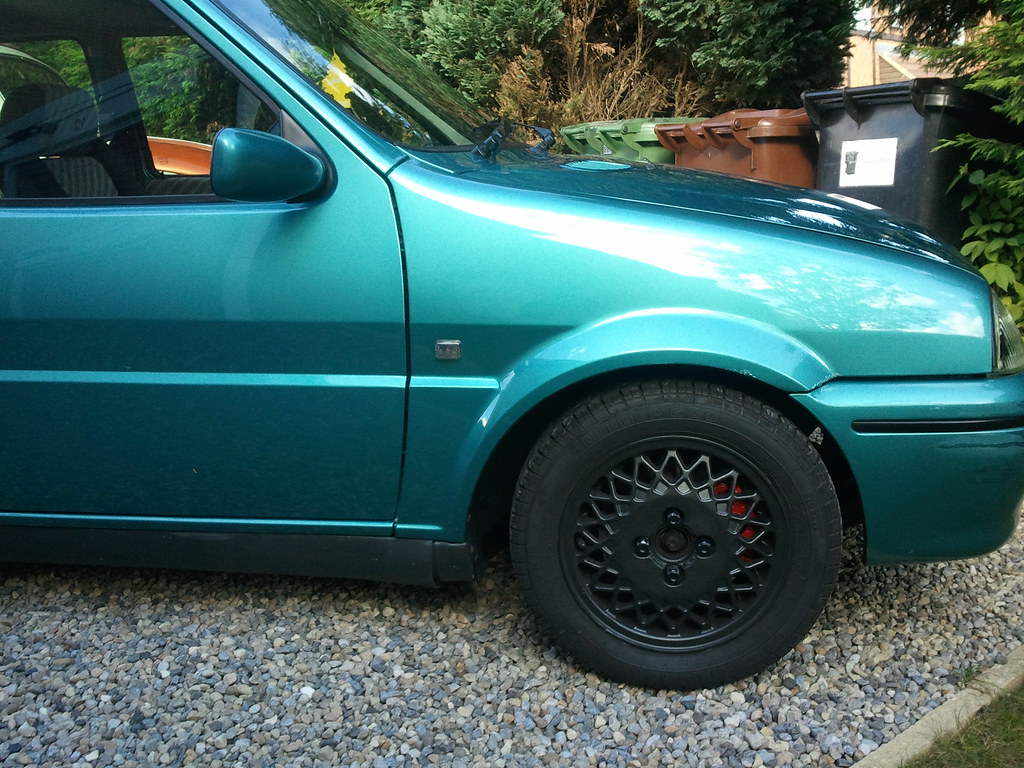
I then detailed it and removed the side strips altogether to give it a cleaner look. You can also see the freshly painted mirrors, petrol cap and vents...
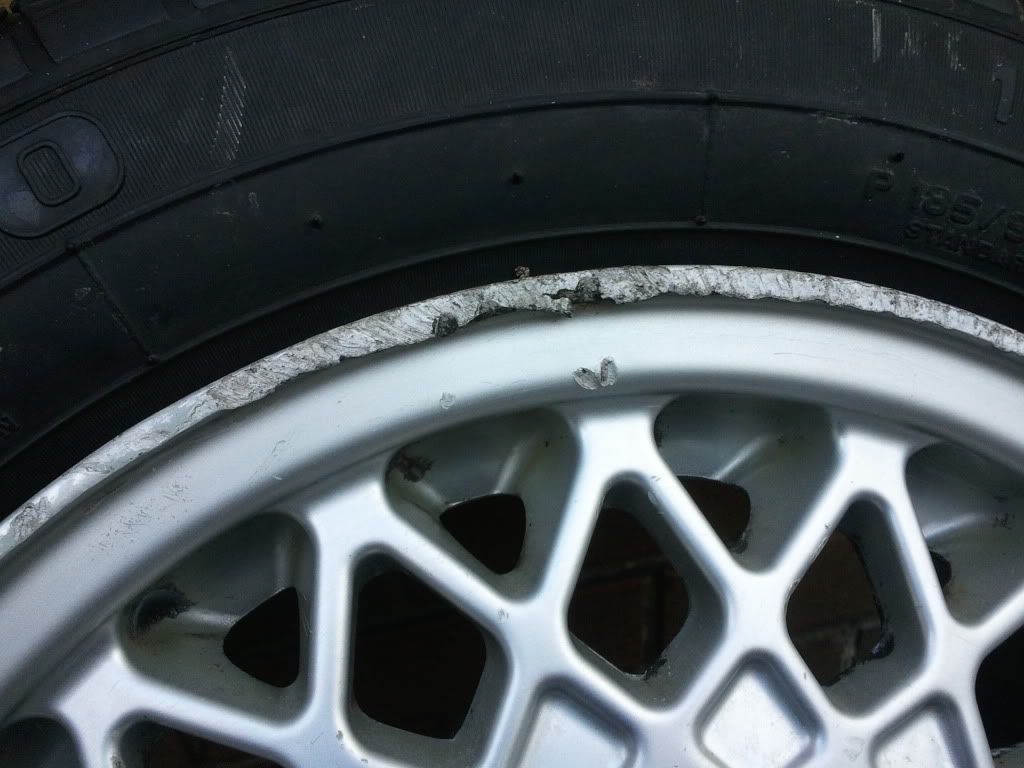
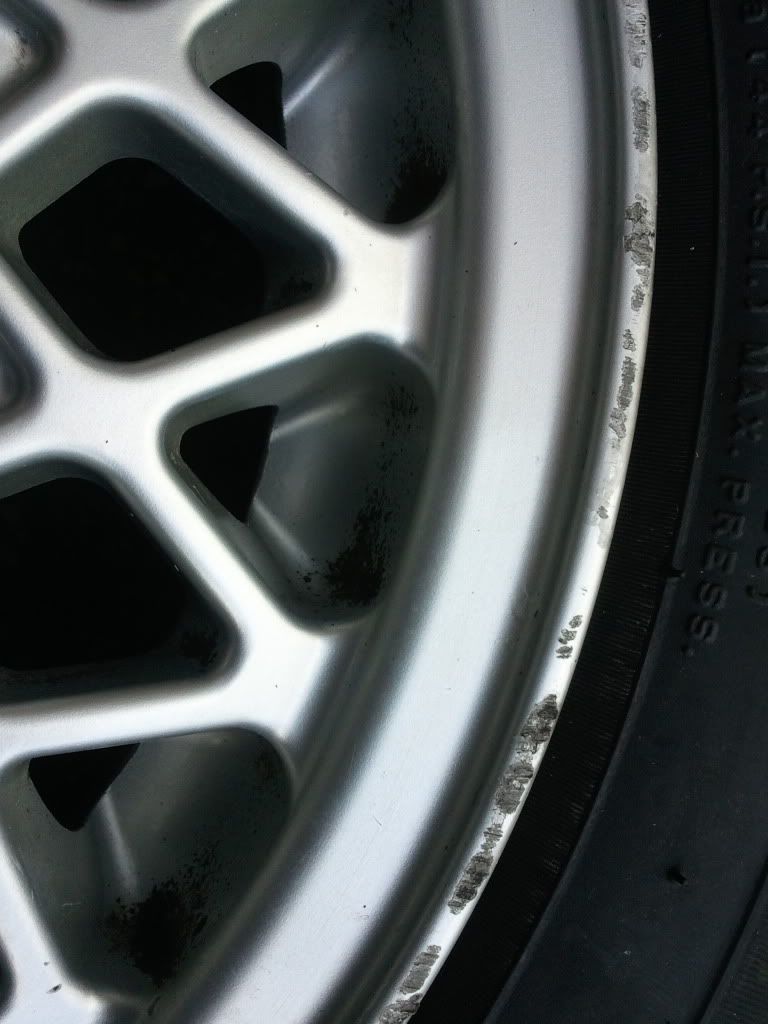
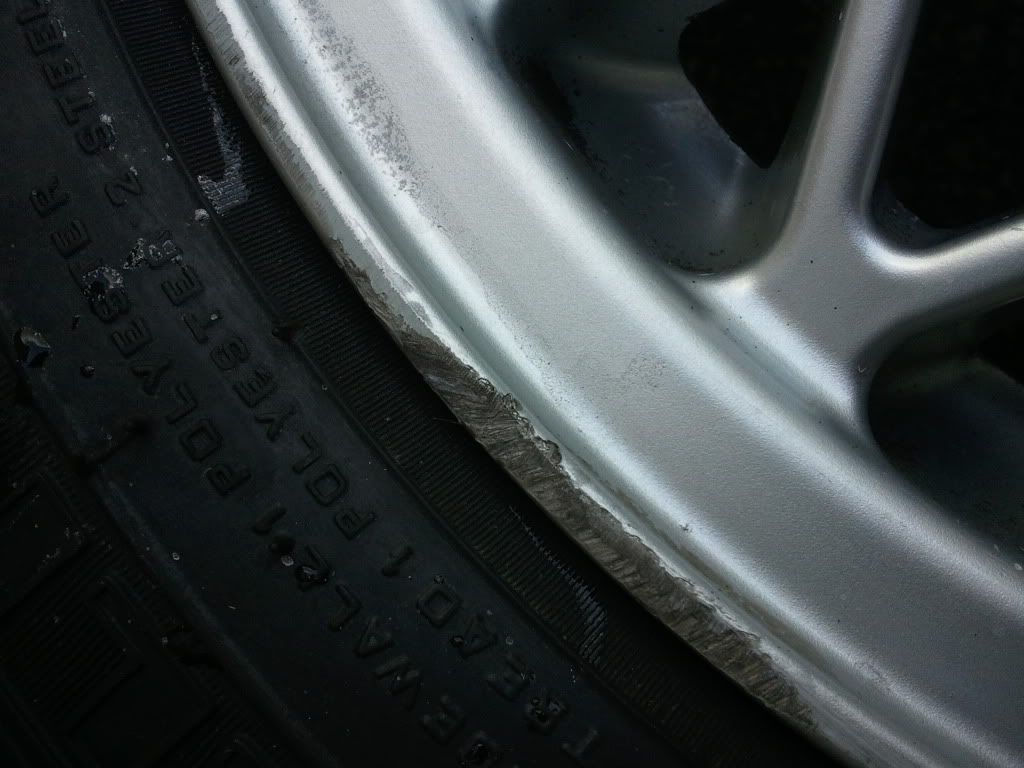
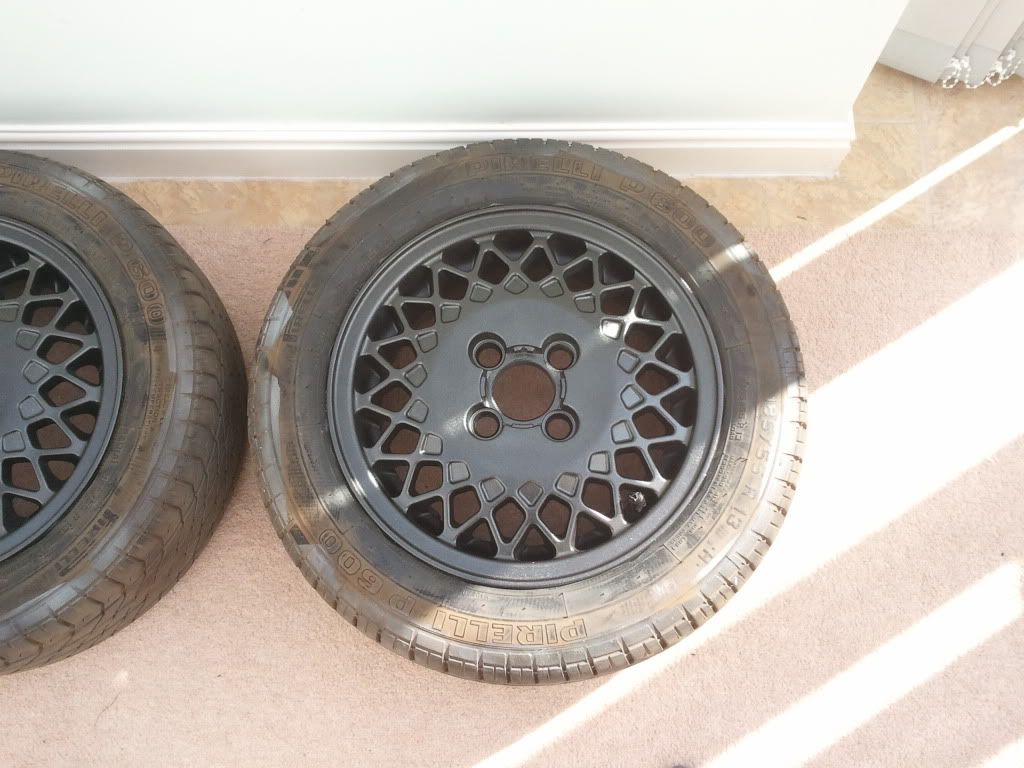
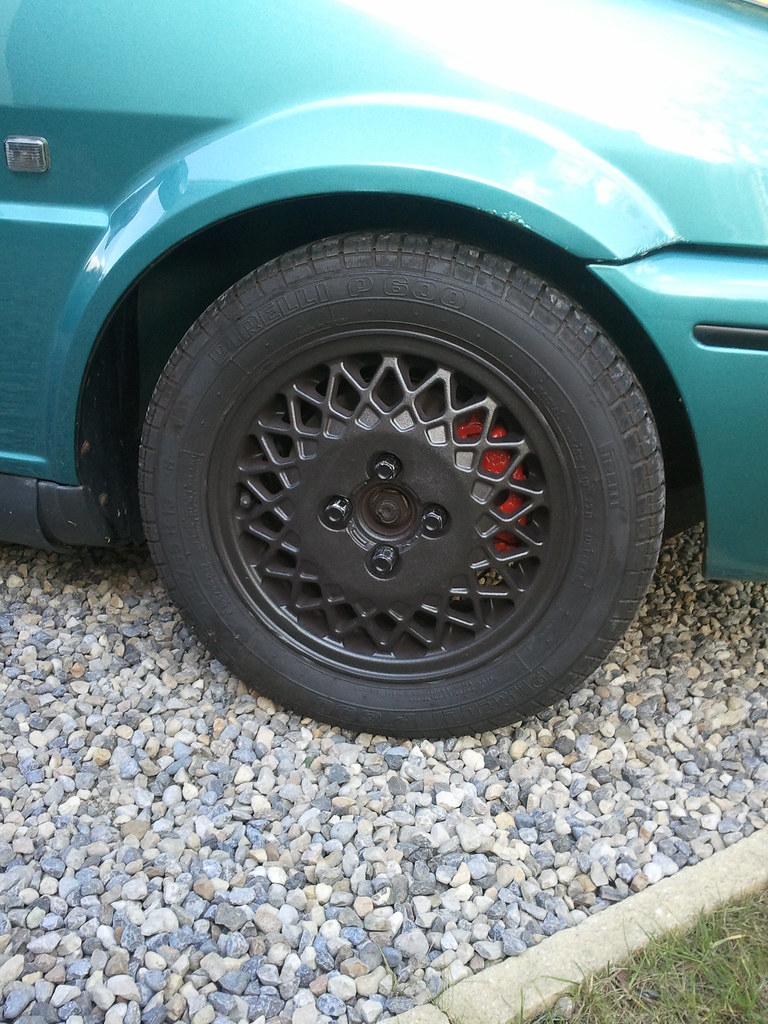
Next I got some alloys...
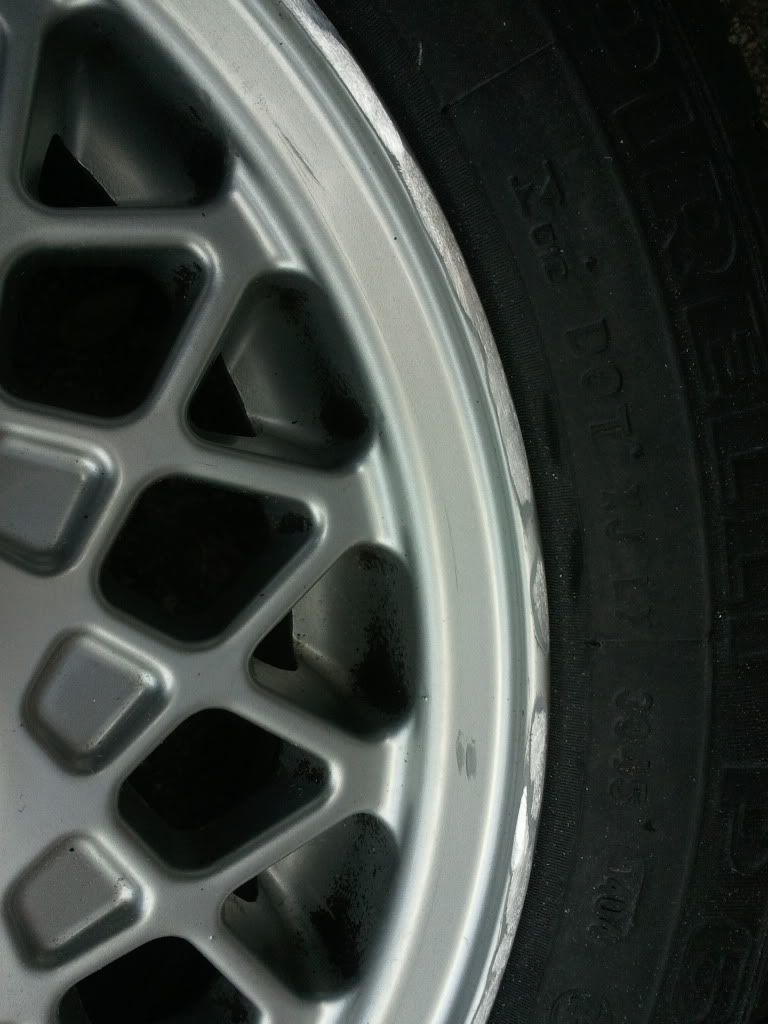
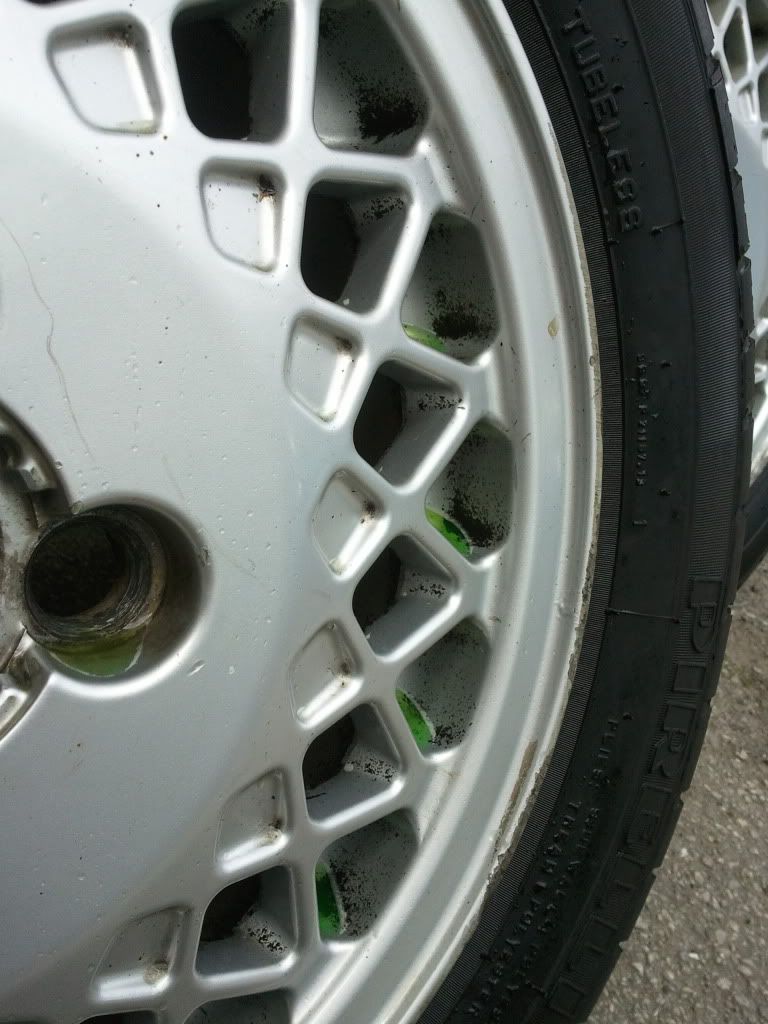
Here are the before's. As you can see the wheels had light kerbing on them, so out with the grinder and using a sanding disk I flatted the rough bits down as much as I could
Before sanding:
After sanding:
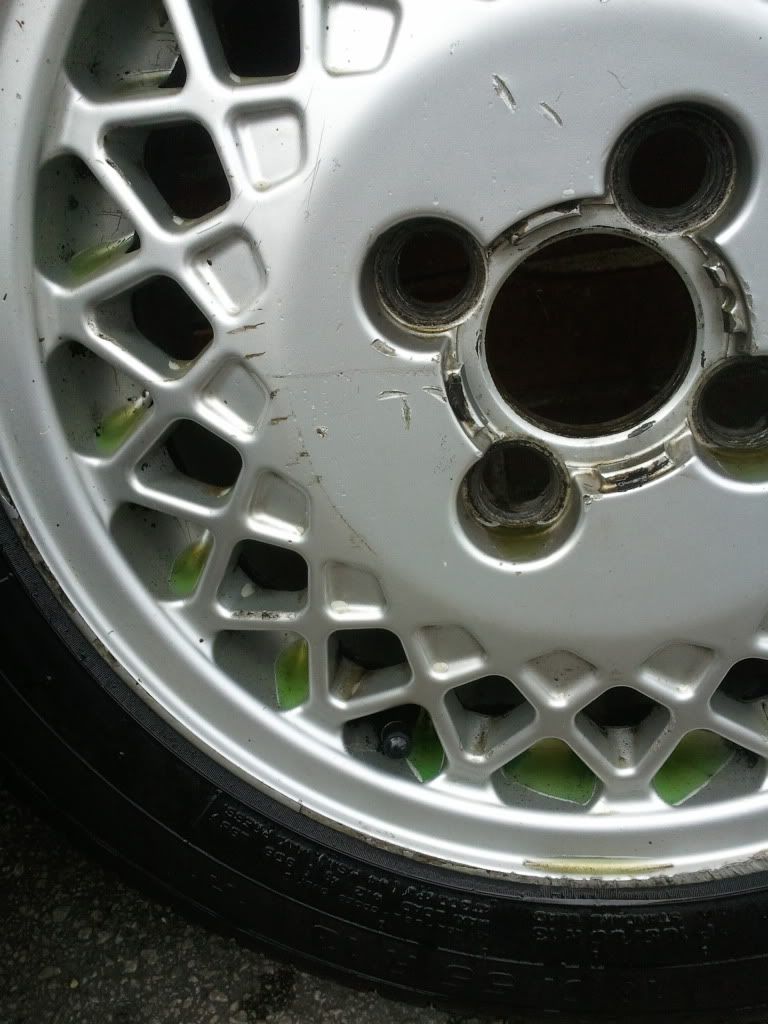
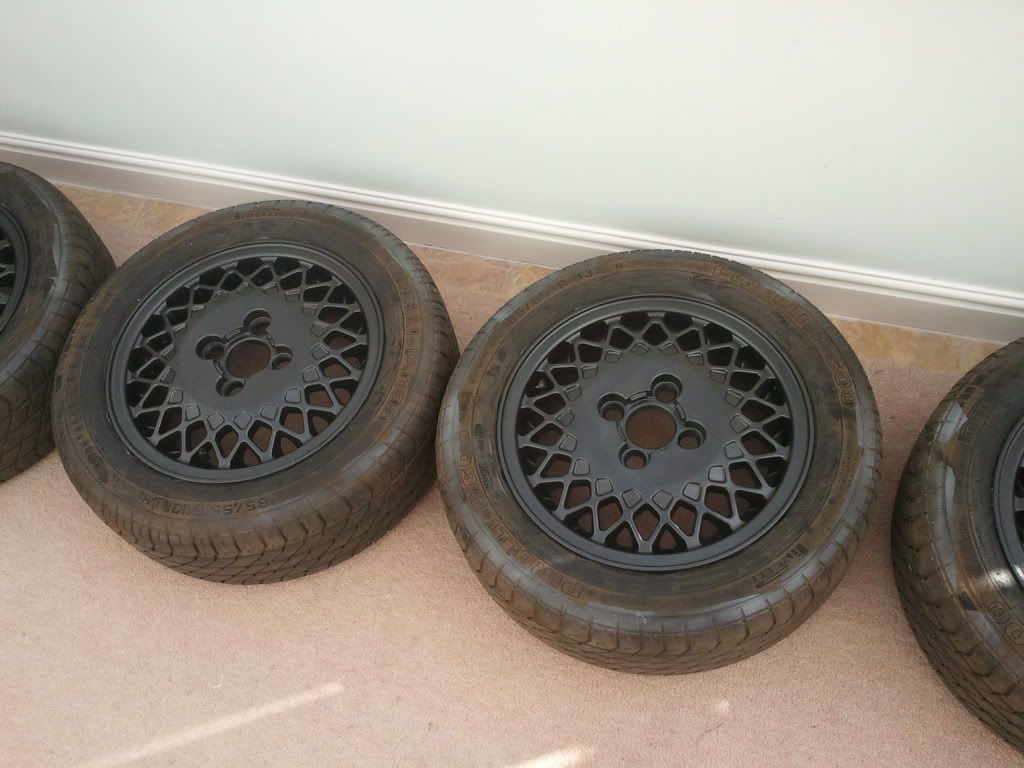
Here im soaking them in APC to get ride of the crap that's built up. I don't have a dedicated wheel cleaner... yet
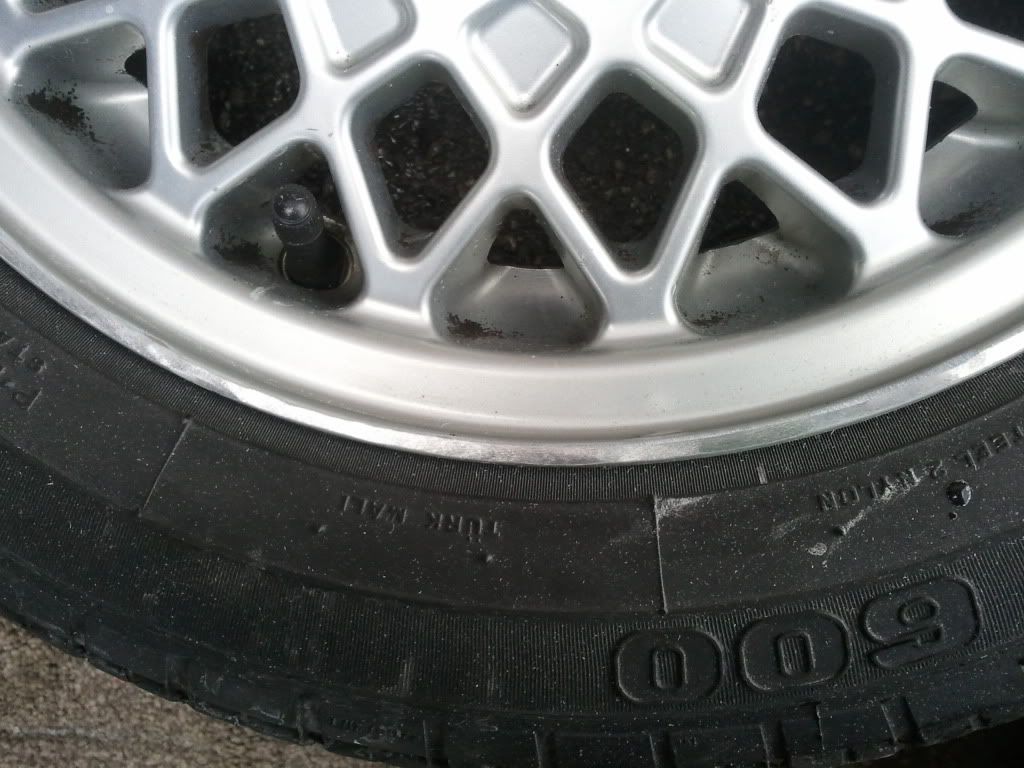
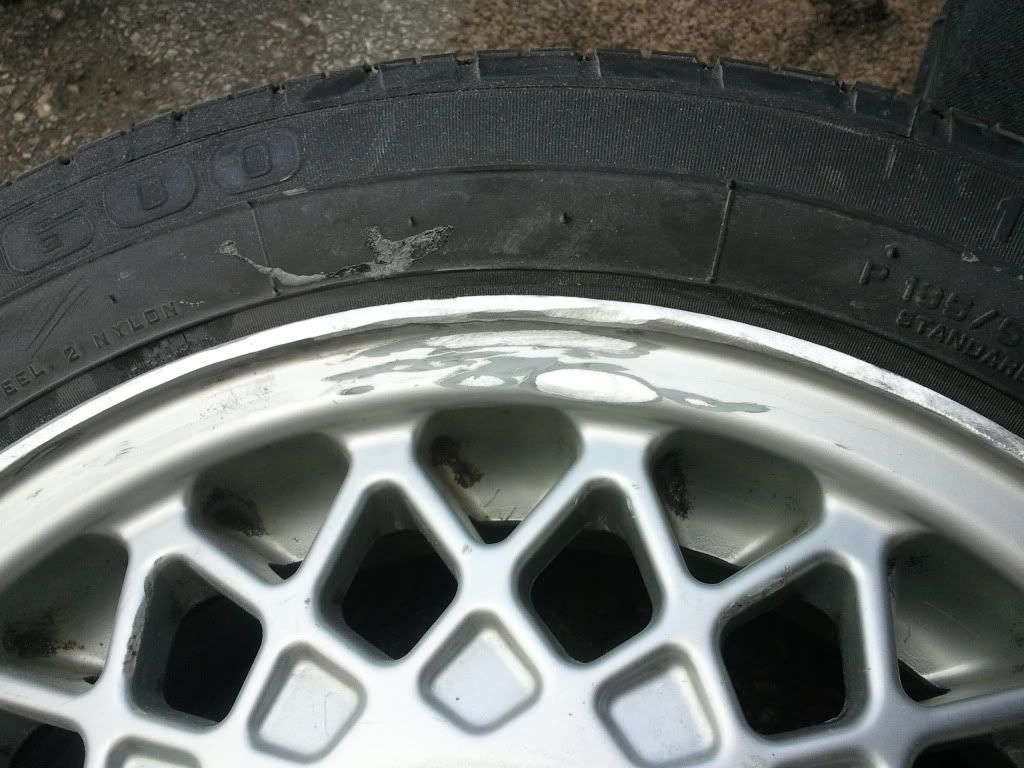
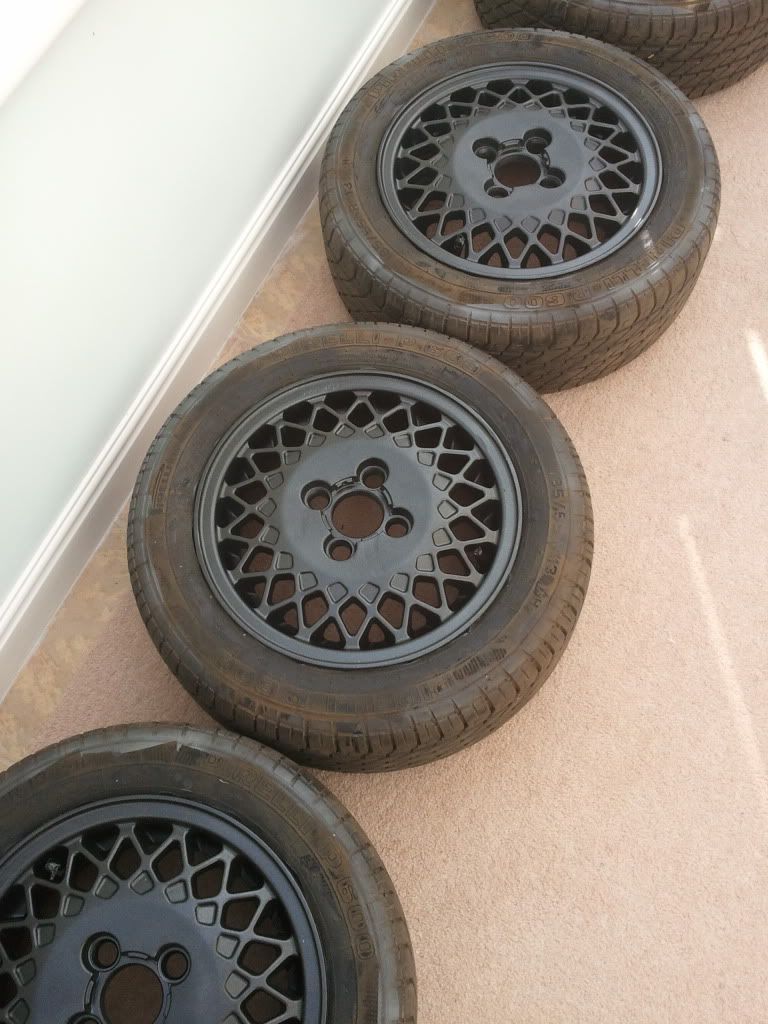
This is after paint. They look black but it's actually a really dark silver. I need to remove the overspray on the tyres and get them really black (the tyres)
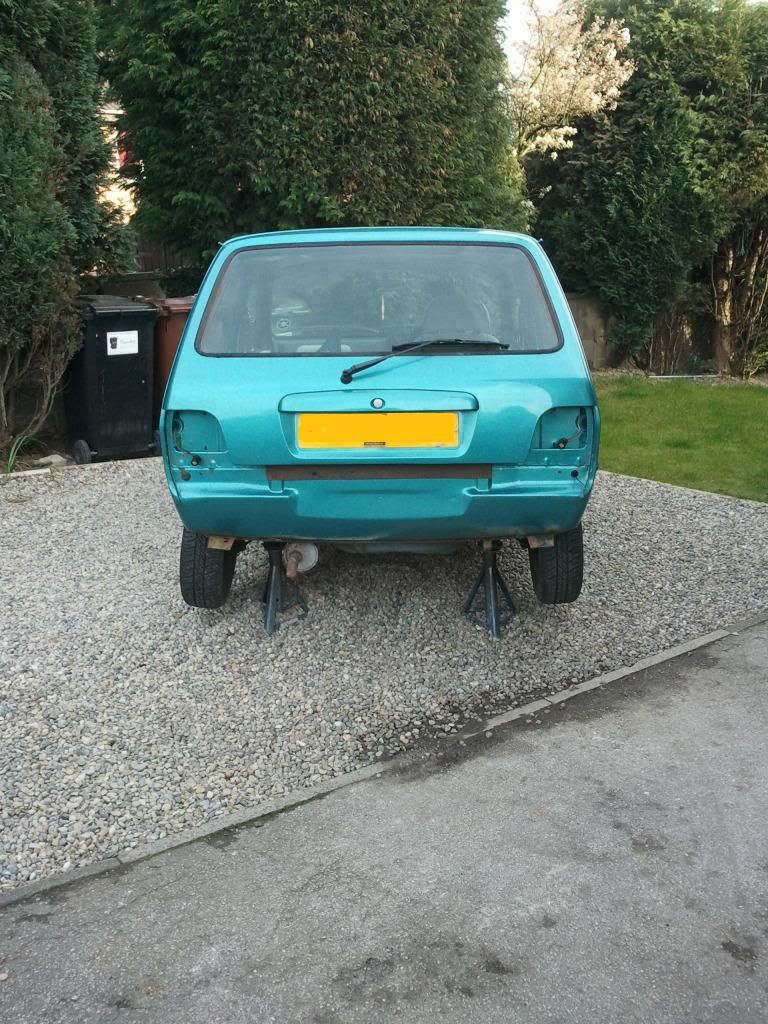
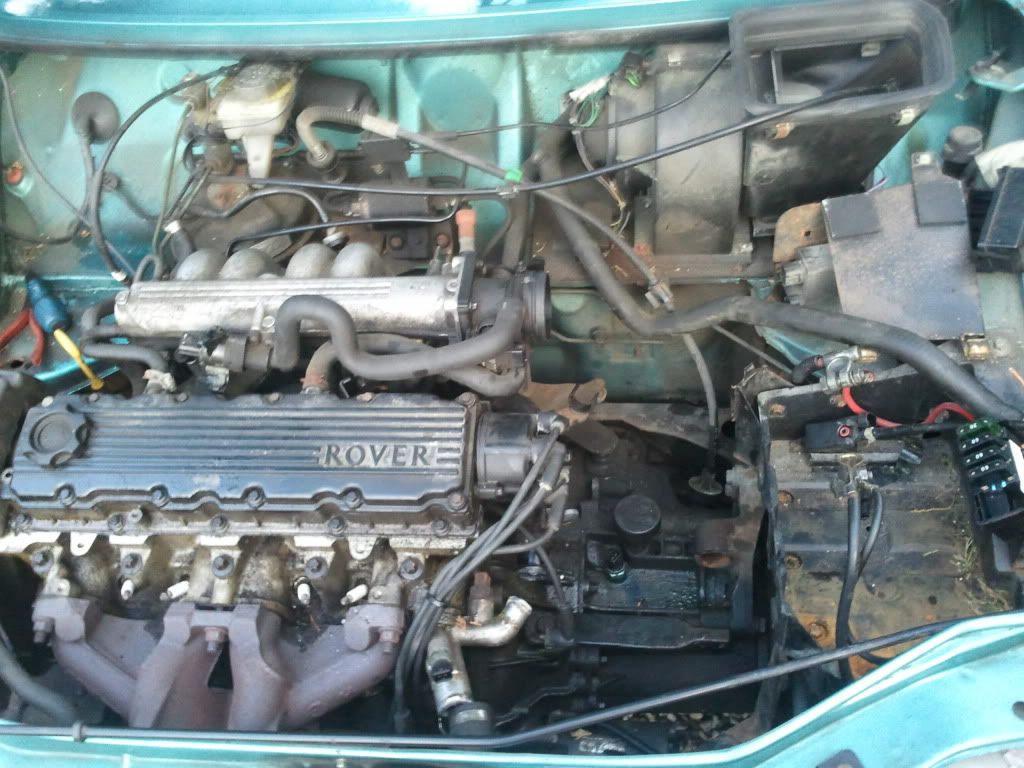
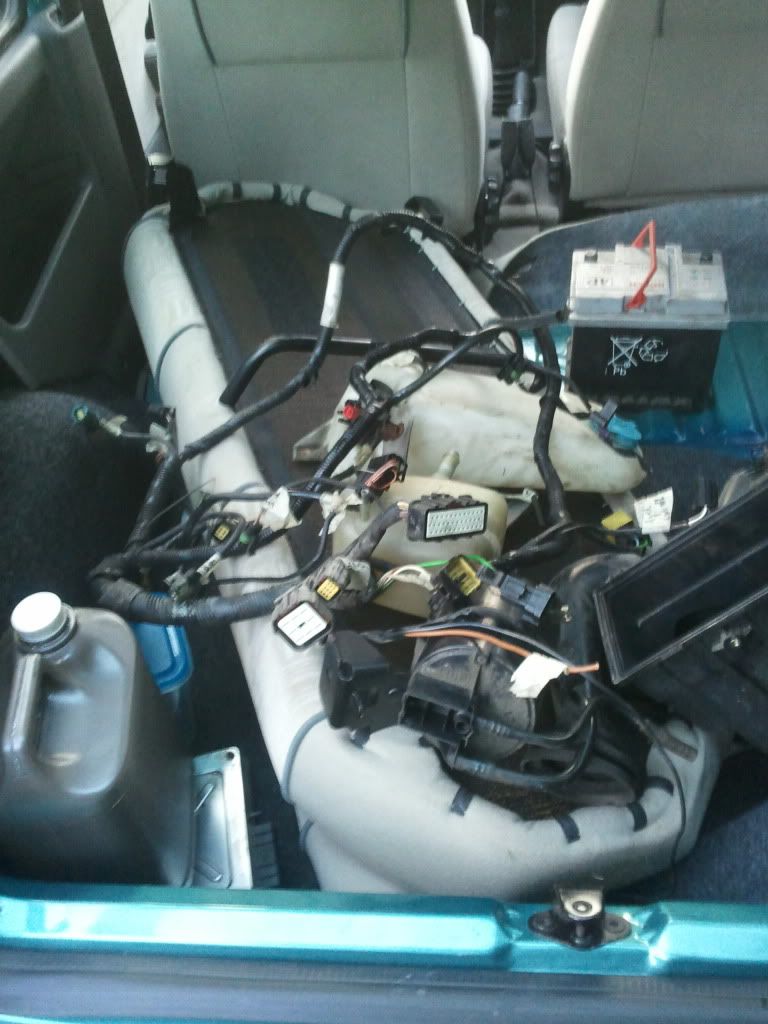
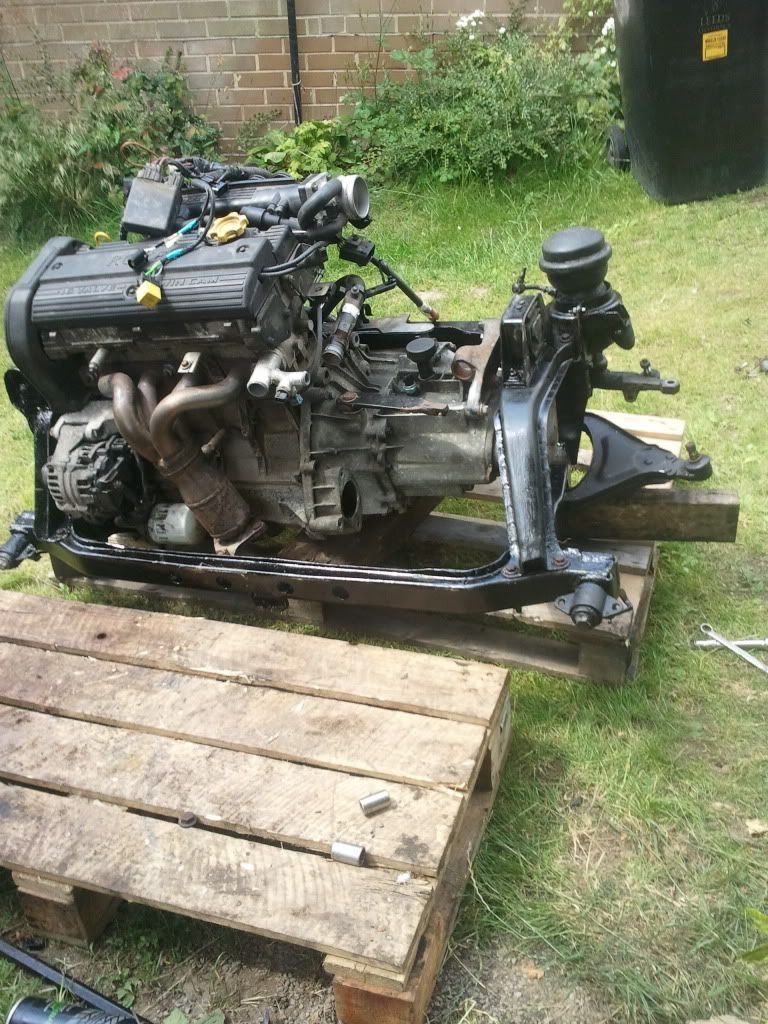
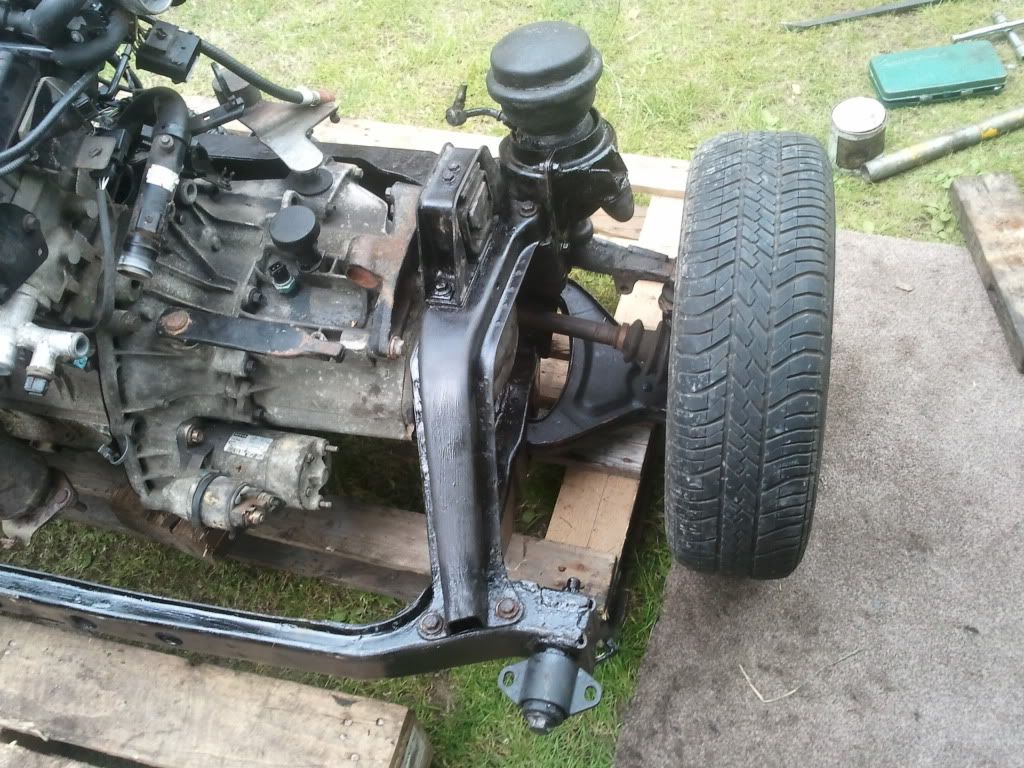
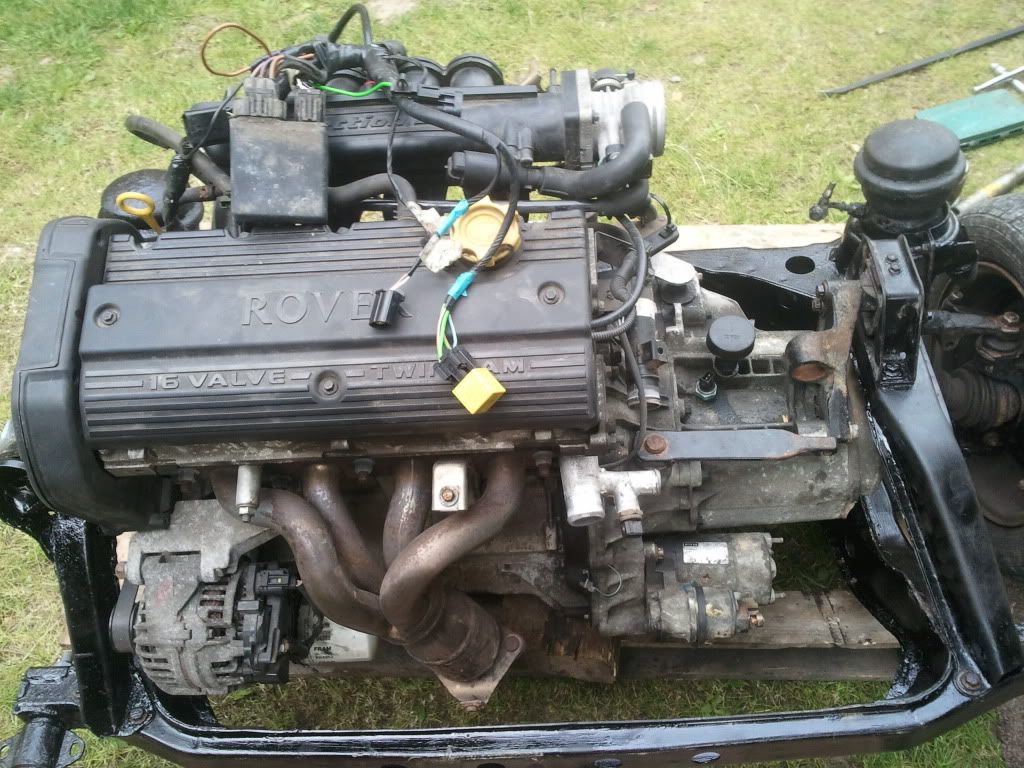
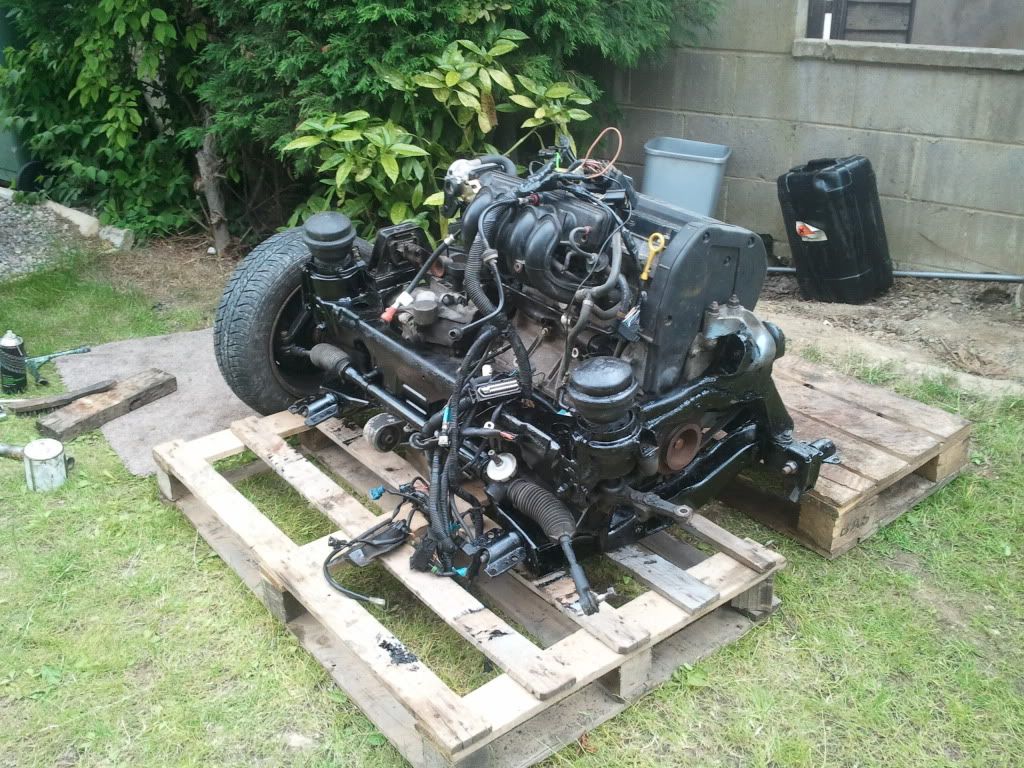
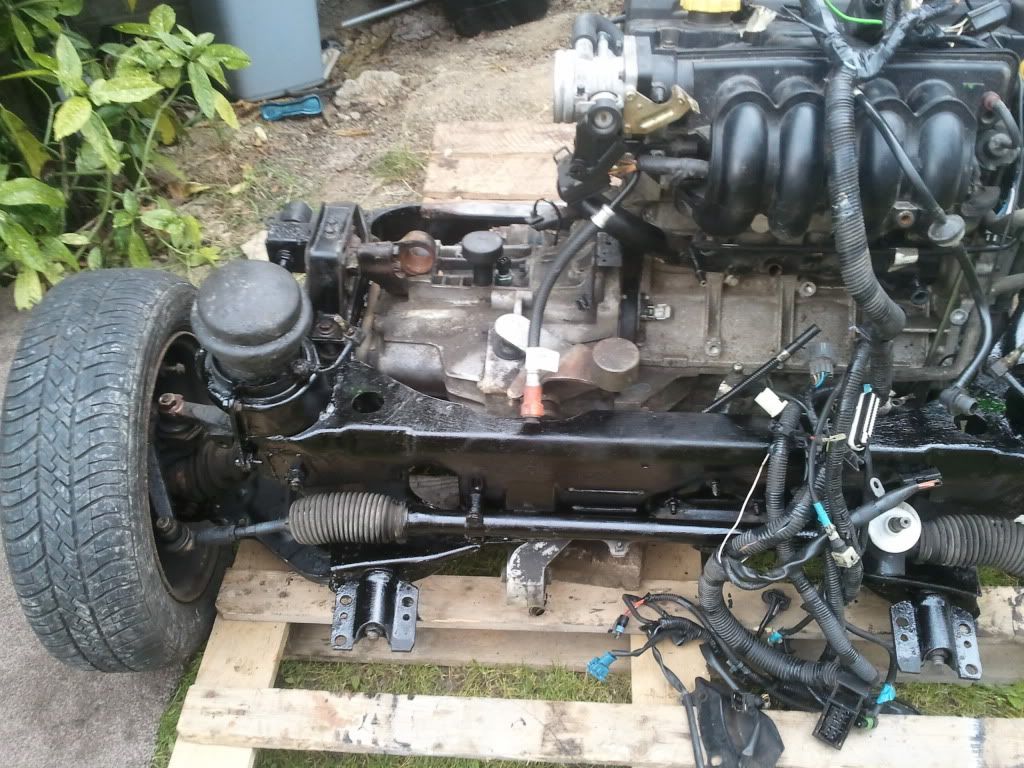
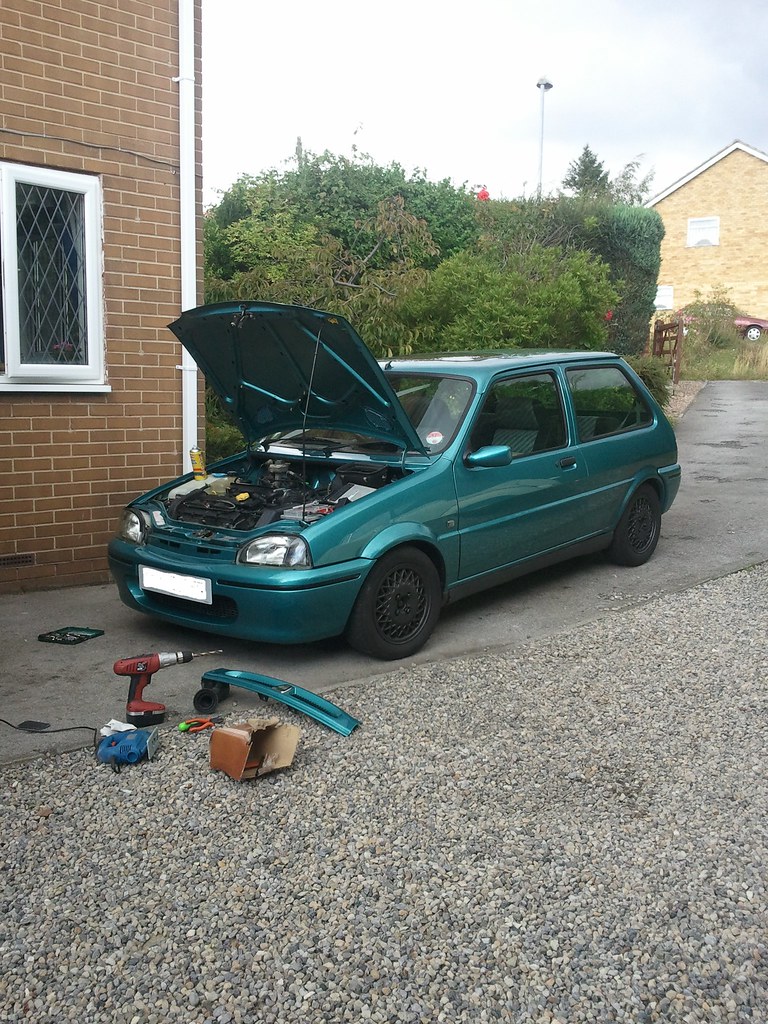
And i've finally got the car in a state where I can remove the wiring loom. The subframe will be coming out tomorrow along with the engine and box etc.
The original wiring loom that I shall be converting and mating with the MG ZR wiring loom.
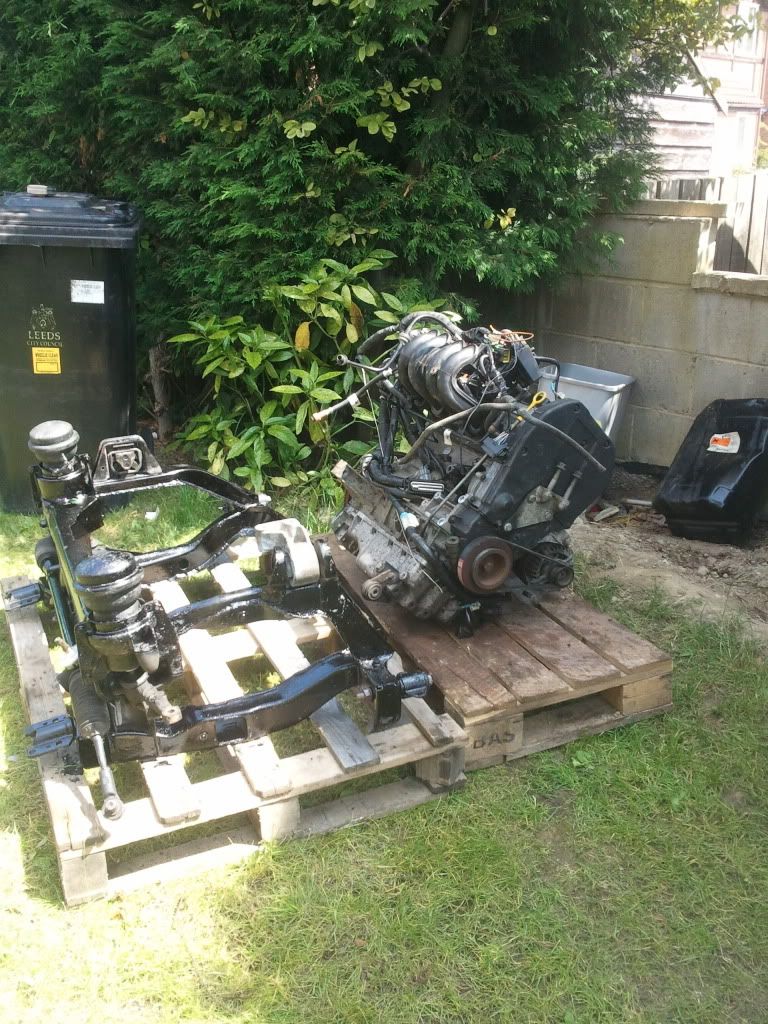
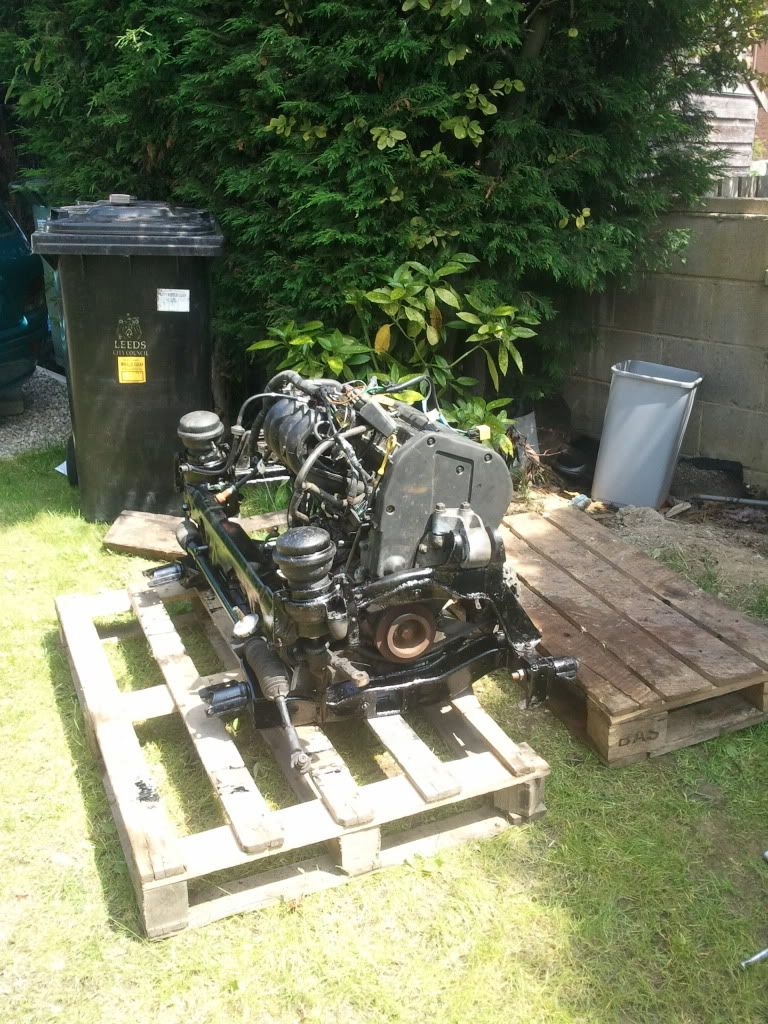
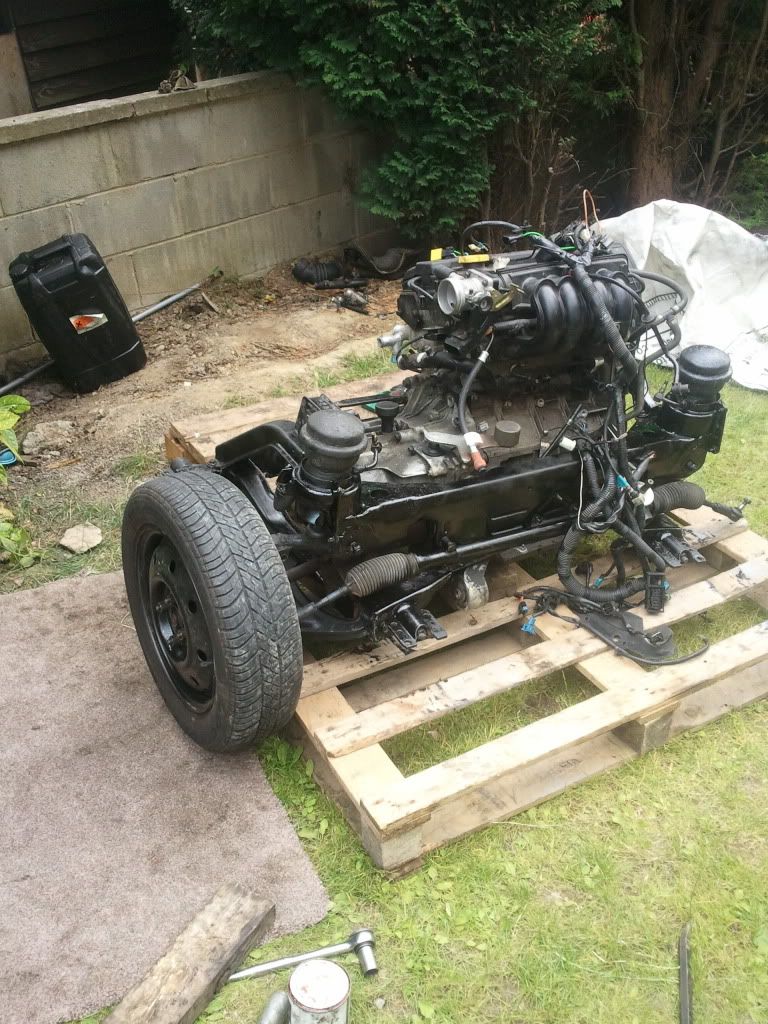
Some more progress... pretty chuffed to say it's just me on my own and i'm not the strongest of guys :P
I was faced with this, with no engine hoise or anything.
Managed to get it in!
And with the gear box attached. Still need to fit a few more bolts etc but all good.
Got the driveshaft in, that pop when it went in made me smile, the sound of success lol im such a saddo
Then the hub and wheel on so I can move it around.
Really happy at how much i've managed that day to say i'm on my own and I've never done anything like this before.
Pics:
Also - I converted my loom from Mems 1.9 to Mems 3. first proper go at stuff like that
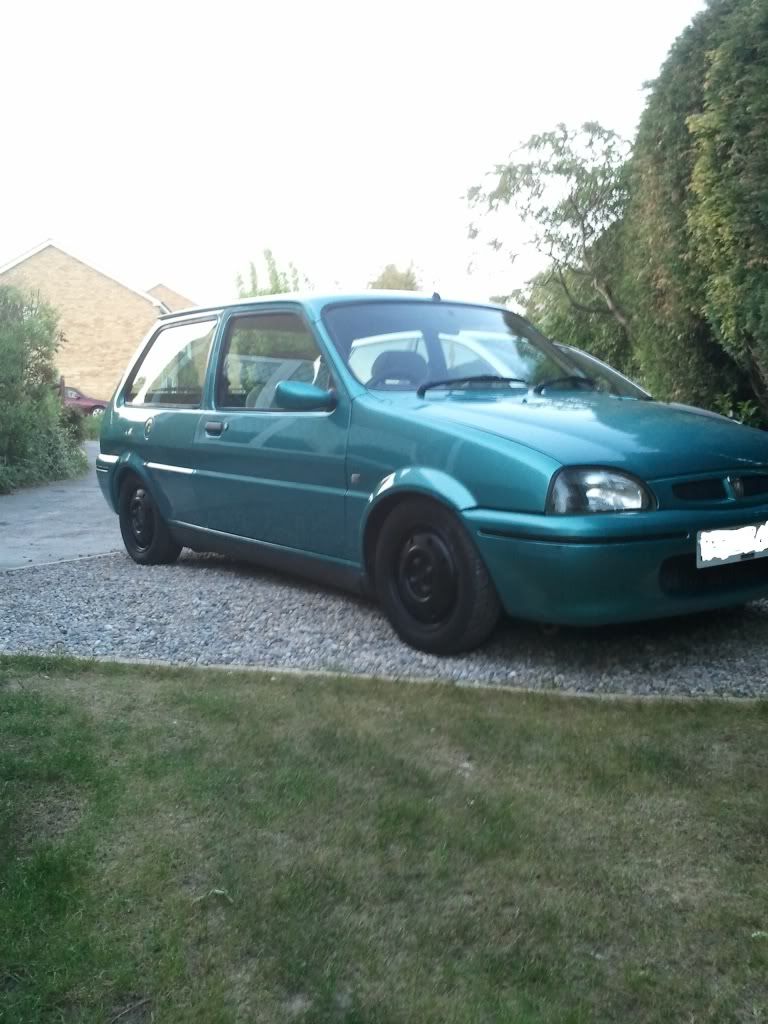
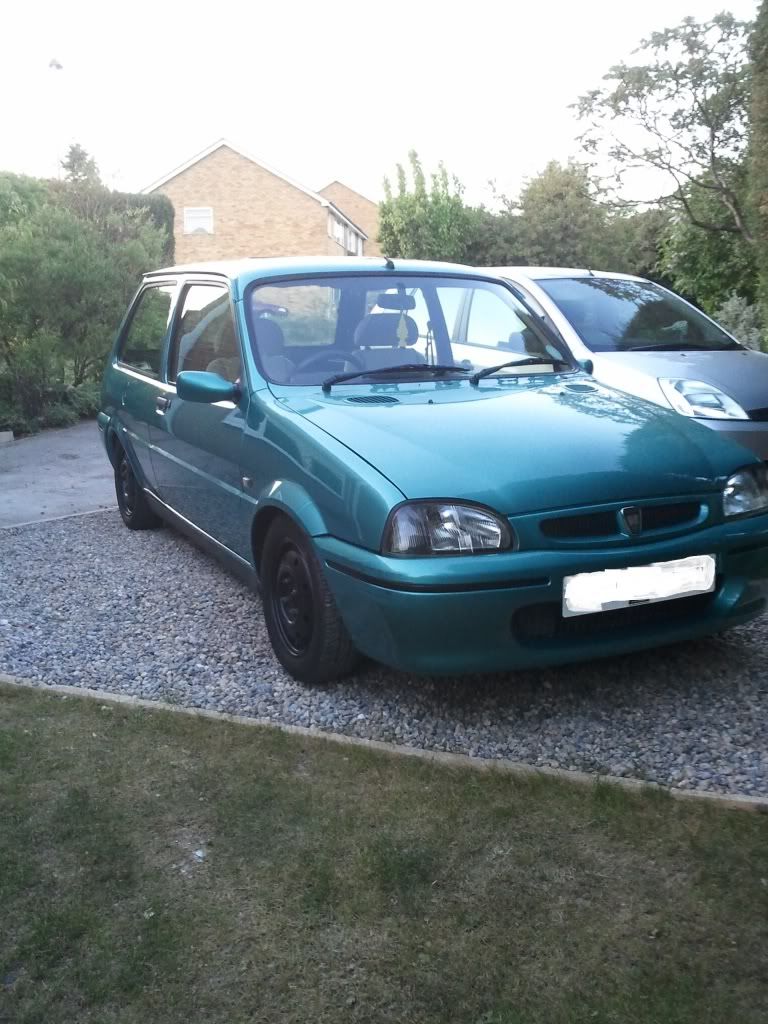
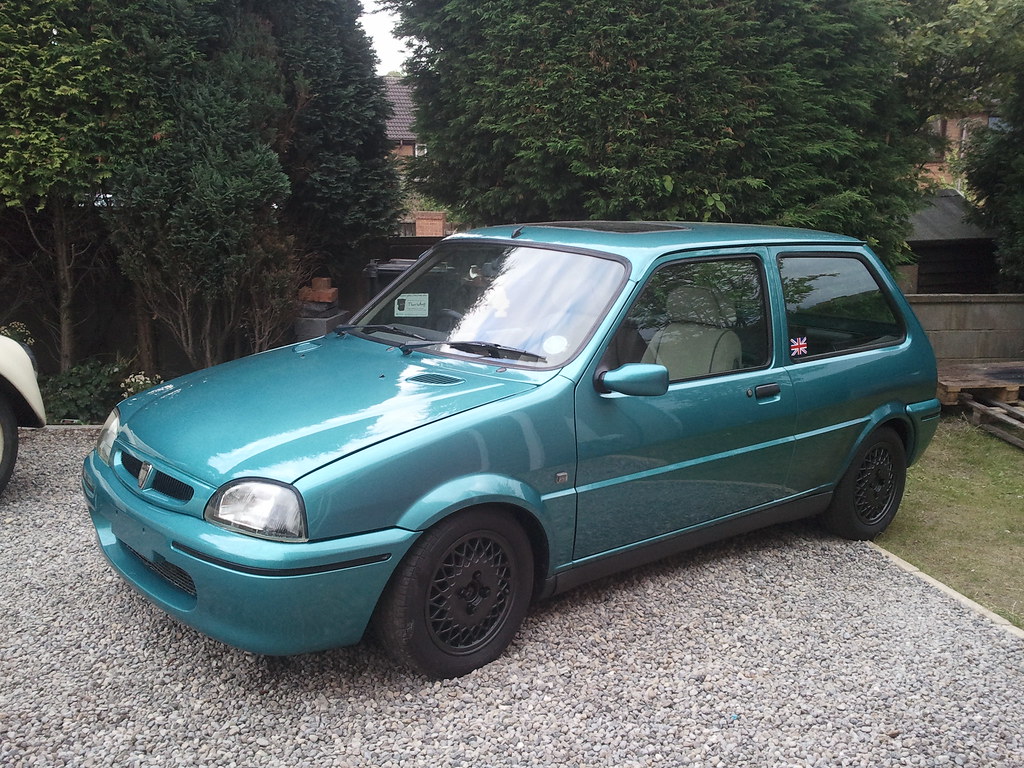
Got my alloys eventually. Gave the car a clean with fairy liquid yesterday too, to strip the wax for when I machine polish it this week. Actually looks quite good to say its been washed with FL. Haha
Black wheels nuts.. !
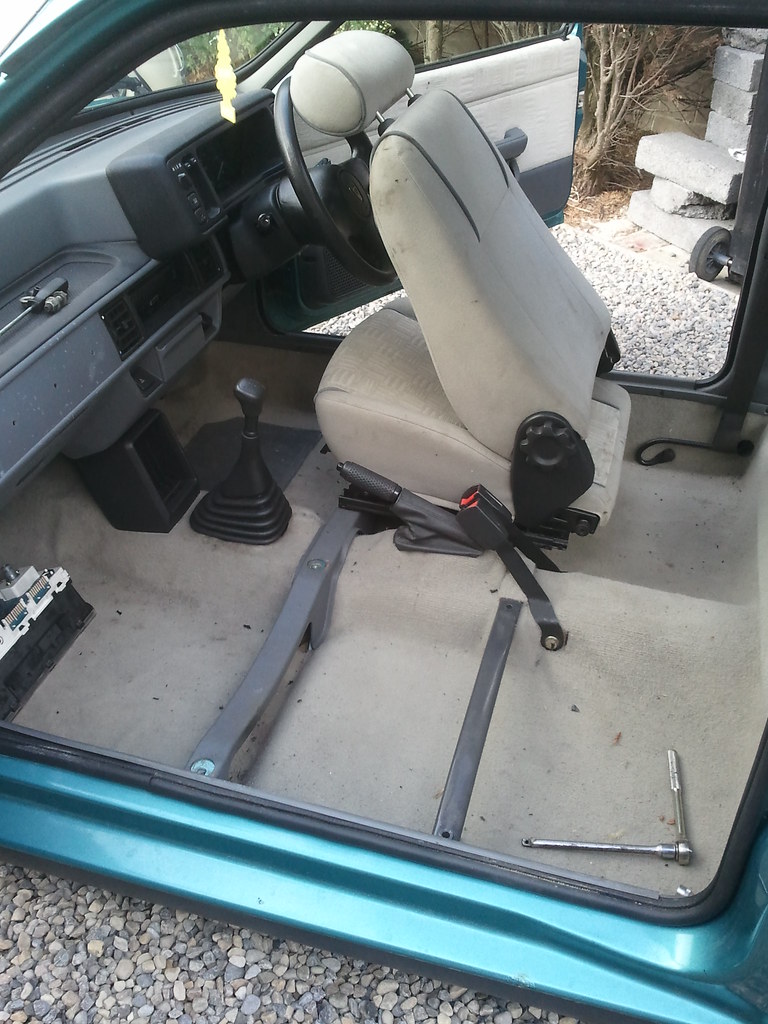
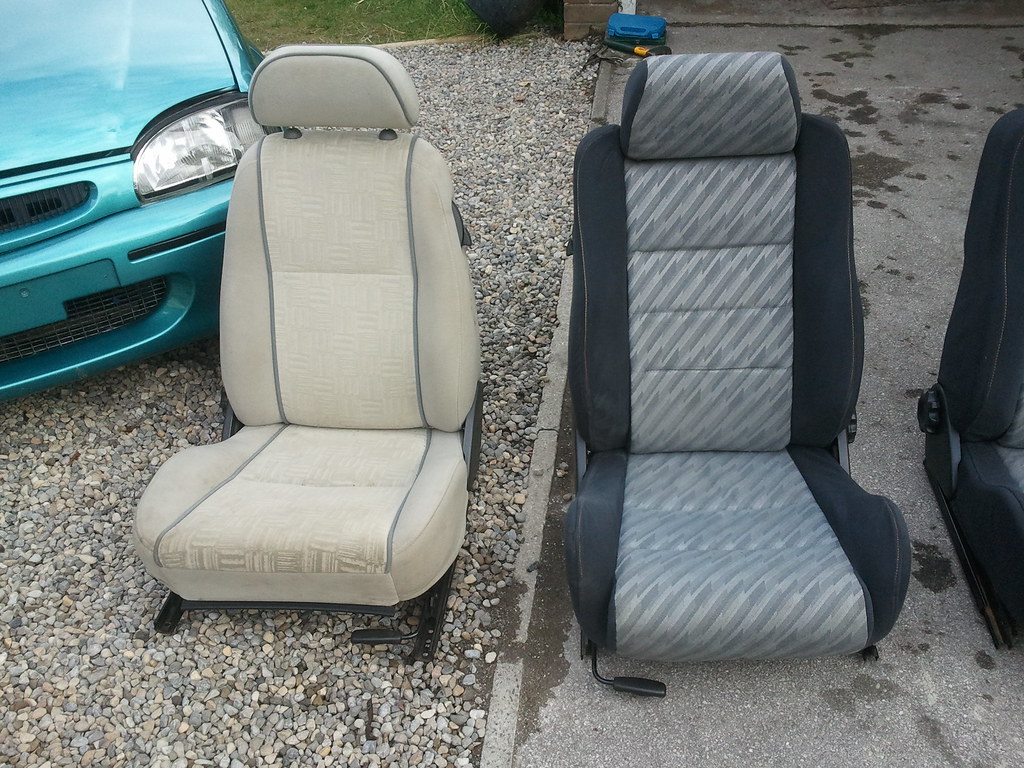
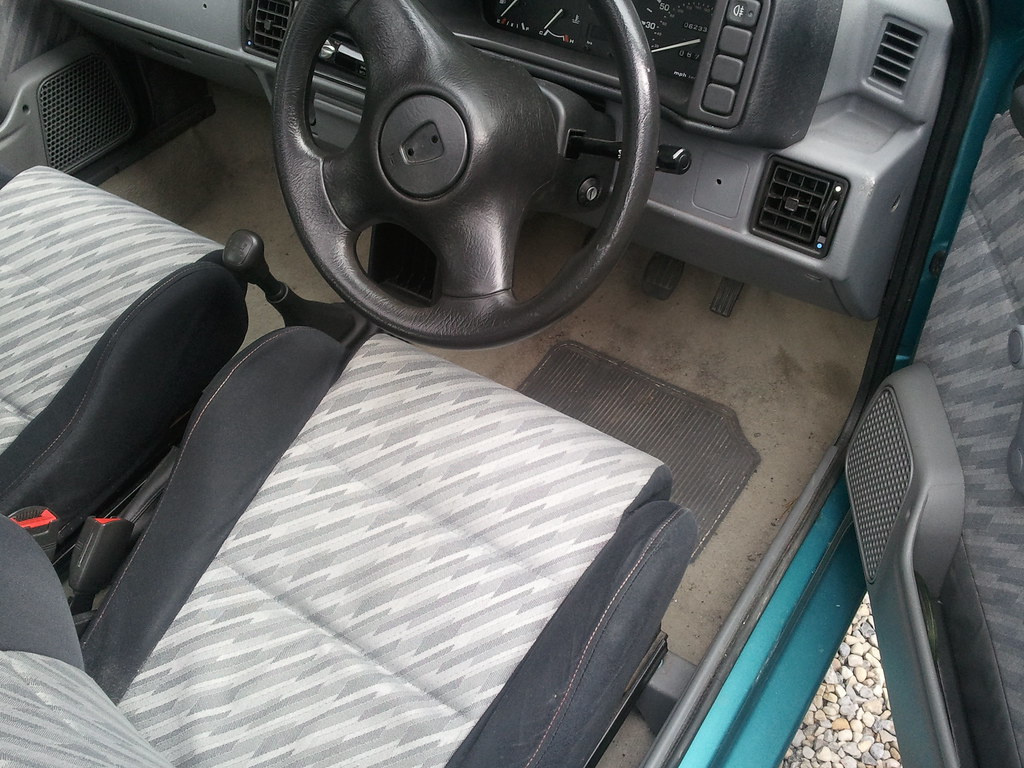
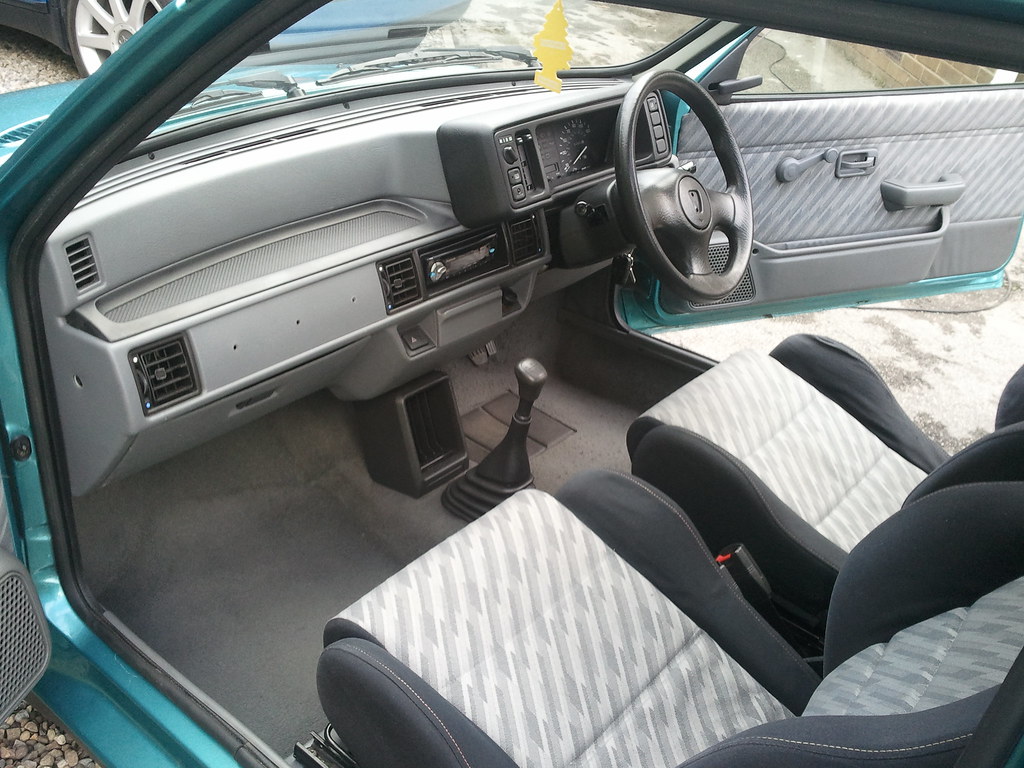
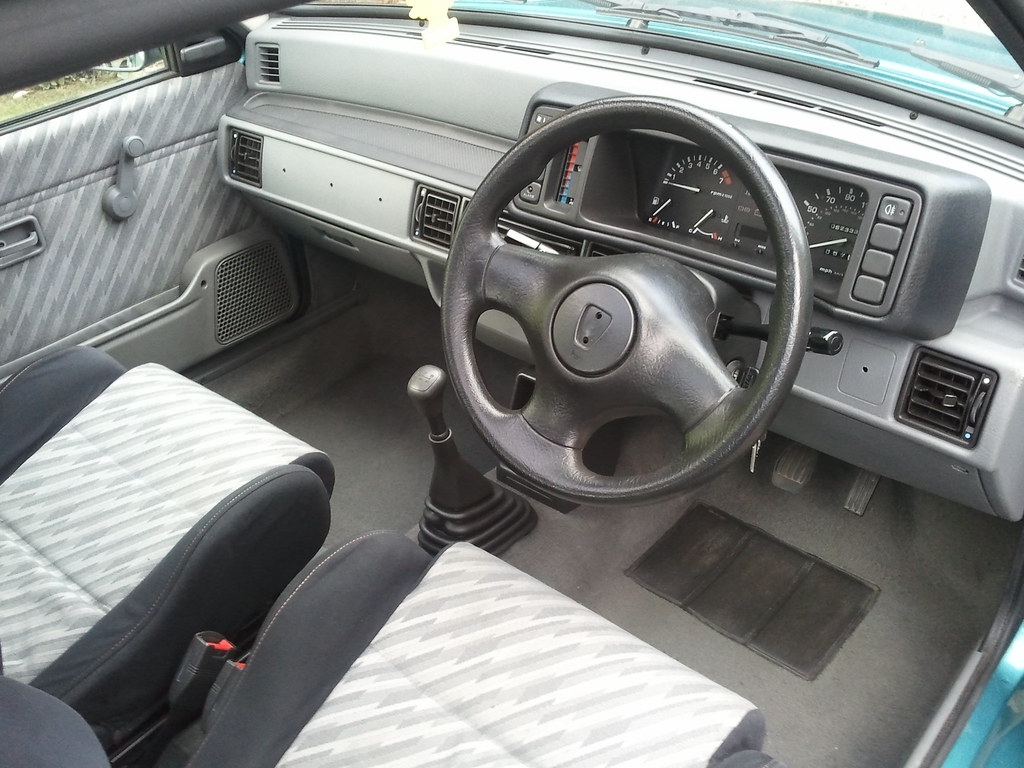
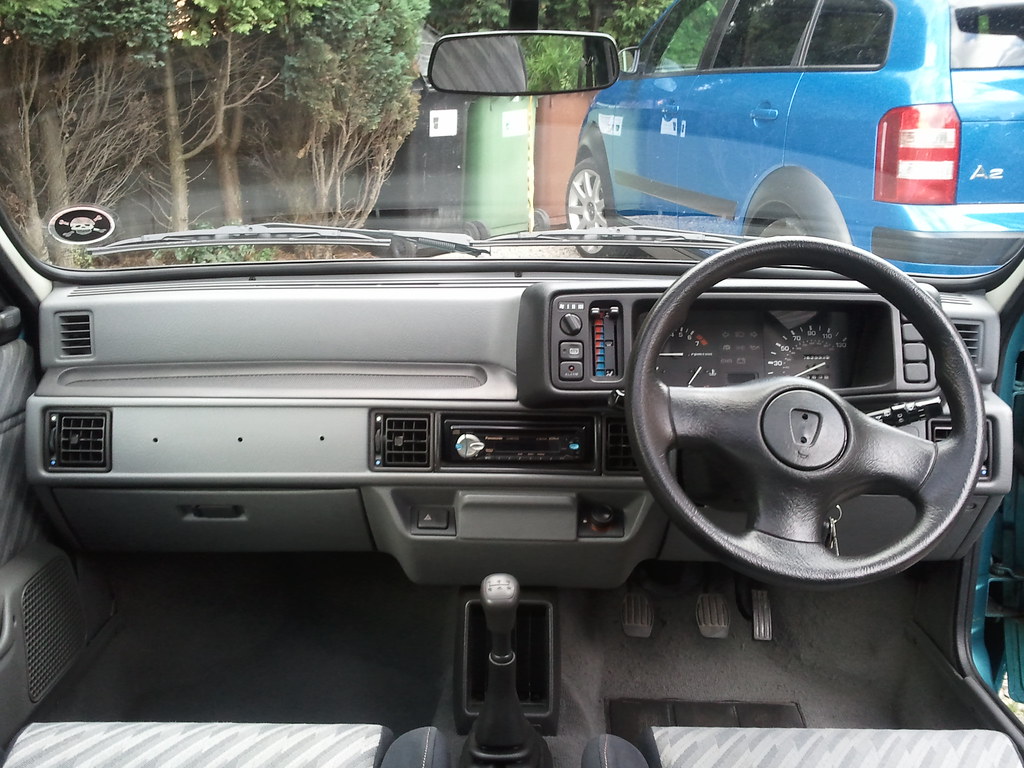
I've recently installed new interior from a Metro GTi. I bloody love it. It's so comfy and supportive
Removing the old seats. Love working on this car, everything is so easy to remove and add haha
Side by side comparison:
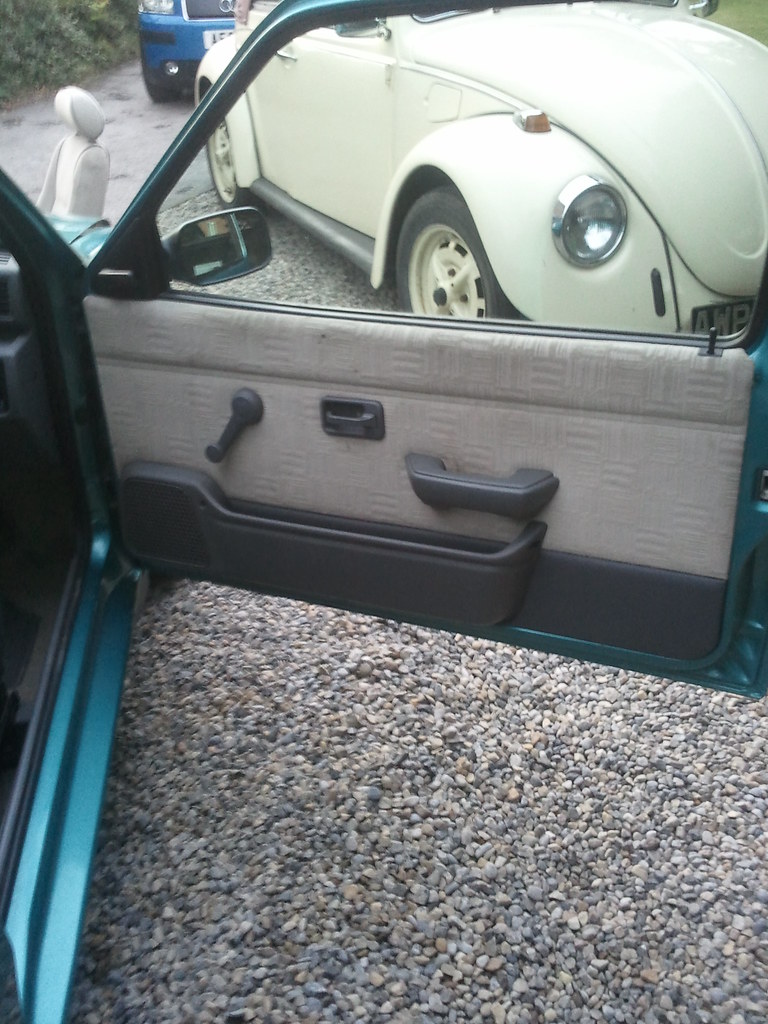
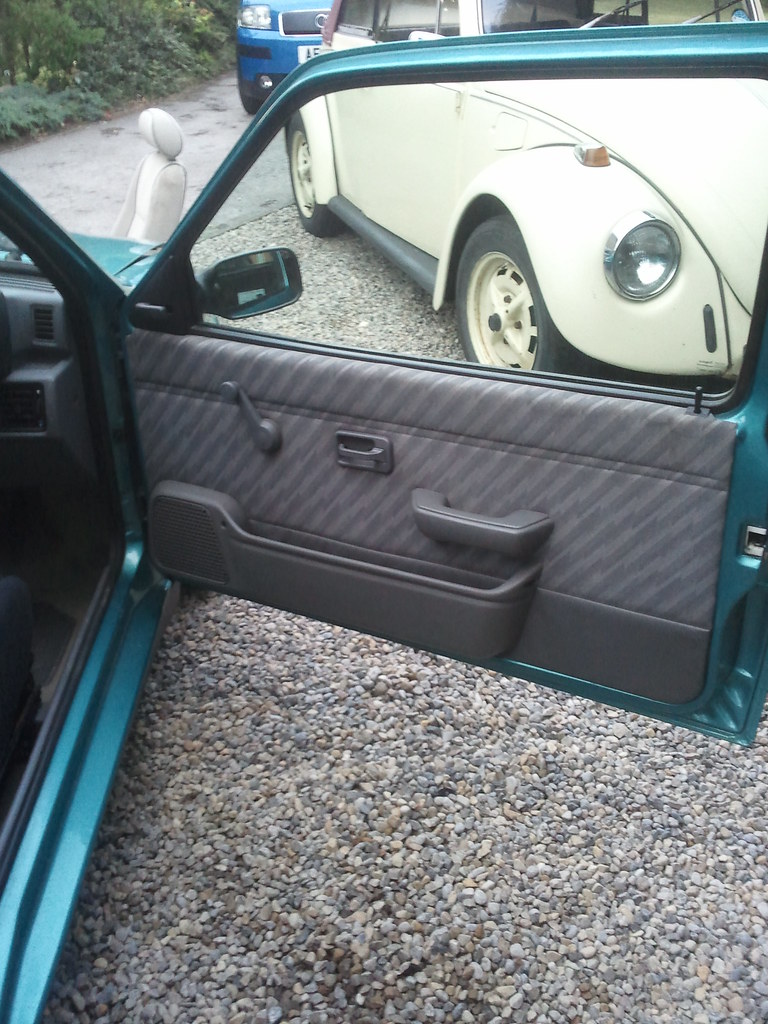
Door cards before and after:
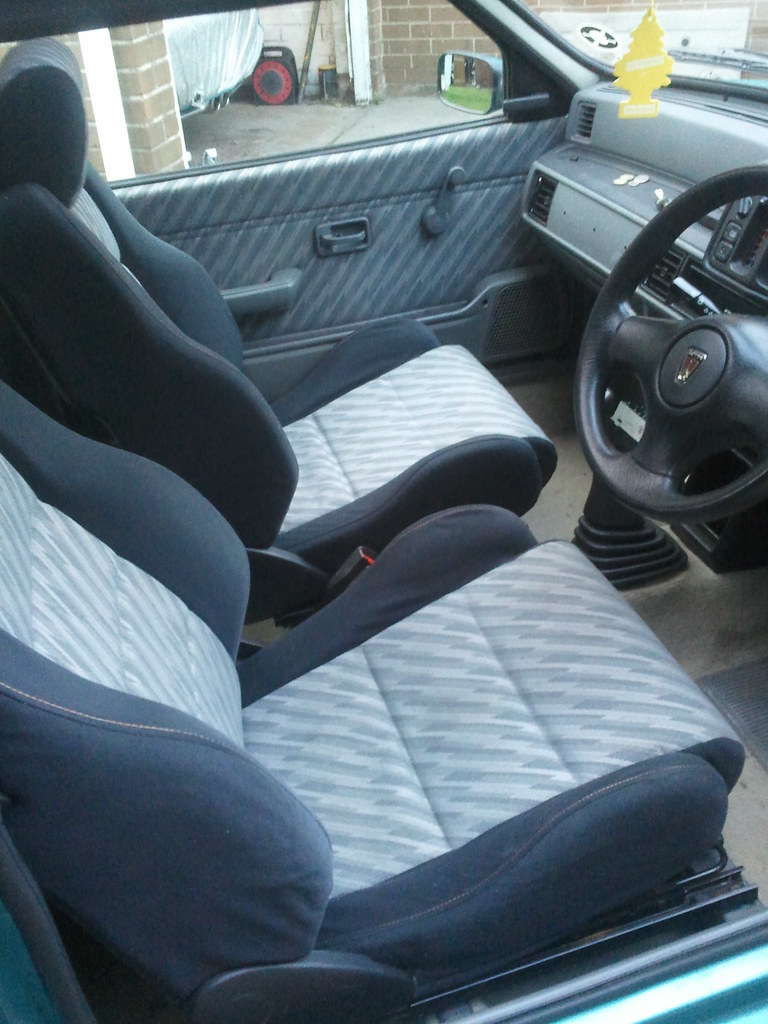
All in
The carpets will be dyed black soon.
Random shot
Bodged my air filter and drilled it, gives a deeper note. Will do me for now until I get a dedicated induction kit or an air filter box from a bigger Rover.
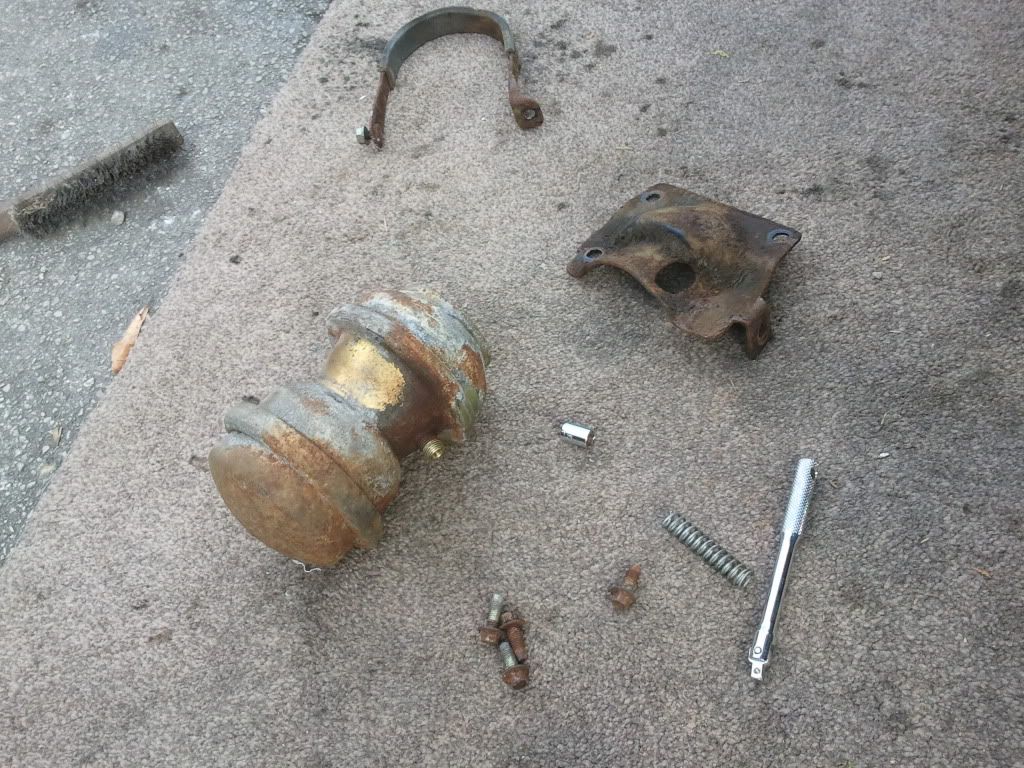
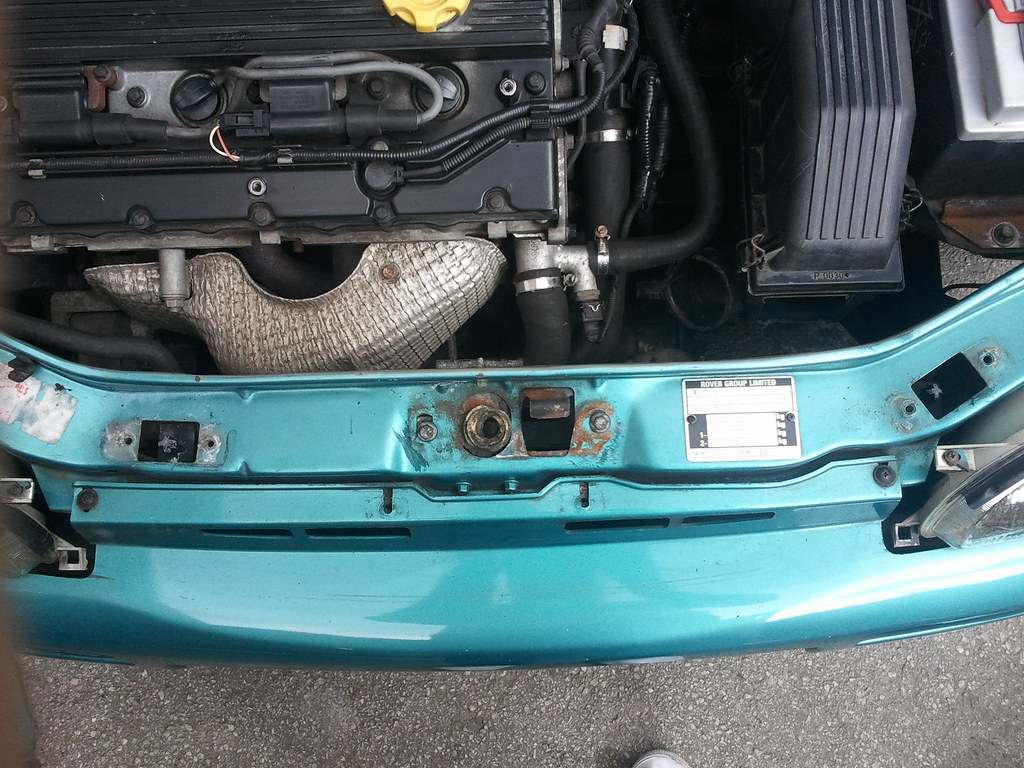
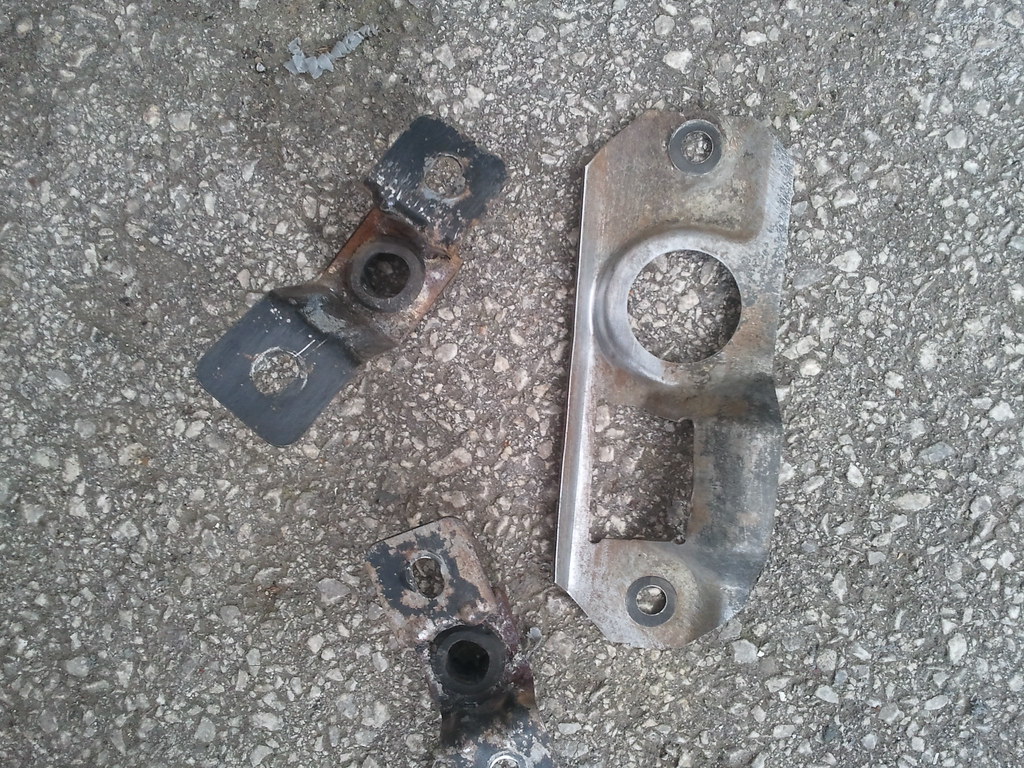
I've removed the two hanging things that were from the MGF subframe. Infact, i'm not even sure what they were, but they looked ugly from far away and not used on a Metro.
I removed the 3 metal things that hold the radiator hose, and the centre bonnet catch holder too, to be painted.
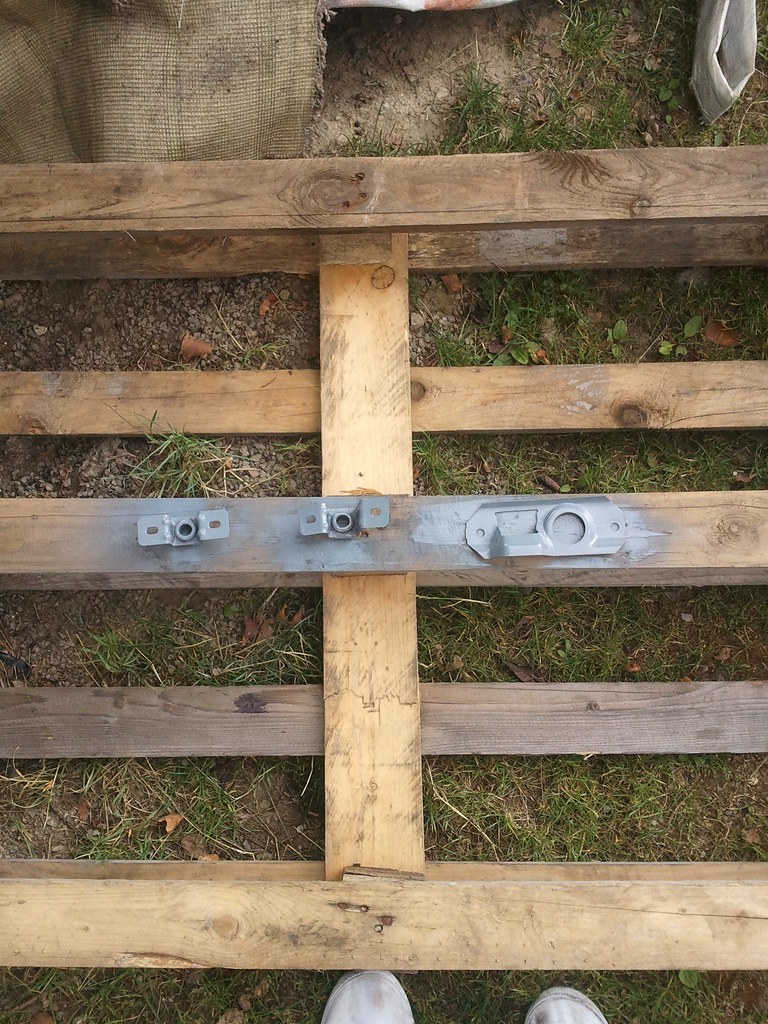
Then sanded them down ready for paint
Wala:
Just a random shot
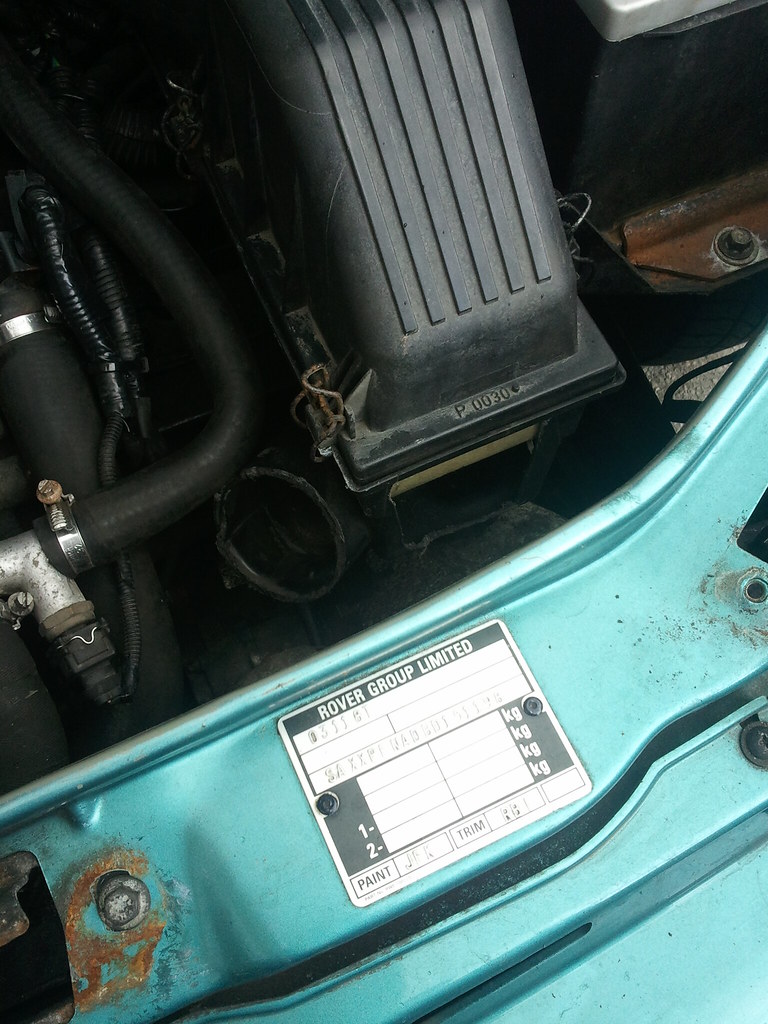
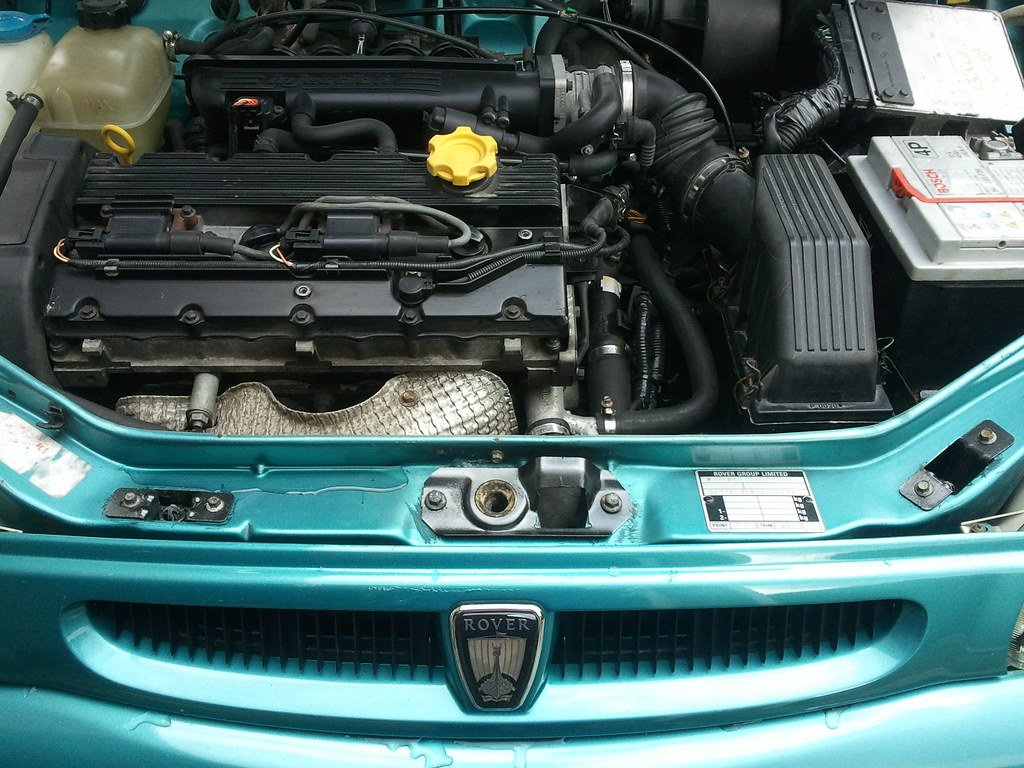
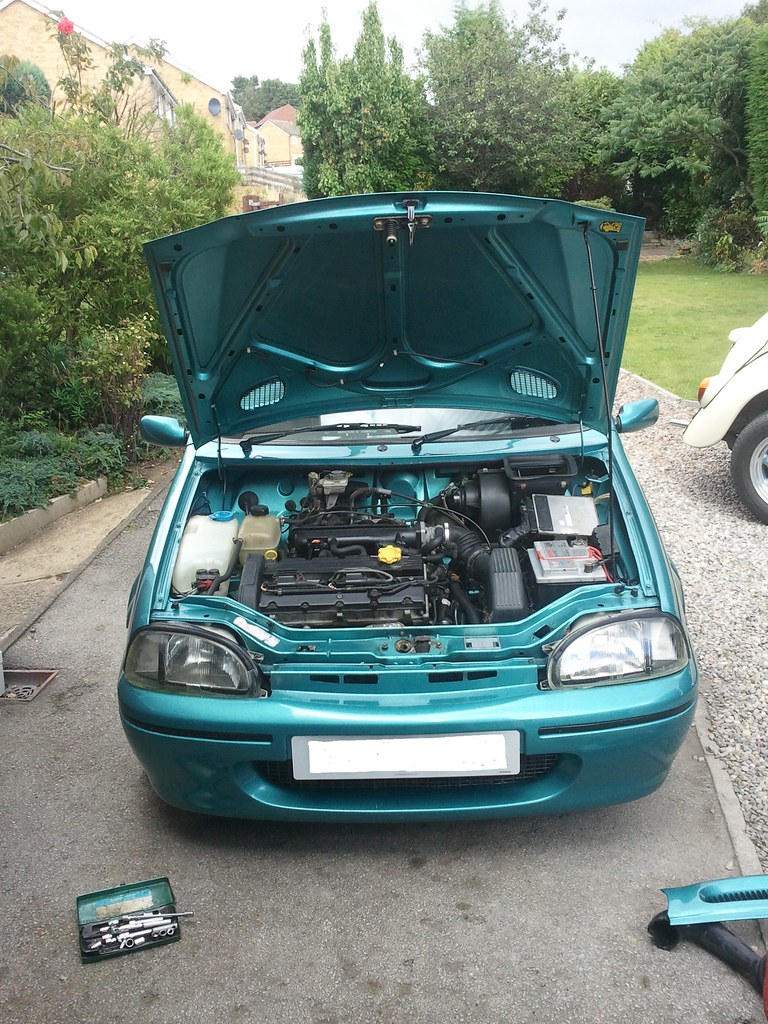
Cleaned the engine bay including the underside of the bonnet. Quite presentable now ish
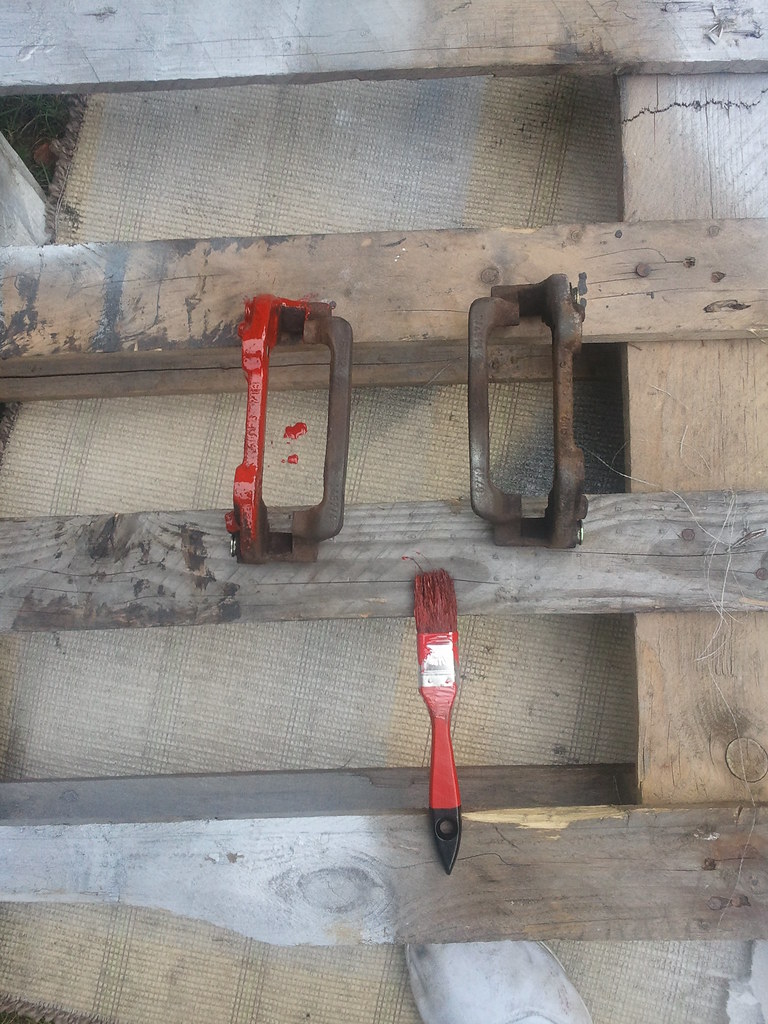
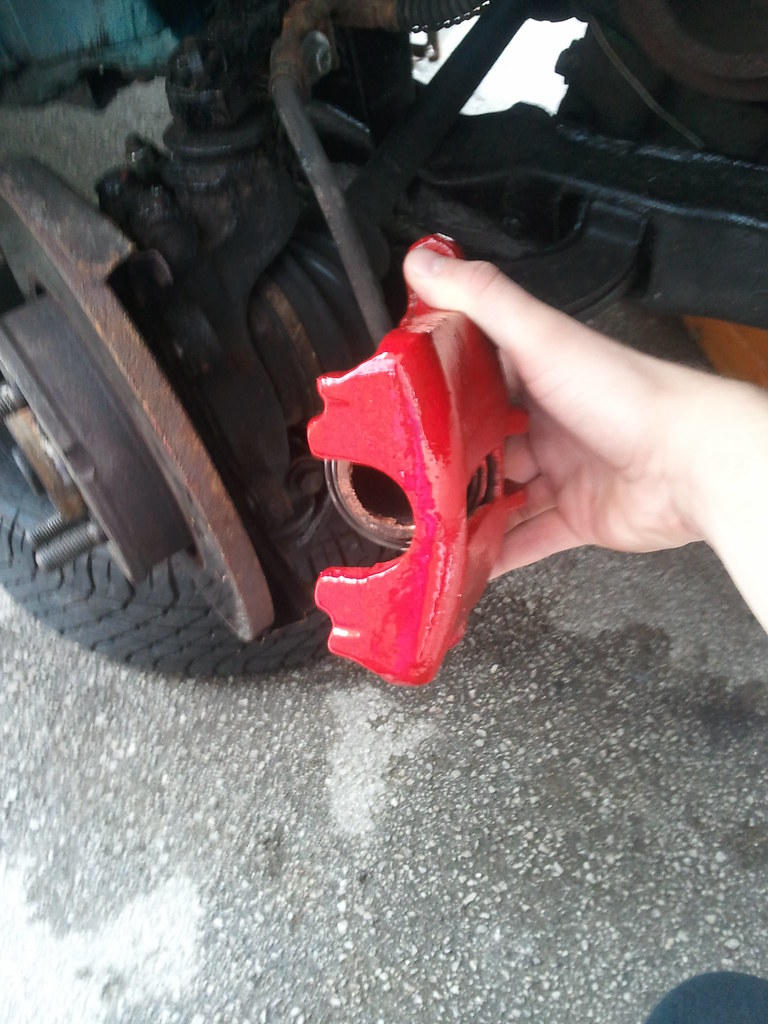
Thought whilst i'm messing around getting my hands dirty I'd paint my calipers
And whilst they are on the car. I like the cross spokes as they don't let on how small my brakes actually are, but you can JUST see the red behind them. Subtle I guess.
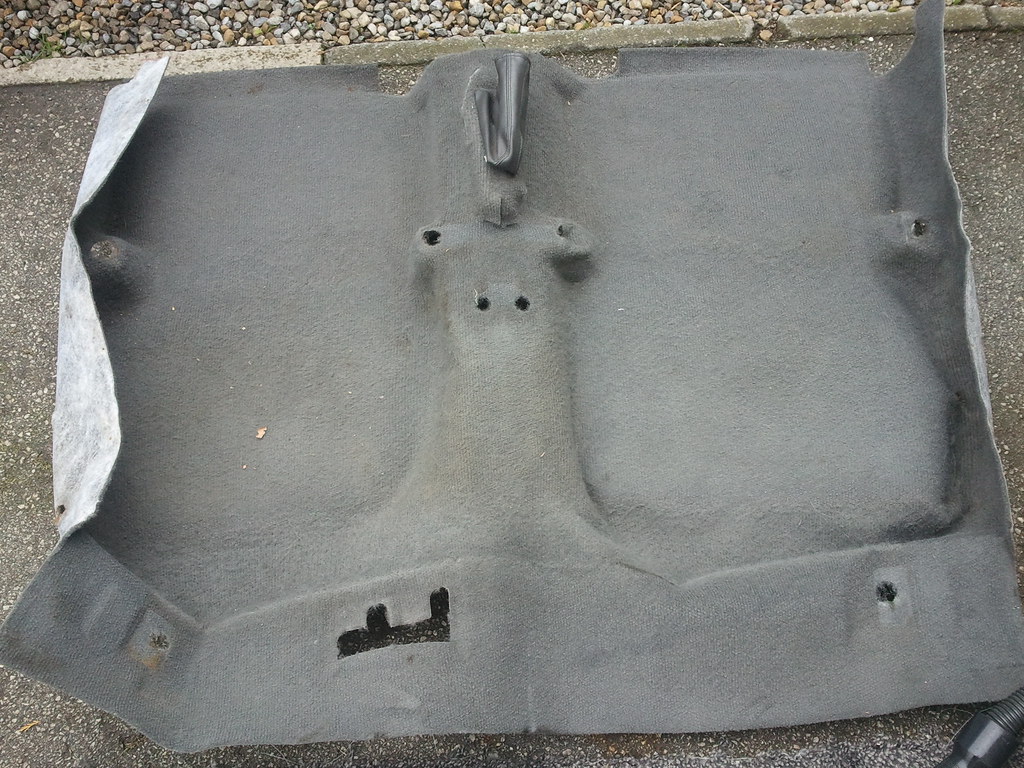
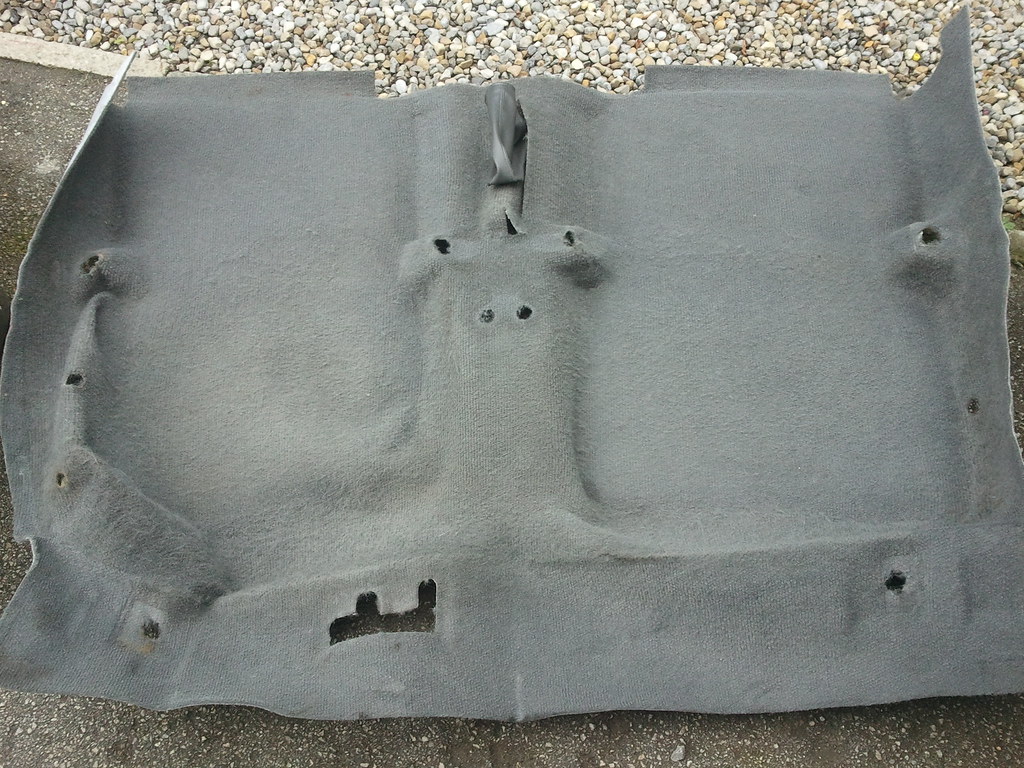
I picked up a grey rover metro carpet as my beige one was absolutely disgusting in terms of style and cleanliness.
This was the old one. MMMM LOVELYYYY!
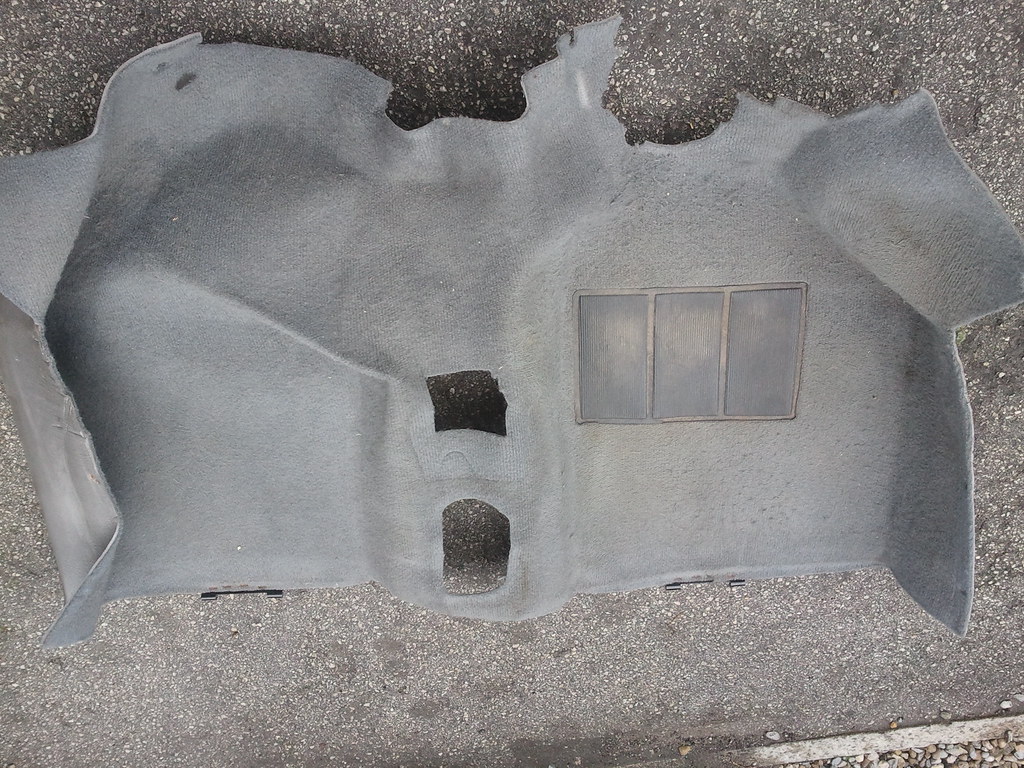
This is the newer carpet. before given a clean
Before:
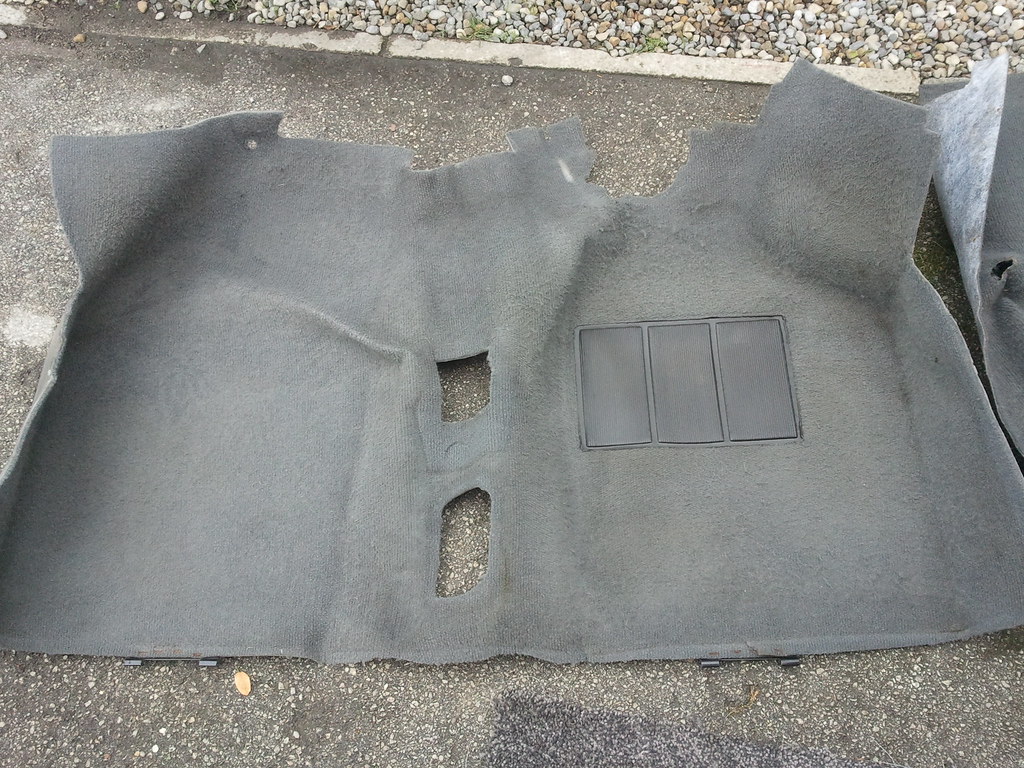
After a good going over with some APC and a brush. Managed to get it a bit cleaner but tbh I just wanted it in and could have made it alot cleaner...
After:
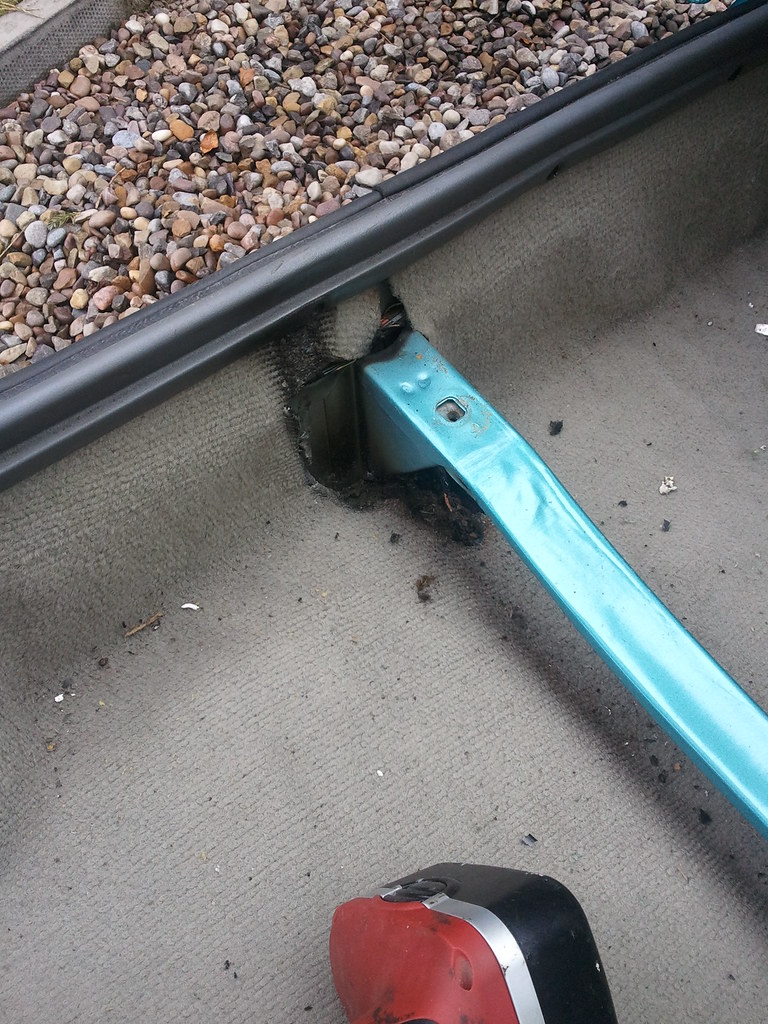
Remember when I had to get a bit of welding done to pass the MOT? Well loks what they did ! dicks...
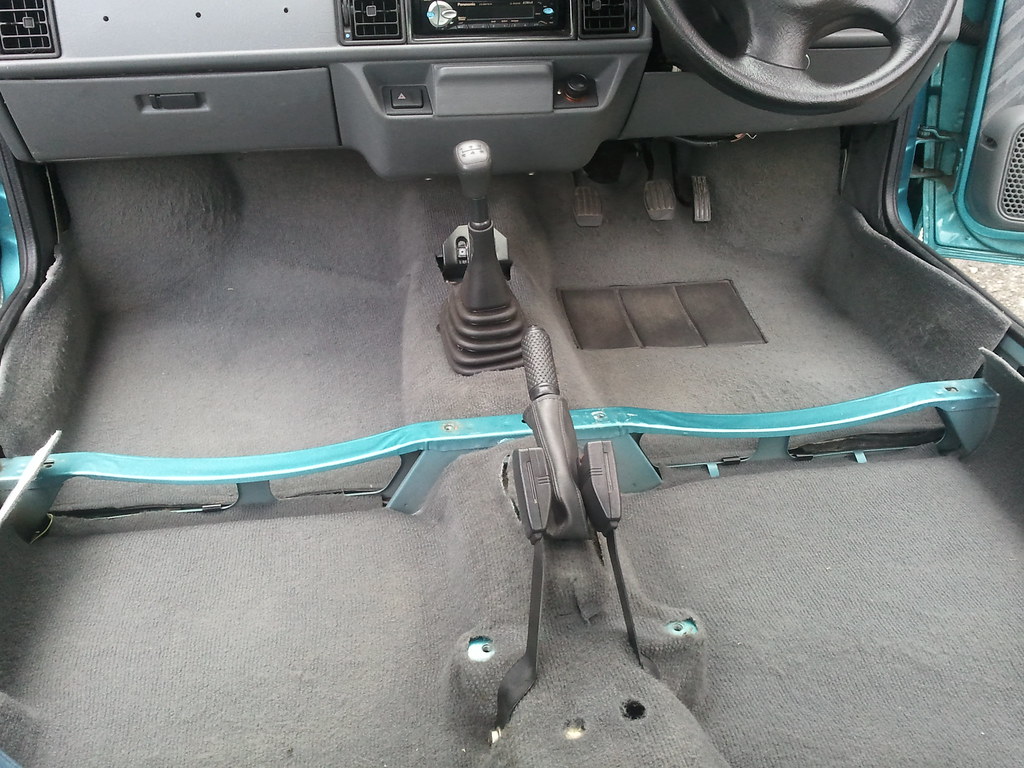
Anyway, new carpet all in
And just a random shot from the back seats after cleaning up everything.
cheers.
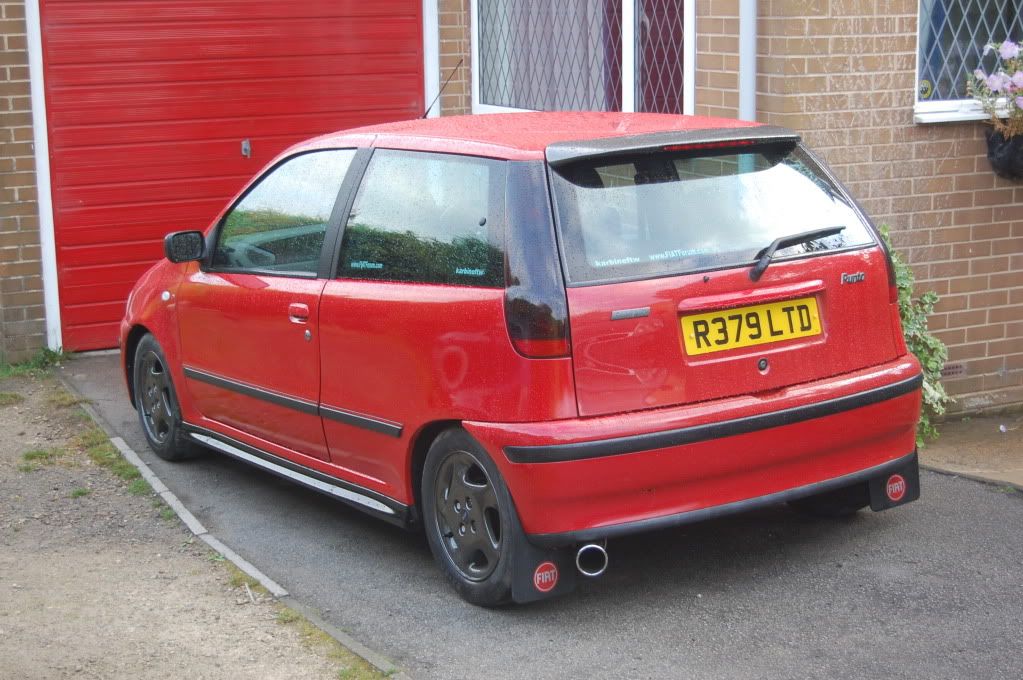
Not sure if it's anyones cup of tea on here but just bored at home and came to visit here after checking out some Punto gt's (always loved them)
Dan!
Looks good buddy nice work

Awesome cars, I've had all kinds of metros from 1983 to 1997 including tickford turbos, gti vvc's. Thats what you need, a nice vvc engine.
Last edited by gaz0_0; 5th September 2011 at 18:02.
I'll hopefully be going vvc next year or the year after.

Really nice work, if everyone liked the same stuff the world would be very boring, but I quite like that.
Guy next door to us used to have a Metro GTi when I was younger and it was a pretty nippy little thing!
what a cracking little car! well done Daniel
thats thread must have taken ages to do, i was optimistic when i saw it at the bignning but it looks great after, well done
Haha cheers guys. do any of you remember my Fiat Punto 60s that was red?
That was it
very tidy conversion.. i like it
 Posting Permissions