
 Reply With Quote
stunning! makes me miss mine


Hello all,
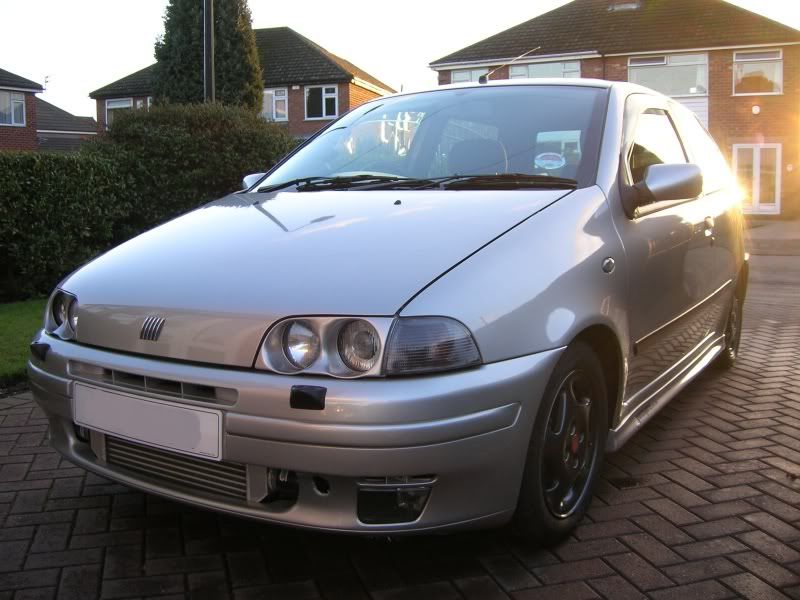
I've decided to do a little project on my dads Punto. I can fit it around other jobs I've got on over the coming month.
I washed it for him at weekend after I'd done my own car which hadn't been done for several weeks. I noticed the paintwork is pretty dull on the car, as it's not been properly polished and treated since USC 2006
So, this is the process I propose to carry out:
Vehicle rinsed then snow foam applied to suspend dirt and left to dwell for 5 minutes.
Wash the vehicle using double bucket method.
Wheel arches cleaned.
Wheels removed and replaced with Pro-Race 1.2 alloys, sealed with 4 layers of wheel sealant
Lower third of bodywork sprayed with a non-caustic traffic film remover and then rinsed.
Clay bar used to remove bonded contaminates from paintwork (inc door shuts and wheels).
Vehicle re-washed and dried.
Record paint thickness readings, and mask all exterior plastics.
Paint levelling process to remove deeper paint defects such as 'orange peel' and scratches.
2 Stage machine polishing process to remove sanding marks and return gloss to paintwork.
Multiple layers of Raceglaze 55 wax applied.
Door shuts waxed for added protection.
Full interior detail.
Interior plastics dressed.
Door seals and rubbers cleaned and protected.
Interior glass cleaned.
Tyres cleaned and dressed.
Exterior plastics dressed.
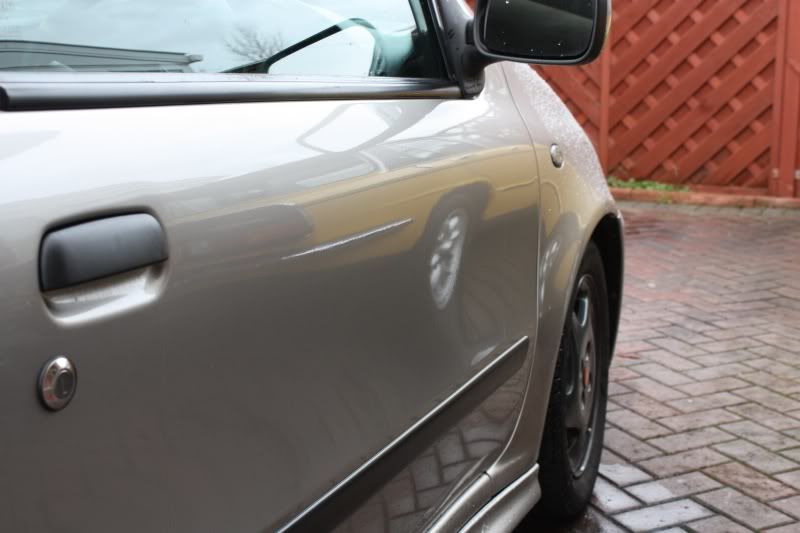
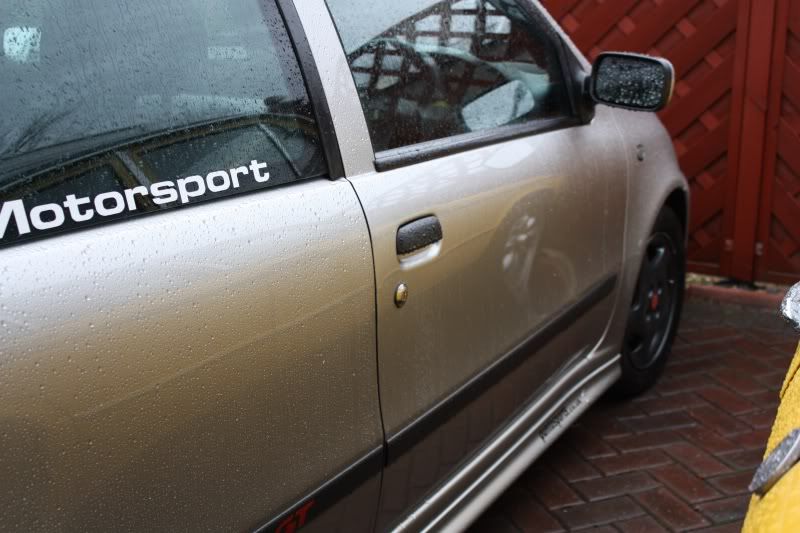
At weekend I slapped on a load of liquid wax as it was in desperate need of at least some form of temporary protection now it's back on the road and being used full time again (more on that in the official project thread at weekend). This is what I'm left to work with.
I'll get some proper before/during/after shots as per my other threads in this section. This will be my most relevant to the forum yet with it being a Punto
Cheers,
Matt.


stunning! makes me miss mine

What heads/pads did you use?
Also do you remove products before using the next?
Better than out the factory.
and he hasn't even started the work yet!Originally Posted by SirAdam

CinquePunto - Five Point PhotographyLike a bulldog eating mayonnaise!...
I was just thinking that, lol! It looks quite clean in the photo's, as you'd expect. If you read the dialogue you'd realise it had just been washed and that's what I'm looking at as the task ahead. To the touch the paint feels quite coarse, and in some parts (front wings mainly) it looks a little dull comparative to other areas.
It is my intention to measure the paint thickness and decide on a course of action. FIAT paint is typically quite soft, so I already have in mind the following:
* level the paintwork with Abralon 2000 grit discs via rotary.
* refine using Meguiars 3000 Unigrit by hand (with a sanding block)
* compound using 3M Fast Cut+ on a Gloss-it wool pad via rotary.
* finish using 3M Ultrafina on a Lake Country polishing pad to leave a high gloss finish.
Between the FC+ and UF I may need to use something like S3 Gold in order to bring up more gloss ready for the final polish. Its a big job, well over 20hrs work, probably run into 30+. If you think it looks good now, it will look totally fantastic afterwards. We have other plans for the exterior, including a Cadamuro spoiler and colour coded bump strips. It'll be fully prepped for a mag shoot should the situation arise
Right then guys, lets get down to business.
I was supposed to be at the Autosports Show today, but that all went tits up due to ill health, so I spent some of my time off making a start on this little project. So I'll go through step by step what I did.
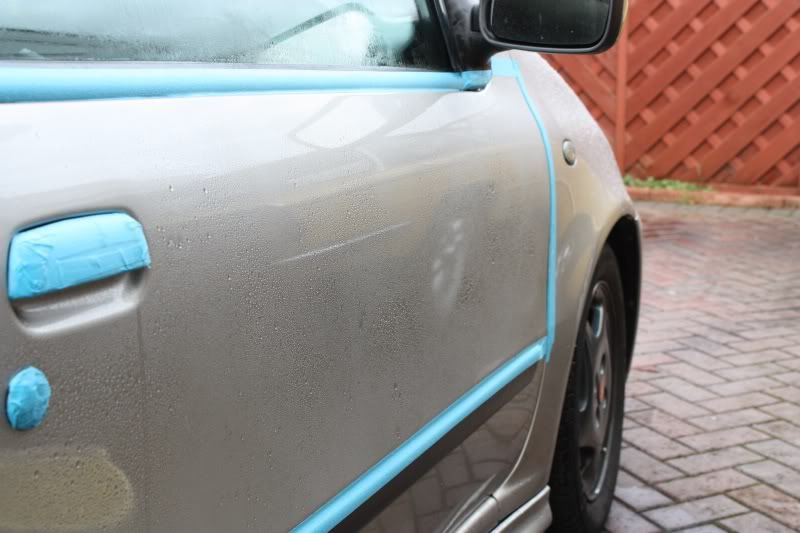
As per the original post, I washed the car at weekend and slapped some liquid wax on it (which has a lifespan of about 2-3 weeks), but as the car had been used since then I needed to rinse the panel down and wash it. After that had been done I clayed it, and give it a quick wash to remove any clay residue and lube. Here's how it looked after:
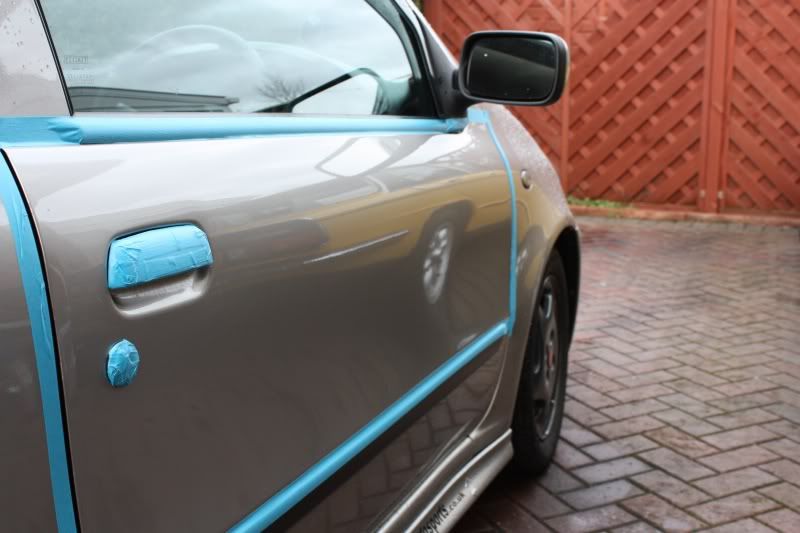
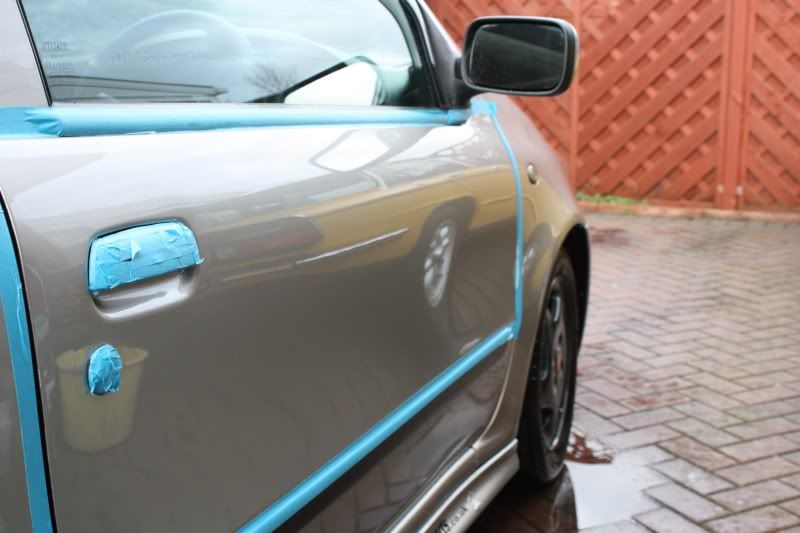
Next up I needed to mask off my work area..
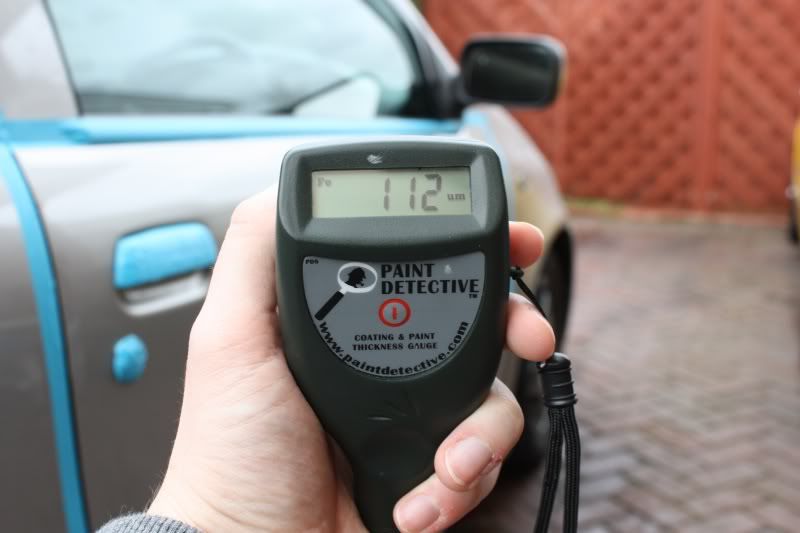
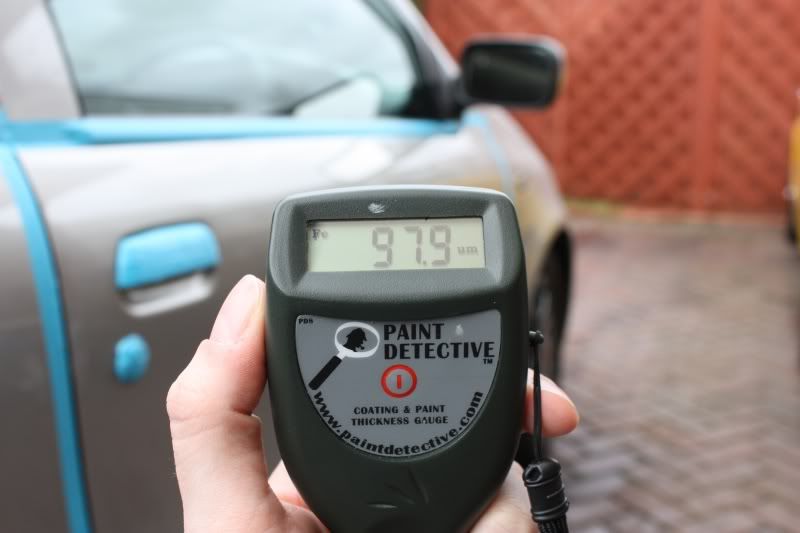
Took some paint readings, here were the highest and lowest around the panel. Noticed it seemed to be thinner towards the door lock and handle.
Now I should say at this point I'd had the sanding pads and paper soaking in a bucket of hot water for about 30mins (time it took for me to get to the above stage). As this is "wet sanding" it's imperative you keep the paper/pads and the surface wet at all times. This is by no means a guide, so don't be copying! Just showing you how things are done
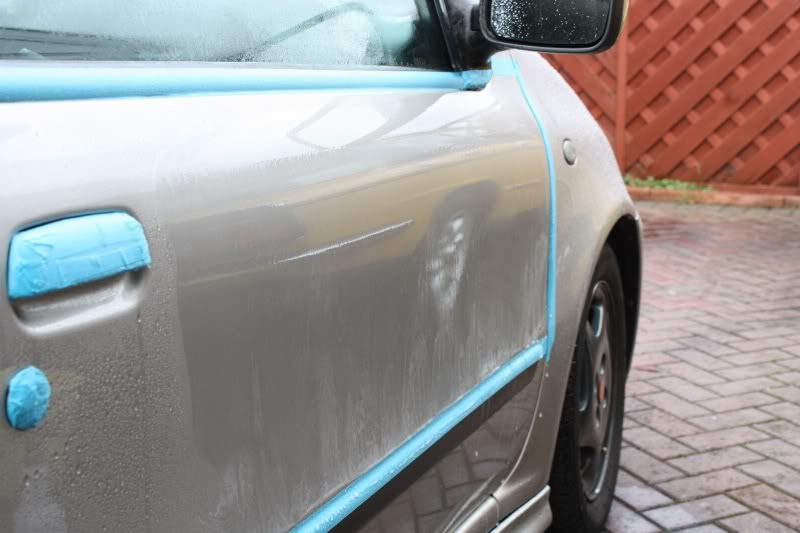
So I misted the surface with water and began sanding, using 2000grit.
You can see the clearcoat coming off in the water, creating that milky substance.
I did this using the Rotary, at 600rpm, to try and ensure the clearcoat was coming off uniformly as it's quite a coarse grit. I hadn't got any 1500, but ideally I'd have used that as it has much more bite and levels the surface better. Nonetheless, after I'd used 2000grit, I then hand sanded with 3000 paper by hand, rather than machine. This was really to blend the peaks and troughs of the sanding marks (these are all very minor btw, practically invisible to the eye. Then after this step came the 4000 on a disc, and went over again by Rotary at 600rpm - this was done to form as smooth a surface as possible ready for machine polishing.
At this point, down the centre length of the door I got my PTG readings all within 4 microns of each other - I was showing anything from 104-108. I've taken between 4-6 microns off. However, these were still above the low point readings around the door lock. I wasn't prepared to sacrifice 15-20 microns of lacquer as I was sure the outcome would be positive and a vast improvement having closed the gap. So the difference between the high and low points now stands at between 8-10 microns, rather than the 14microns it was before.
Look away now if you're squeemish
Pretty cloudy
Then it was decision time. Do I compound with a wool pad? Do I use Fast Cut+, do I use my S3 Gold instead? What pad??
Well, I went for the quickest option, and with FIAT paint being soft, also the one that was less likely to remove more of the clearcoat. So I used the S3 Gold and on a Polishing pad, no need for "true" compounding like I had suggested in the last post when thinking about what I was going to do..
This was what it did..
Which brought it back to life for me. The S3 gives pretty good gloss, much better than if I'd used FC+. Even more so because I can get away with using it on a softer pad. FC+ requires either wool or a heavy cut foam. Another benefit is speed, the S3 does a good job and faster.
I then used some Ultrafina (which is a high gloss finishing polish) on a finishing pad to increase the gloss level and remove any potential buffer marks left by using the more abrasive S3 Gold.
Took all the masking tape off and tidied up..
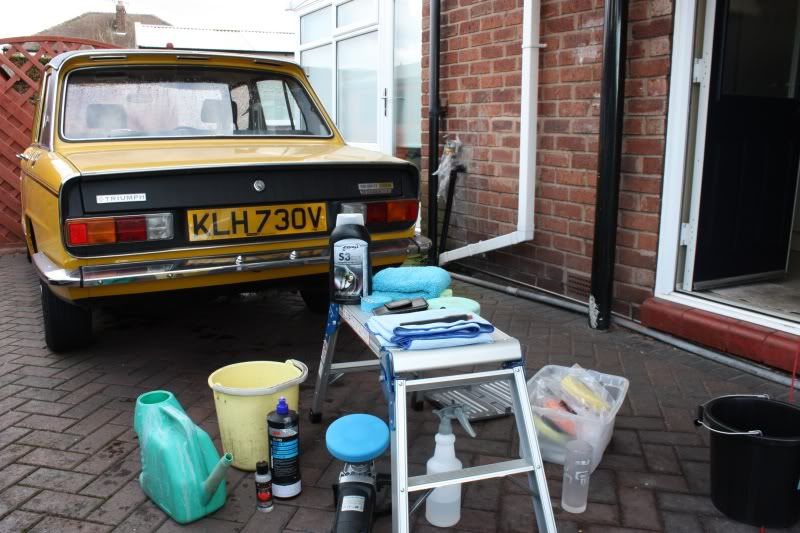
Here's the tools of the trade, with everything I used today..
Just so you know what's what in the above photo:
* The first towel you see (light blue) on the hop up is for drying, it's a waffle weave microfibre. On that is a stiff bristled brush for clearing out excess polish from the pads.
* Green pad just behind it is the polishing pad I used with the S3 Gold which can also be seen on the bench.
* Next to that is a dark blue towel, that's a shag weave microfibre and was used for buffing off the polish residue.
* Down on the floor in the yellow bucket is my sanding stuff
* Next to that is the Ultrafina finishing polish, and on the rotary next to it you can see the blue finishing pad it was used on.
* Pad prime is next to the Ultrafina in the small dispenser.
* Water in the spray bottle.
* Various selection of pads in the container by the side.
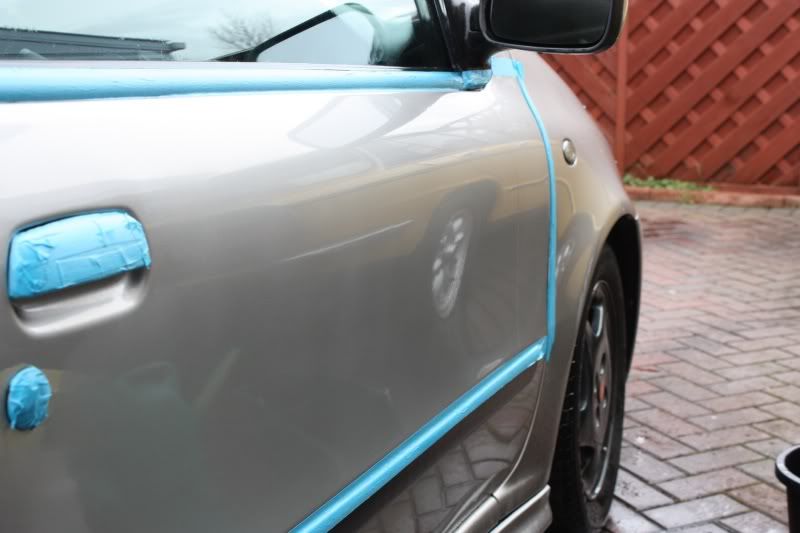
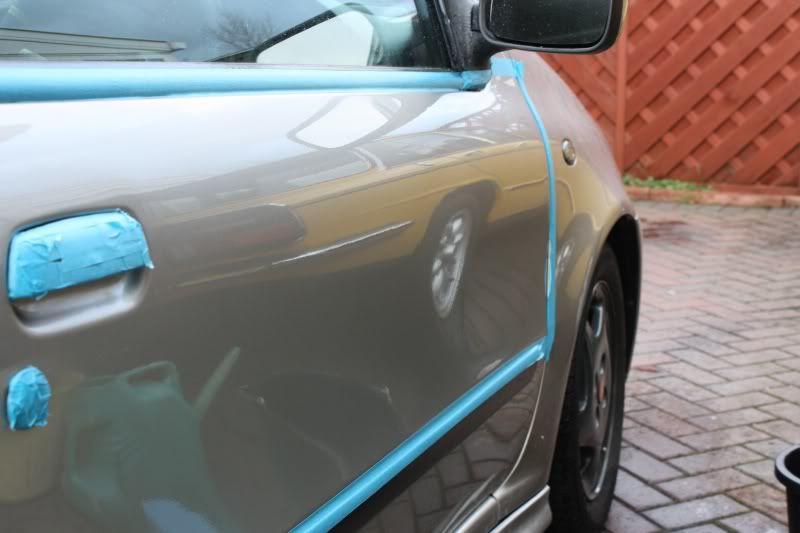
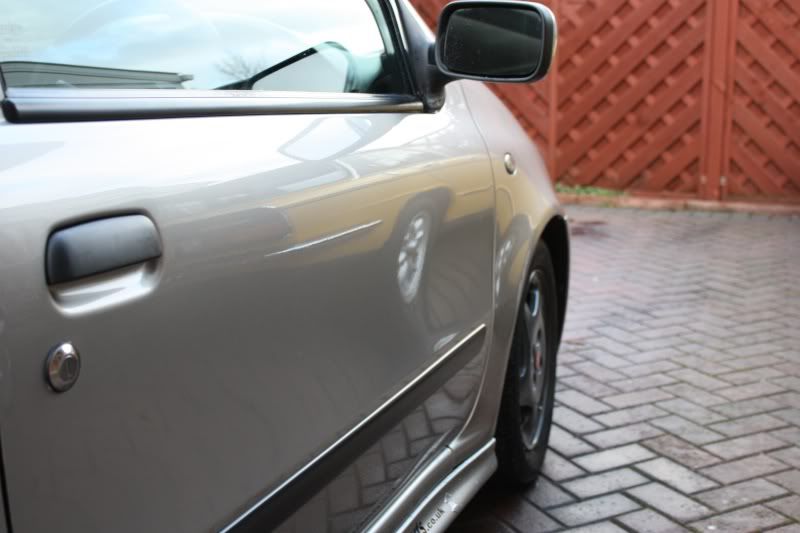
Aaaand finally, after spending just over 3hours on this panel alone, this is what I'm left with. Here's a couple of pictures that show the difference between the front door and rear quarter..
Granted, it's not completely levelled, with 1500grit I have no doubt I could have done that, but this is a great improvement. Like I said, there's now between 8-10 microns difference between the high and low parts.
I'll show more updates as and when I do more to the car. I'll be using the same process all over, so it's going to take several weeks but as the title suggests, it's a work in progress.
Hope you enjoyed the write up
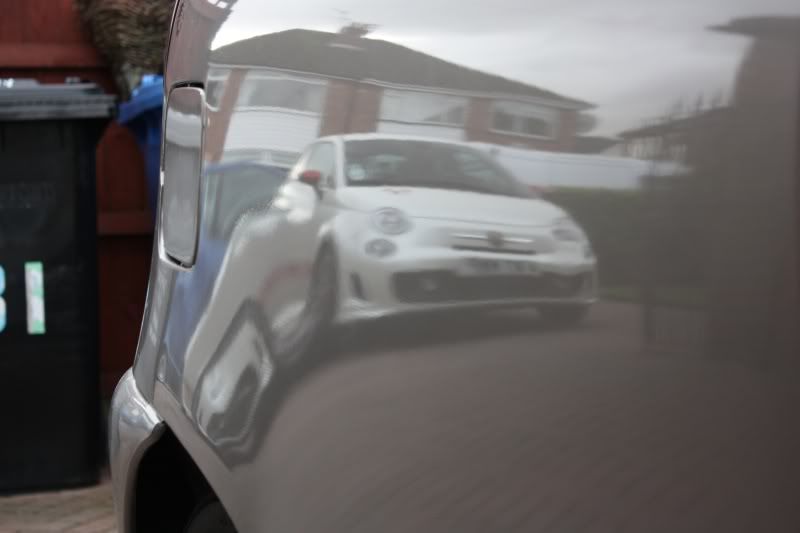
I was hoping to get another panel done today, but it's persisting it down here in Manchester and the garage is in use. Instead I am able to show you the difference between the levelled panel and the untouched rear quarter..
Now the surface is pretty flat the water hasn't got much left to hang onto! Imagine the normal surface on the rear quarter is somewhat like a golf ball in texture (albeit under the microscope).

Chop chop, you can do mine when you finish your dad's
Very long and drawn out process no doubt, but definitely worth the results
I have been in touch with my local supplier who has said he's going to get some discs in for me - in the mean time I've picked up some 1500grit off them in paper form. Don't fancy doing it all by hand though. I did the 2000 passes by machine here, would like to do the same with the 1500 to ensure a uniform finish. Got the paper for doing scratches - gives me more flexibility having a range from 1500-4000grit
Just doing this in spare time really - won't be finished for weeks, but as you say, the end result will be worth the effort. Its a bit overkill on a car of this value, and tbh, a single stage machine polishing process is usually enough to remove ~75% of paint defects, which makes a huge difference to most cars. This is full on 100% correction with modification to the original paint for improved aesthetics over the factory finish.
 Posting Permissions