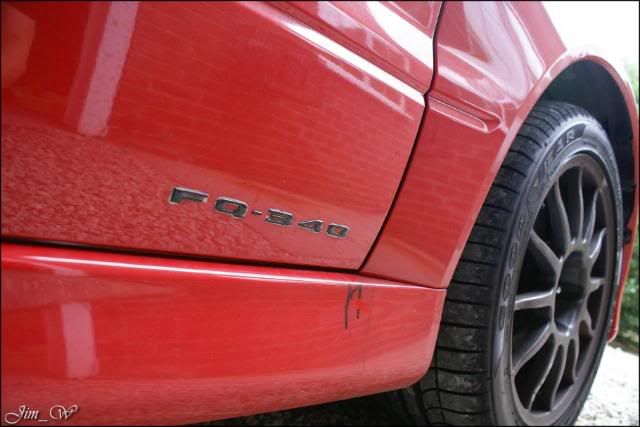
Mitsubishi EVO VIII FQ-340 Protection Detail..
A friend brought over his newly purchased EVO VIII for me to have a play with.. Now, our spec wasnt 100%, but, Id get as much done on the paint as I could in one hit (So why only the Protection Detail? More on this later
)
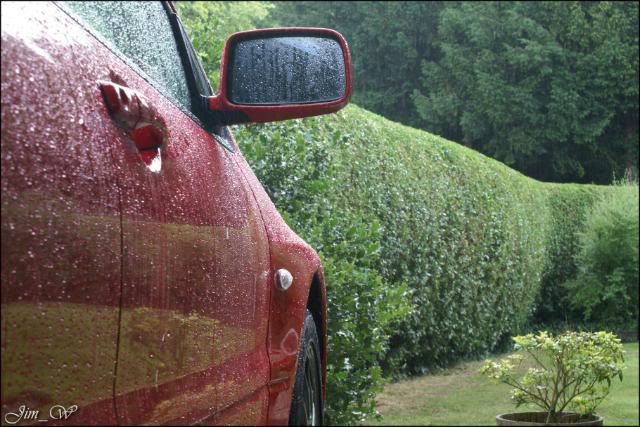
The forecast looked pretty dire rain and possible thunderstorms. Great! (
the one day I forget my waterproofs too)
After lots of head scratching and different pad/polish combos, this was the process I stuck too..
Process
Wheels/Tyres & Arches cleaned
Pre-wash/Rinse
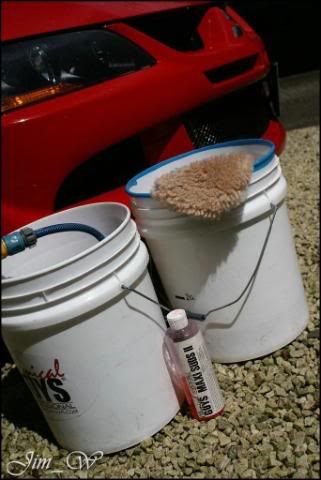
Two-Bucket Wash/Rinse
De-tar/clay-bar session
Water sheeted to aid drying/dried
Limeprime / CK Red Moose Glaze
Lay down some protection
Seal wheels / Dress tyres / Dress trim / Treat britework
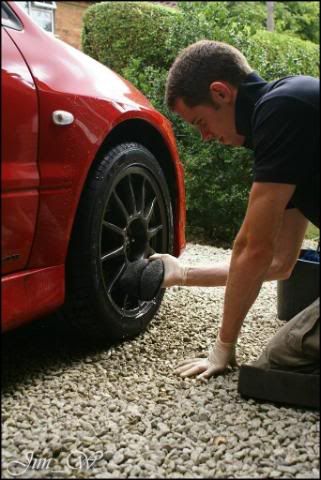
Wheels/Tyres & Arches
- Rinsed
- Megs Super-degreaser onto tyres and scrubbed
- Megs Wheel Brightener onto alloy facing and into dish additional Degreaser onto Callipers
- Callipers and nut-housings cleaned with a fine detailing brush
- Inner rim of the alloy cleaned with an EZ Detail Brush
- Spoke behinds were cleaned with a wheel mitt, as were the rest of the flat faces
- Arches flooded with G101 and agitated with a Vikan Brush rinsed
Pre-wash / Wash stage
- Body wetted with mist from pressure washer
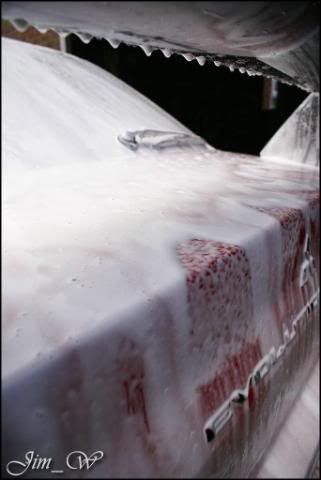
- Snow-foamed and left to dwell for 10 minutes
> Previous polish residue build-up removed at this point (panel gaps, badges etc)
- Foam blasted off the vehicle, taking loose debris and grit off with it
- Re-foamed with Valet PRO ph neutral and buckets filled
> Two-Bucket wash: One rinse bucket. One solution (CG Maxi-Suds II) bucket
- A panel washed at a time wash mitt returned to rinse bucket often (remove lifted particles)
- Shampoo solution rinsed and vehicle prepped for de-tar/clay bar session
Decontamination
- AS Tardis sprayed liberally on lower quarters and alloys; softened tar deposits. Residue wiped away with clean microfibre
- A Mild clay-bar helped lift bonded contaminants
- ONR mix from a pressure sprayer used to lube the paintwork
- Dried with mega plush Miracle Dryer and using pat technique
Cleansing
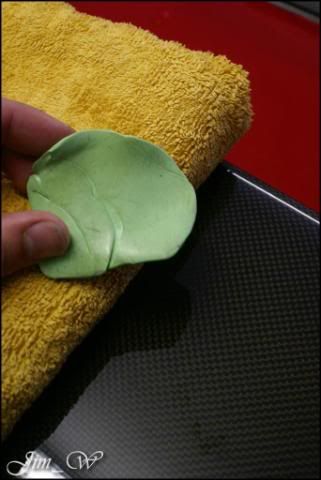
- DoDo Juice LimePrime used to A) Cleanse. B) Polish. C) Nourish.
- Clearkote Red Moose Glaze used to add depth/wetness
> both applied by hand and applicator pads
Protection
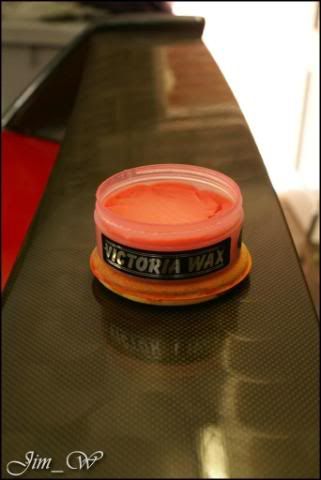
- A thin coat of Victoria Concours applied. A second to follow later..
- Chemical Guys JetSEAL901 used to seal the wheels
- Belgom ALU used to clean/protect the britework
Dressings
- Tyres with CG New Look Trim Gel
Pictures
Upon Inspection..
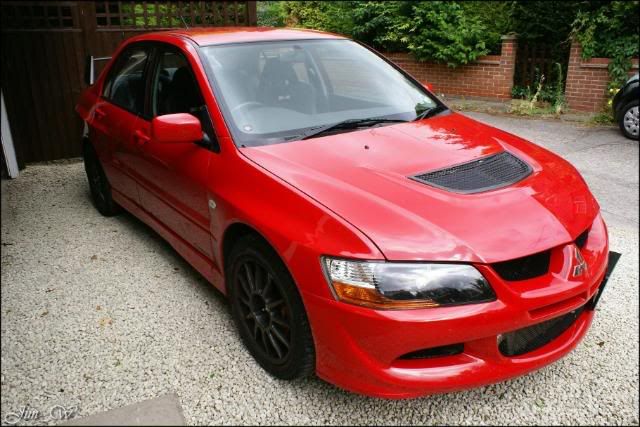
Generally, looked quite presentable obviously looked after in its previous life
Get a little closer however and its pretty grubby:
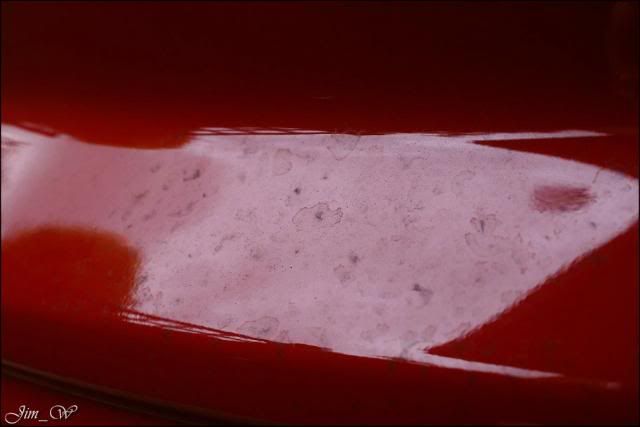
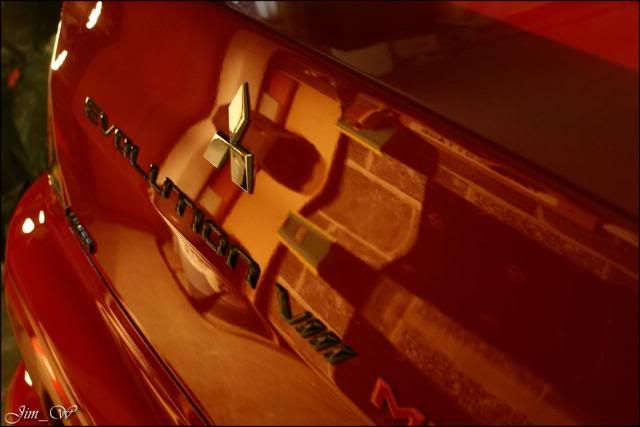
There were massive amounts of polish residue built up in all badges/gaps/crevices etc.. This alone will take some time to fix..
First though, Im going to set up and get the wheels/callipers into shape..
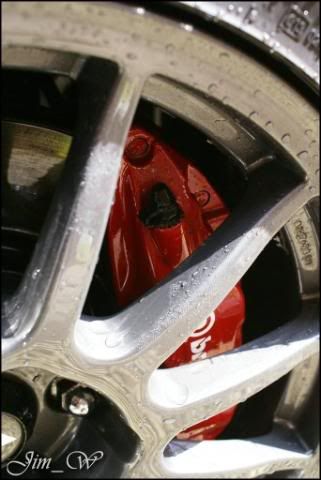
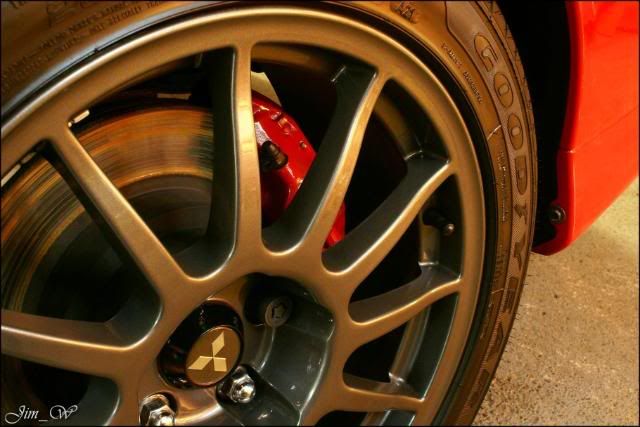
The wheels themselves werent particularly bad, just a bit of pitting building up in the corners and the random tar deposit. The callipers were quite dark and dismal though these would require some attention fo sho


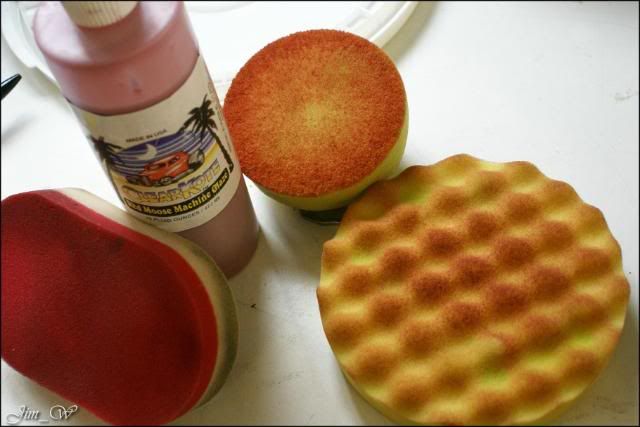
Mix of Wheel Brightener, Super Degreaser, G101 and various brushes.
It all came up rather nicely..
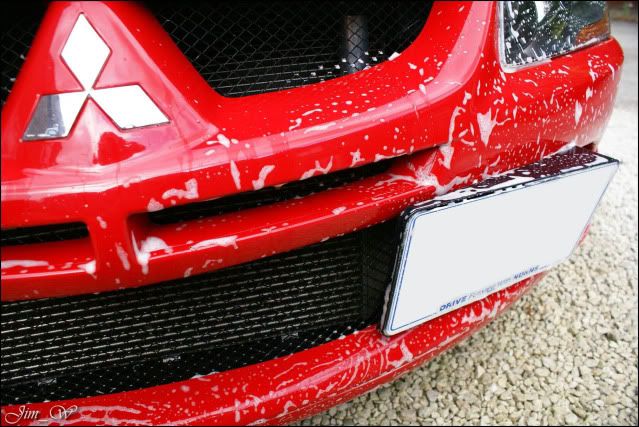
Next? Get rid of the nasty chalkie white polish build-ups..
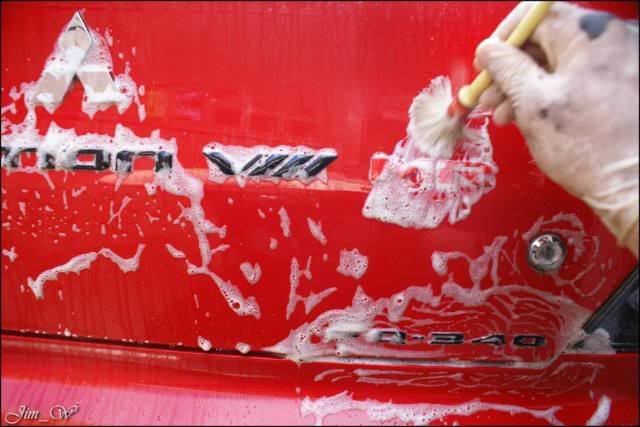
Before:
After:
The front-end had a dousing of G101 too to help loosen the kamikaze bugs..
Now going back to the wheels, AS Tardis used to melt the tar deposits..

Wiped clean and rinsed before commencing bodywash.
This is the third time Ive got drenched already..
Rinse Snow Rinse Snow Wash Rinse Tar Clay

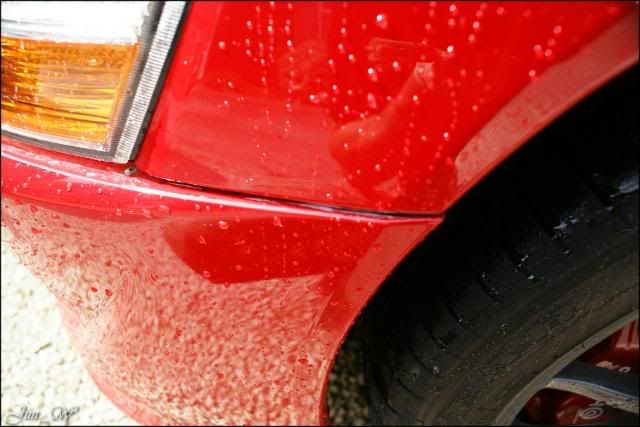
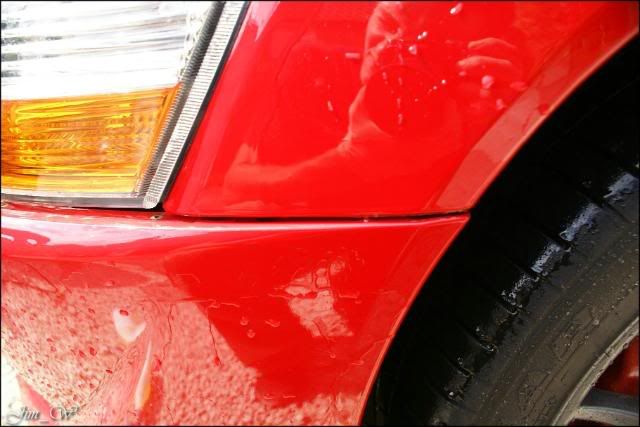
A few rough areas on the paintwork that the Sonus Green lifted but, in all, relatively clean.
From starting the wheels, to finishing the claying stages, Id already spent 2 hours 40 minutes on the car.. (Id not even done door-shuts/sills either..?!)
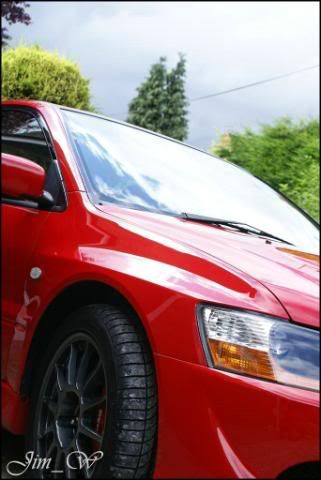
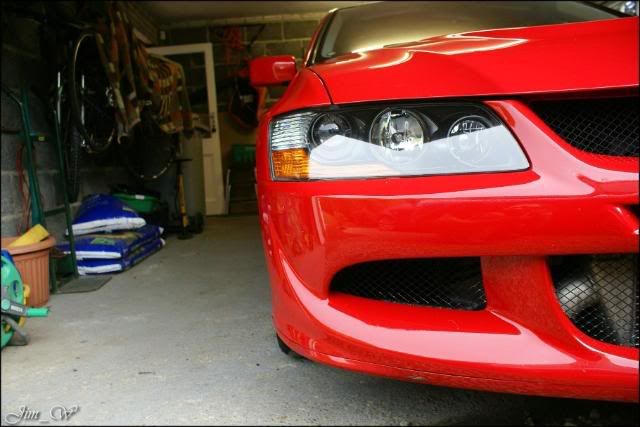
As the sun had disappeared behind the dark clouds, I had to use the camera flash to locate the random swirls/defects..
Although still protected well from its previous life, it had obviously seen a pretty rough wash procedure..
So inside, taped up and measured:
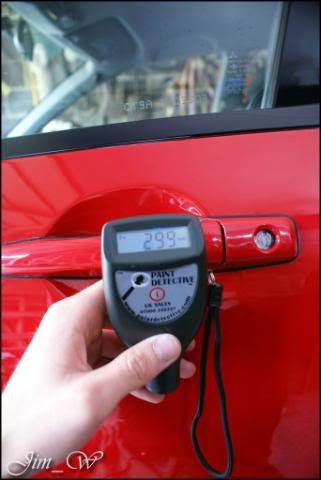
Ah.. Right!?
The bonnet, o/s doors and both wings had seen paint. The n/s front wing had also..
I admit, whilst removing the polish build-up, I noticed one side of the front bumper sat lower than the other. A possible front-end shunt maybe? The car was purchased HPi clear no word of any damage in the past.
Its around here my day started to go downhill..
First, my Kestral SIM-180 packs up. Its as though the wire going into the handle has a very poor connection. At some angles, it works, but it can judder and stop/start this is no good.
So, blowing the dust off of the PC, I tried the same 3M Polishing pad/Limeprime combo as before. It was nice to get my hands on the PC for once.. Certainly easier to use on the EVO than the Rotary was funny angles/smaller areas etc.
HOWEVER
Ive always learnt Jap (Honda/Mitsubishi etc) paint to be soft. Going back to one of ahoydocks reports, Id like to follow the same steps the CTR that he left was simply stunning. The polish (205 I think)? Followed by the CK RMG and Victoria Concours left some awesome results. This, I hoped to replicate.
Limeprime in on the 3M Polishing pad left some pretty great results! (Due to paint softness etc) Yet come the time to remove the residue off of the paint with a clean, fresh, soft microfibre, I couldnt help but induce my own markings..? This irritated me somewhat rotten. It left me stumped different pad/polish combos.. Try X-amount of other clean MFs to lift the Limeprime off, but, no.. Nothing I could do would escape inducing said swirl marks back INTO the paint. RUBBISH. Hands up, I failed here. I didnt know what to do.. It was literally like butter.
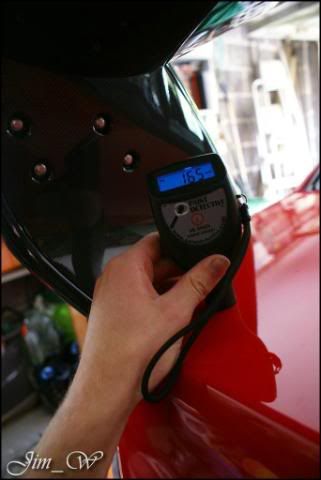
Id like to say it was down to the panels being re-sprayed? The worked areas showed readings of 190+. Can anyone help with OEM readings on EVOs? The other panels, I had some 110, 130 up to 170 readings but, 240/290um has to of had some work Am I right?
After wasting lots of time walking round in circles, I made a phonecall and discussed the issue with the owner, Dan.
It was left that I should do what I can in terms of polishing but to get a good couple of layers down for protection. Time pushing at this stage already
SO. Limeprime with the soft, red side, of a German Applicator pad followed by the Red Moose Glaze on a different pad. It did give pleasing results, sure, but there was so much more to be had!
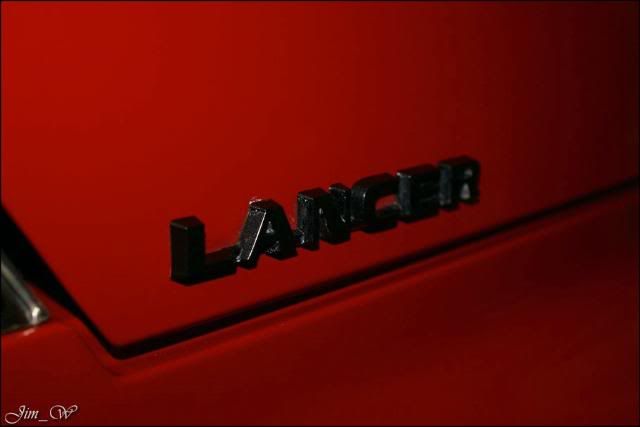
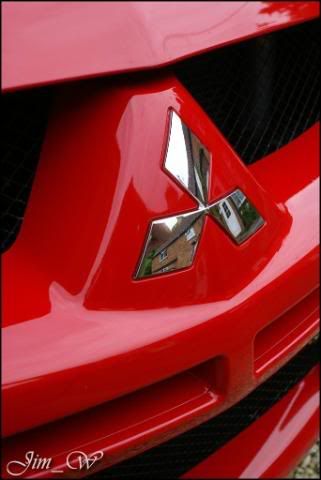
Lancer badge before with the white chalking..

After.. (missed a bit!)
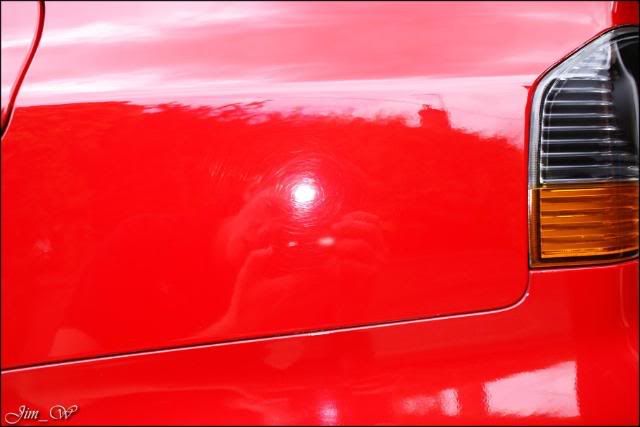
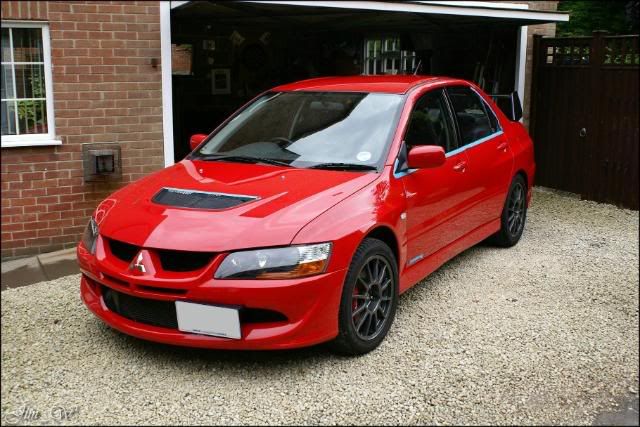
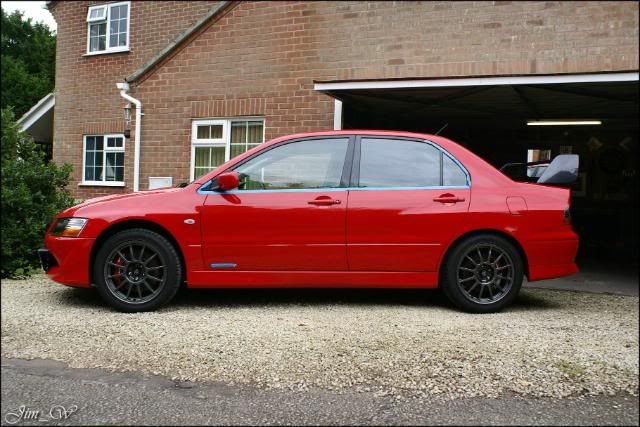
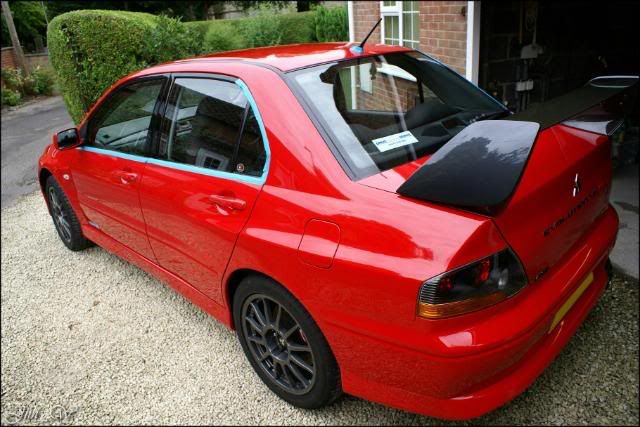
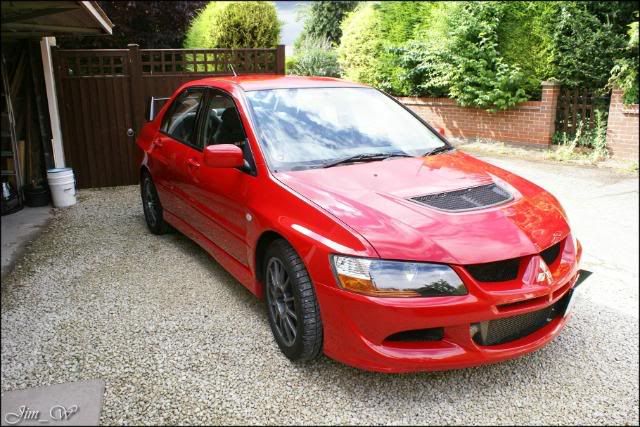
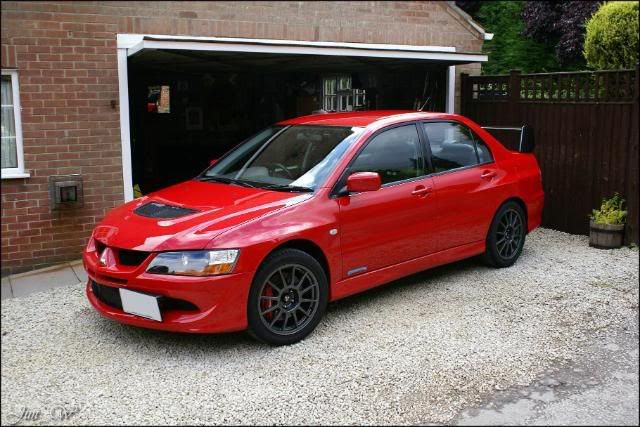
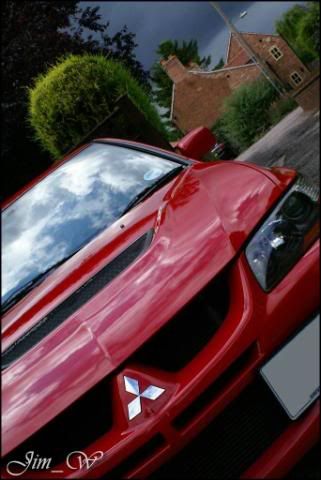
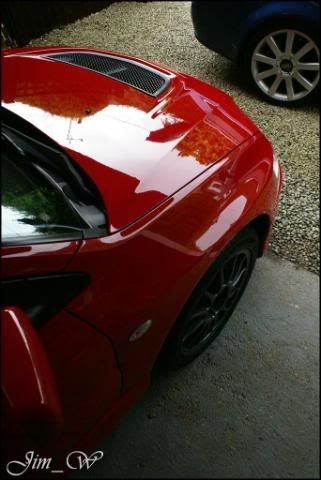
Put the EVO outside to see how its looking pre-wax..

The pads I used showed colour-transfer from the single-stage paint
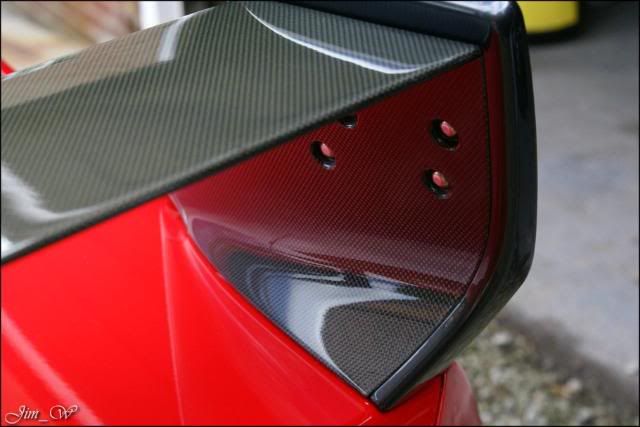
Finally all sealed in with x2 coats of Vic Concours wax
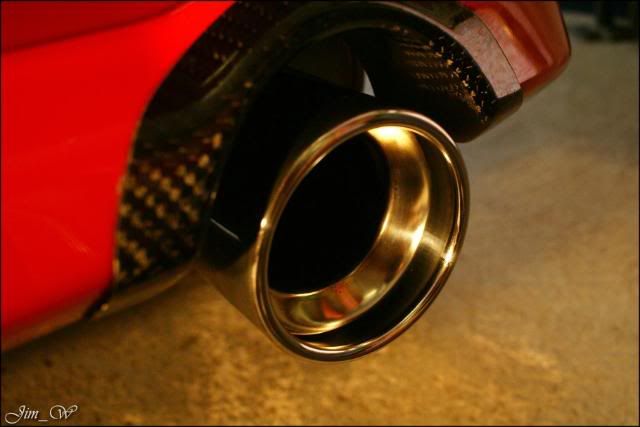
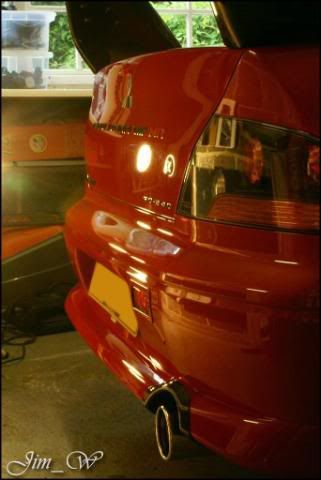
Exhaust inner before:
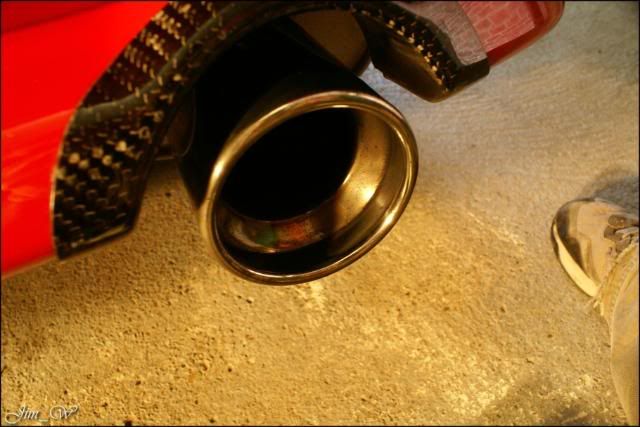
Inner after:
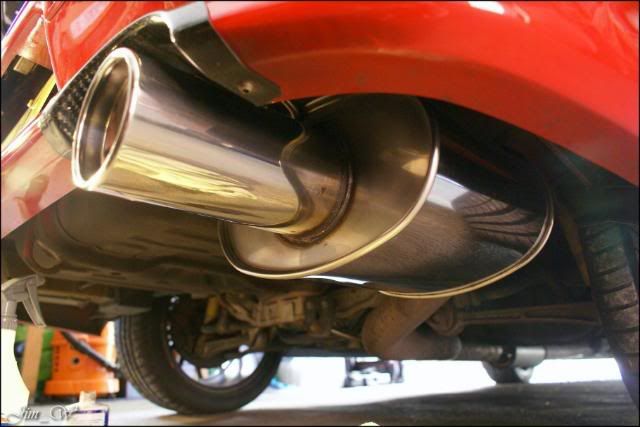
Box before:
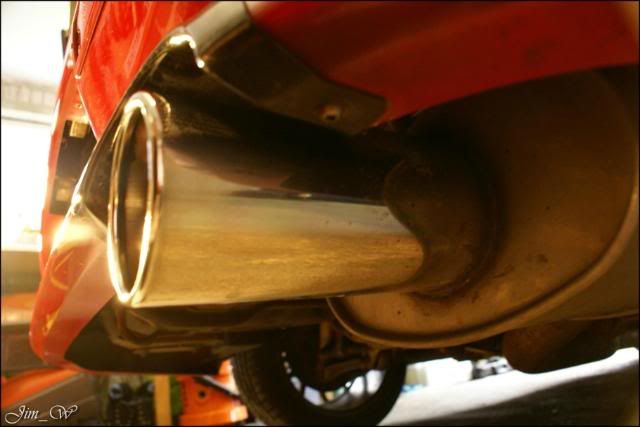
Box after:
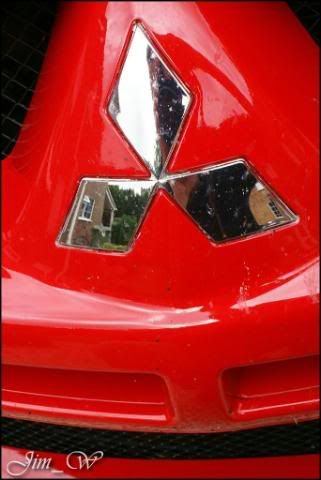
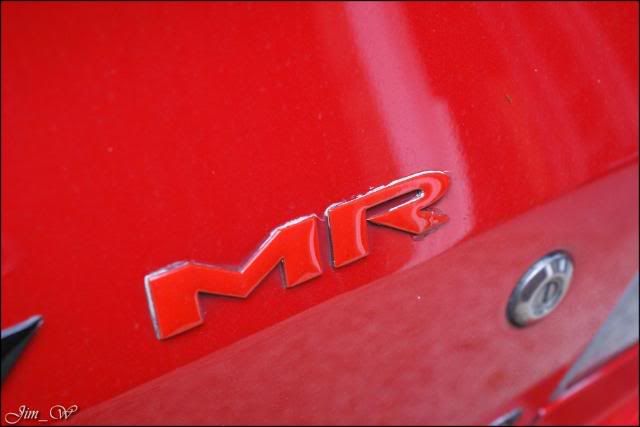
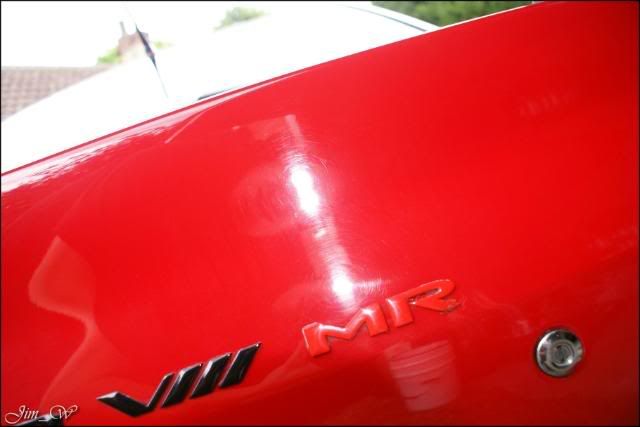
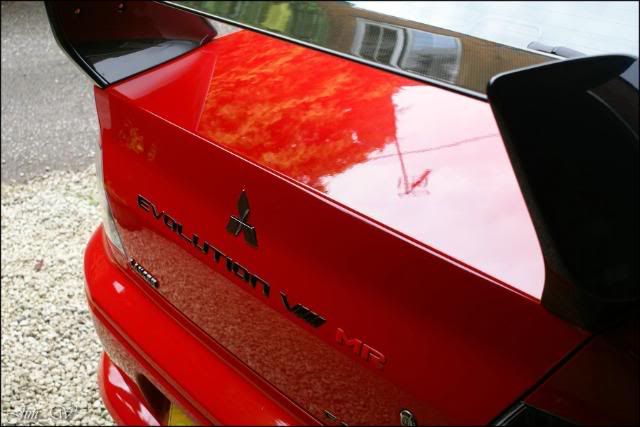
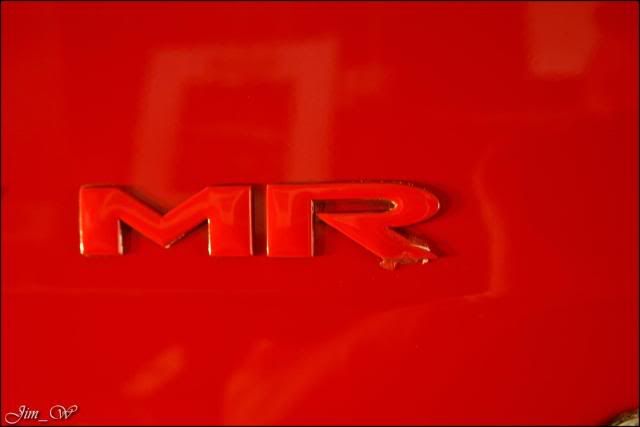
MR badge had been stuck on at some point quite a messy job..
Thats about it Im afraid! A challenging day certainly didnt enjoy it. I met Dan later in the evening and explained my findings if anyone can tip us on ideas/what to do, it would be great.
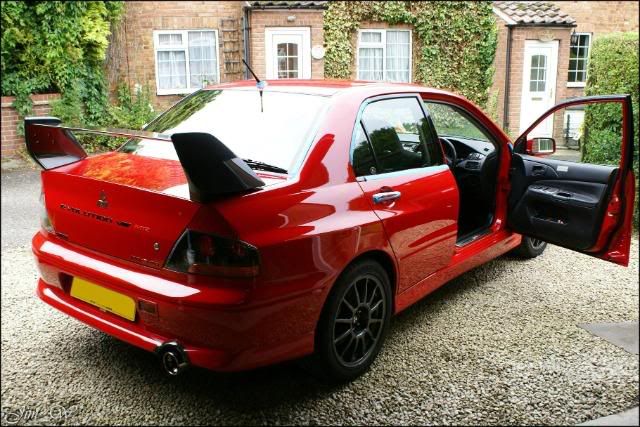
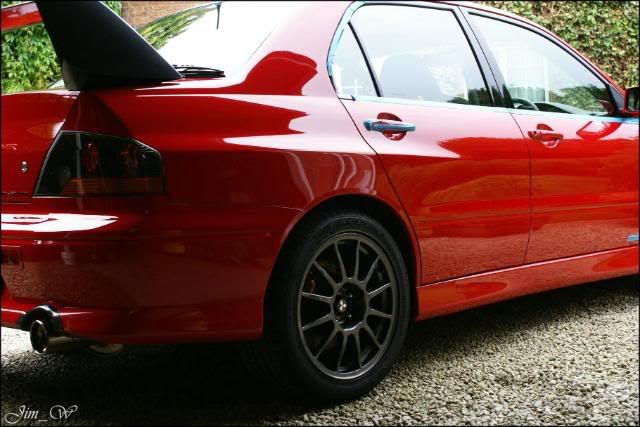
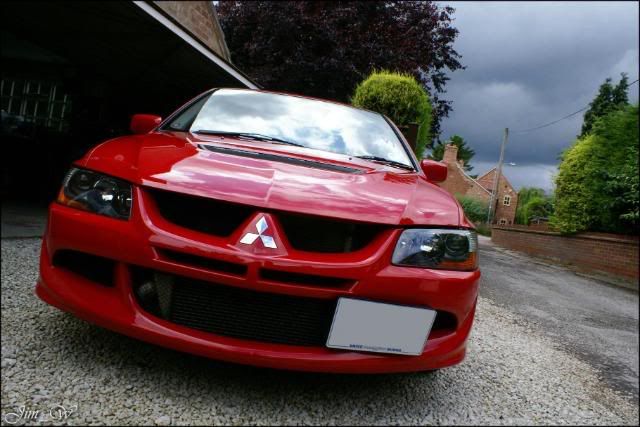
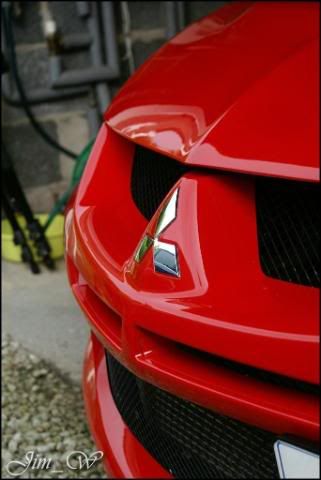
Lots of photos after a GLOS wipedown..


Total time, 7hrs 40mins. (20 mins was spent at the end with a cocktail stick taking the polish build-up removal even further!)
Thanks for reading
Jim

 Reply With Quote


Originally Posted by Jim W


 Posting Permissions
